


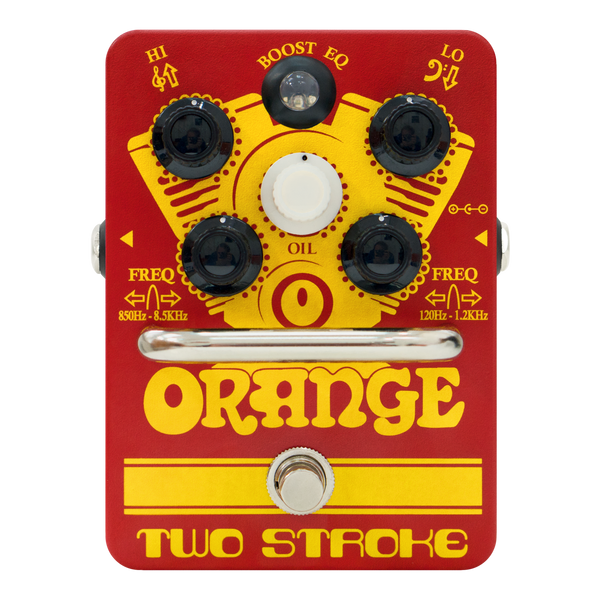
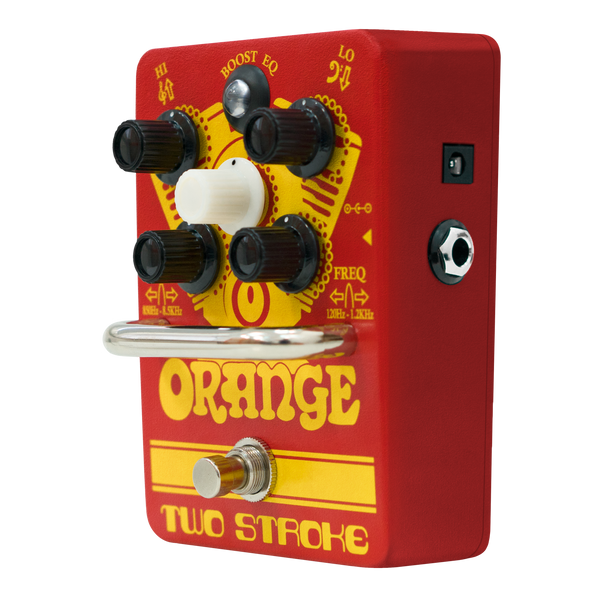
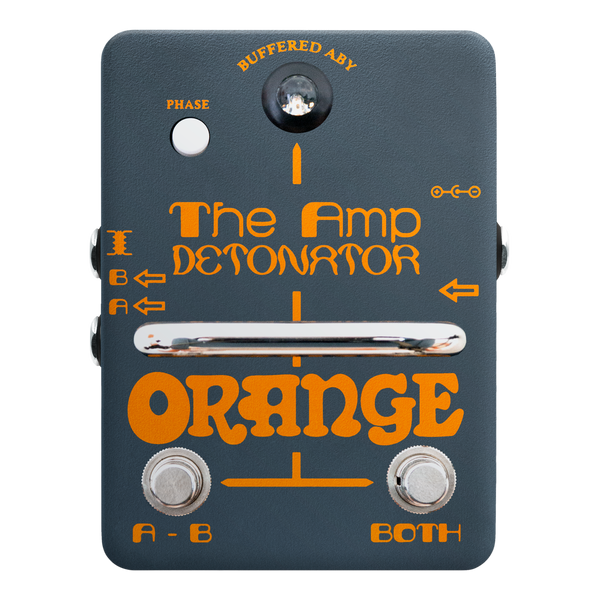
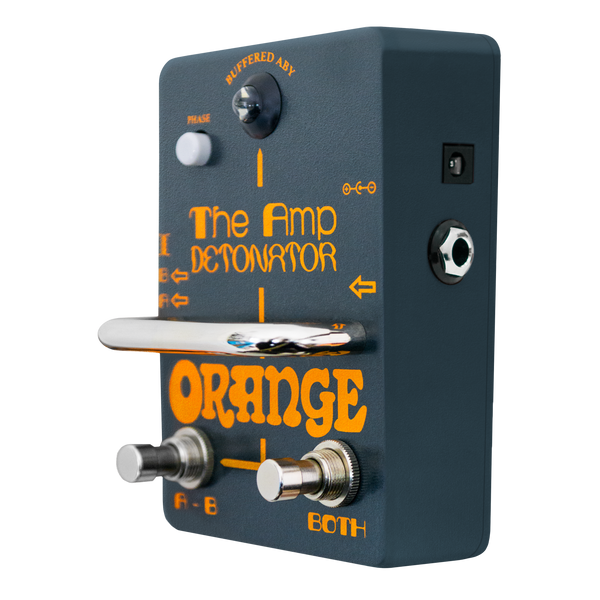
Terror Stamp
Terror Stamp
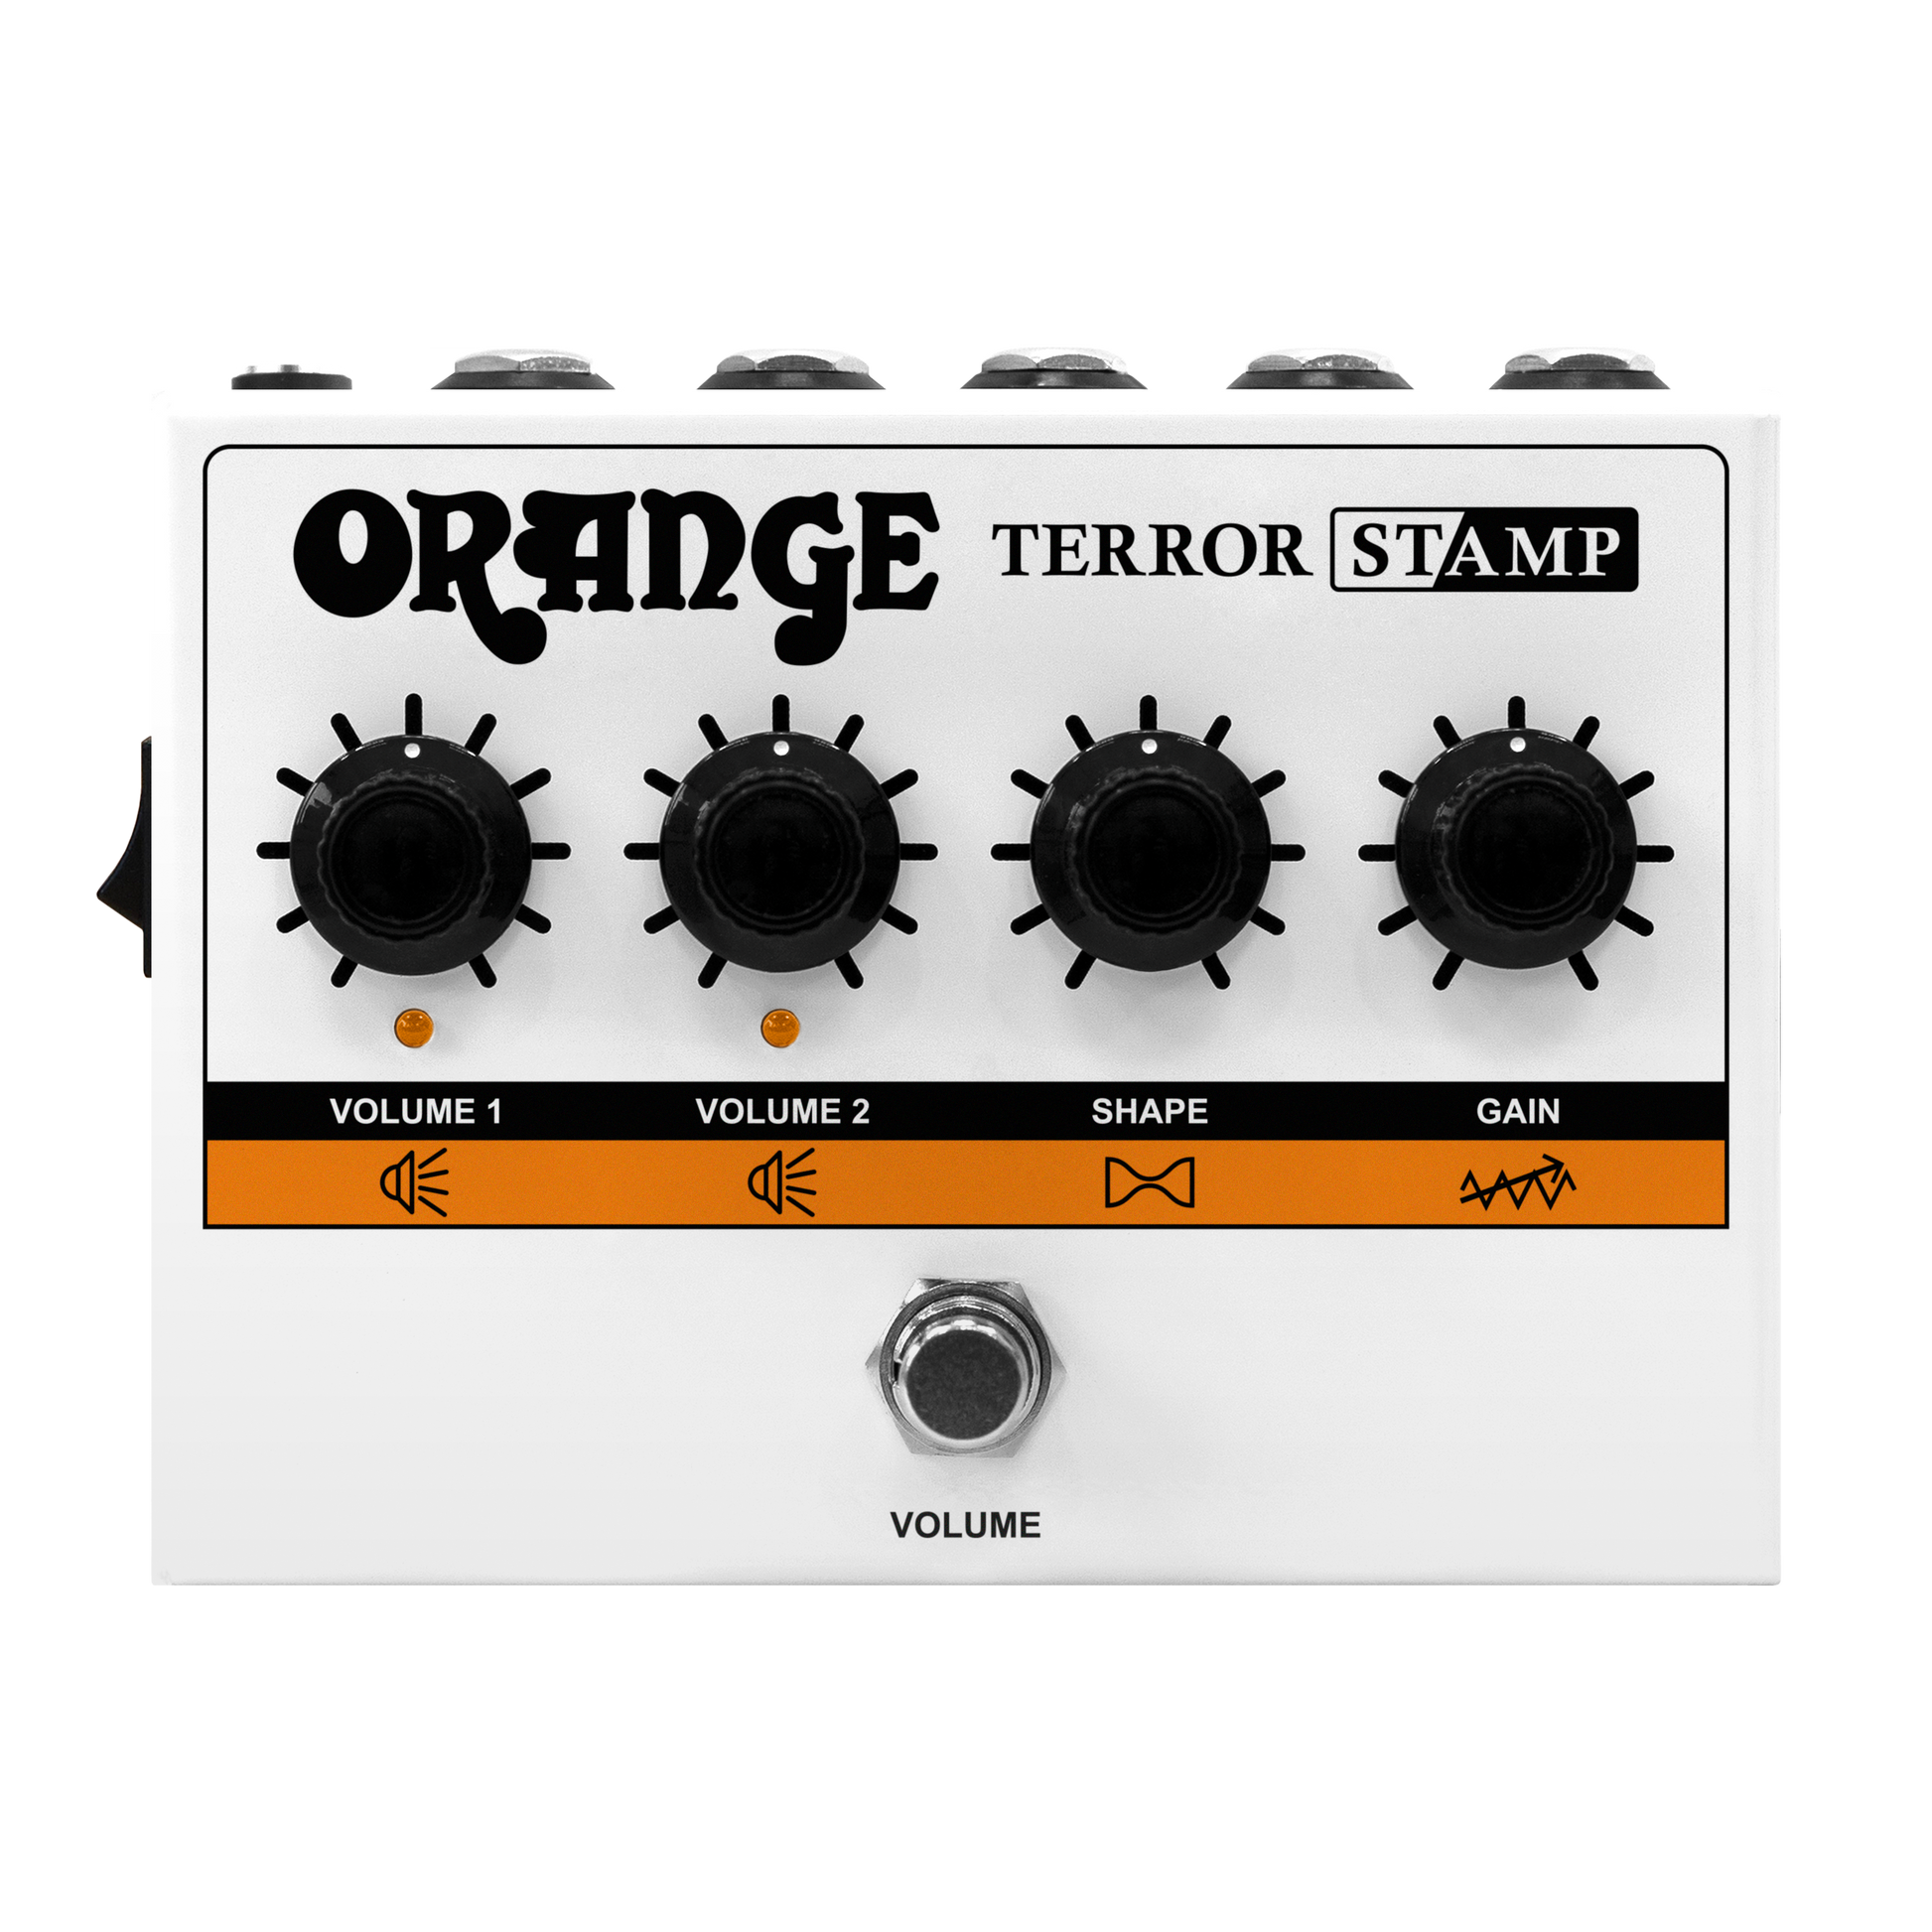
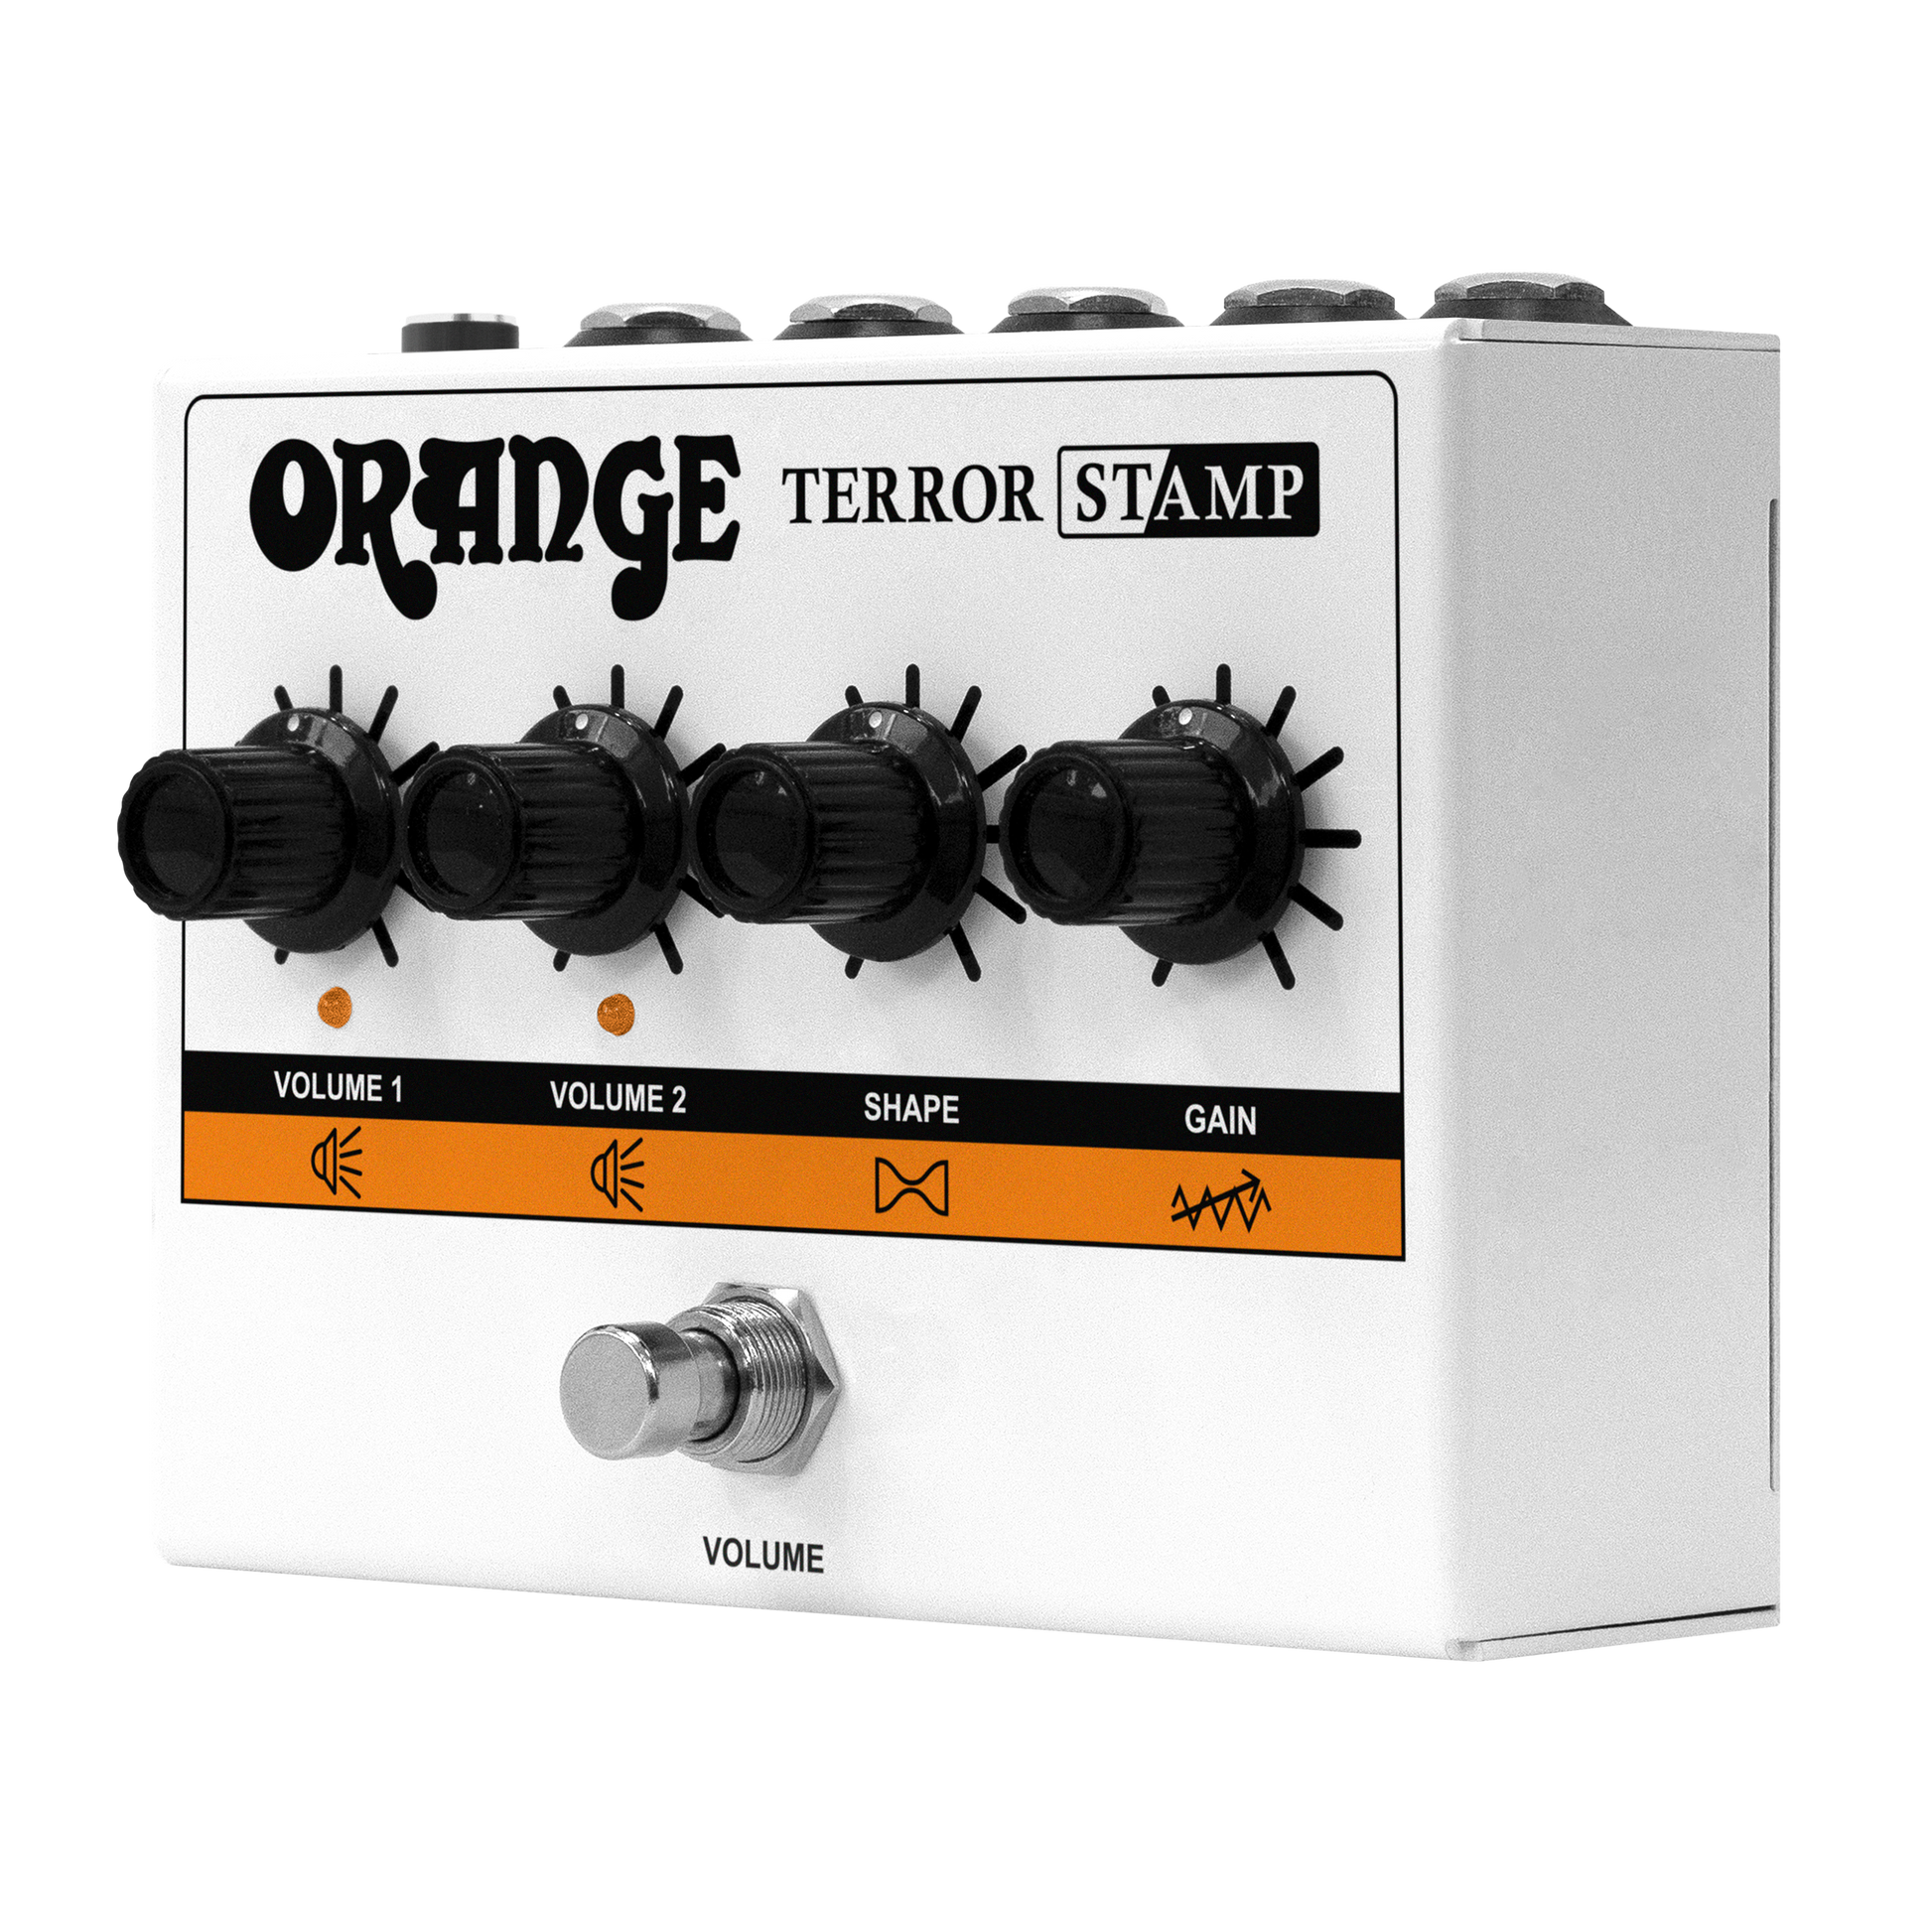
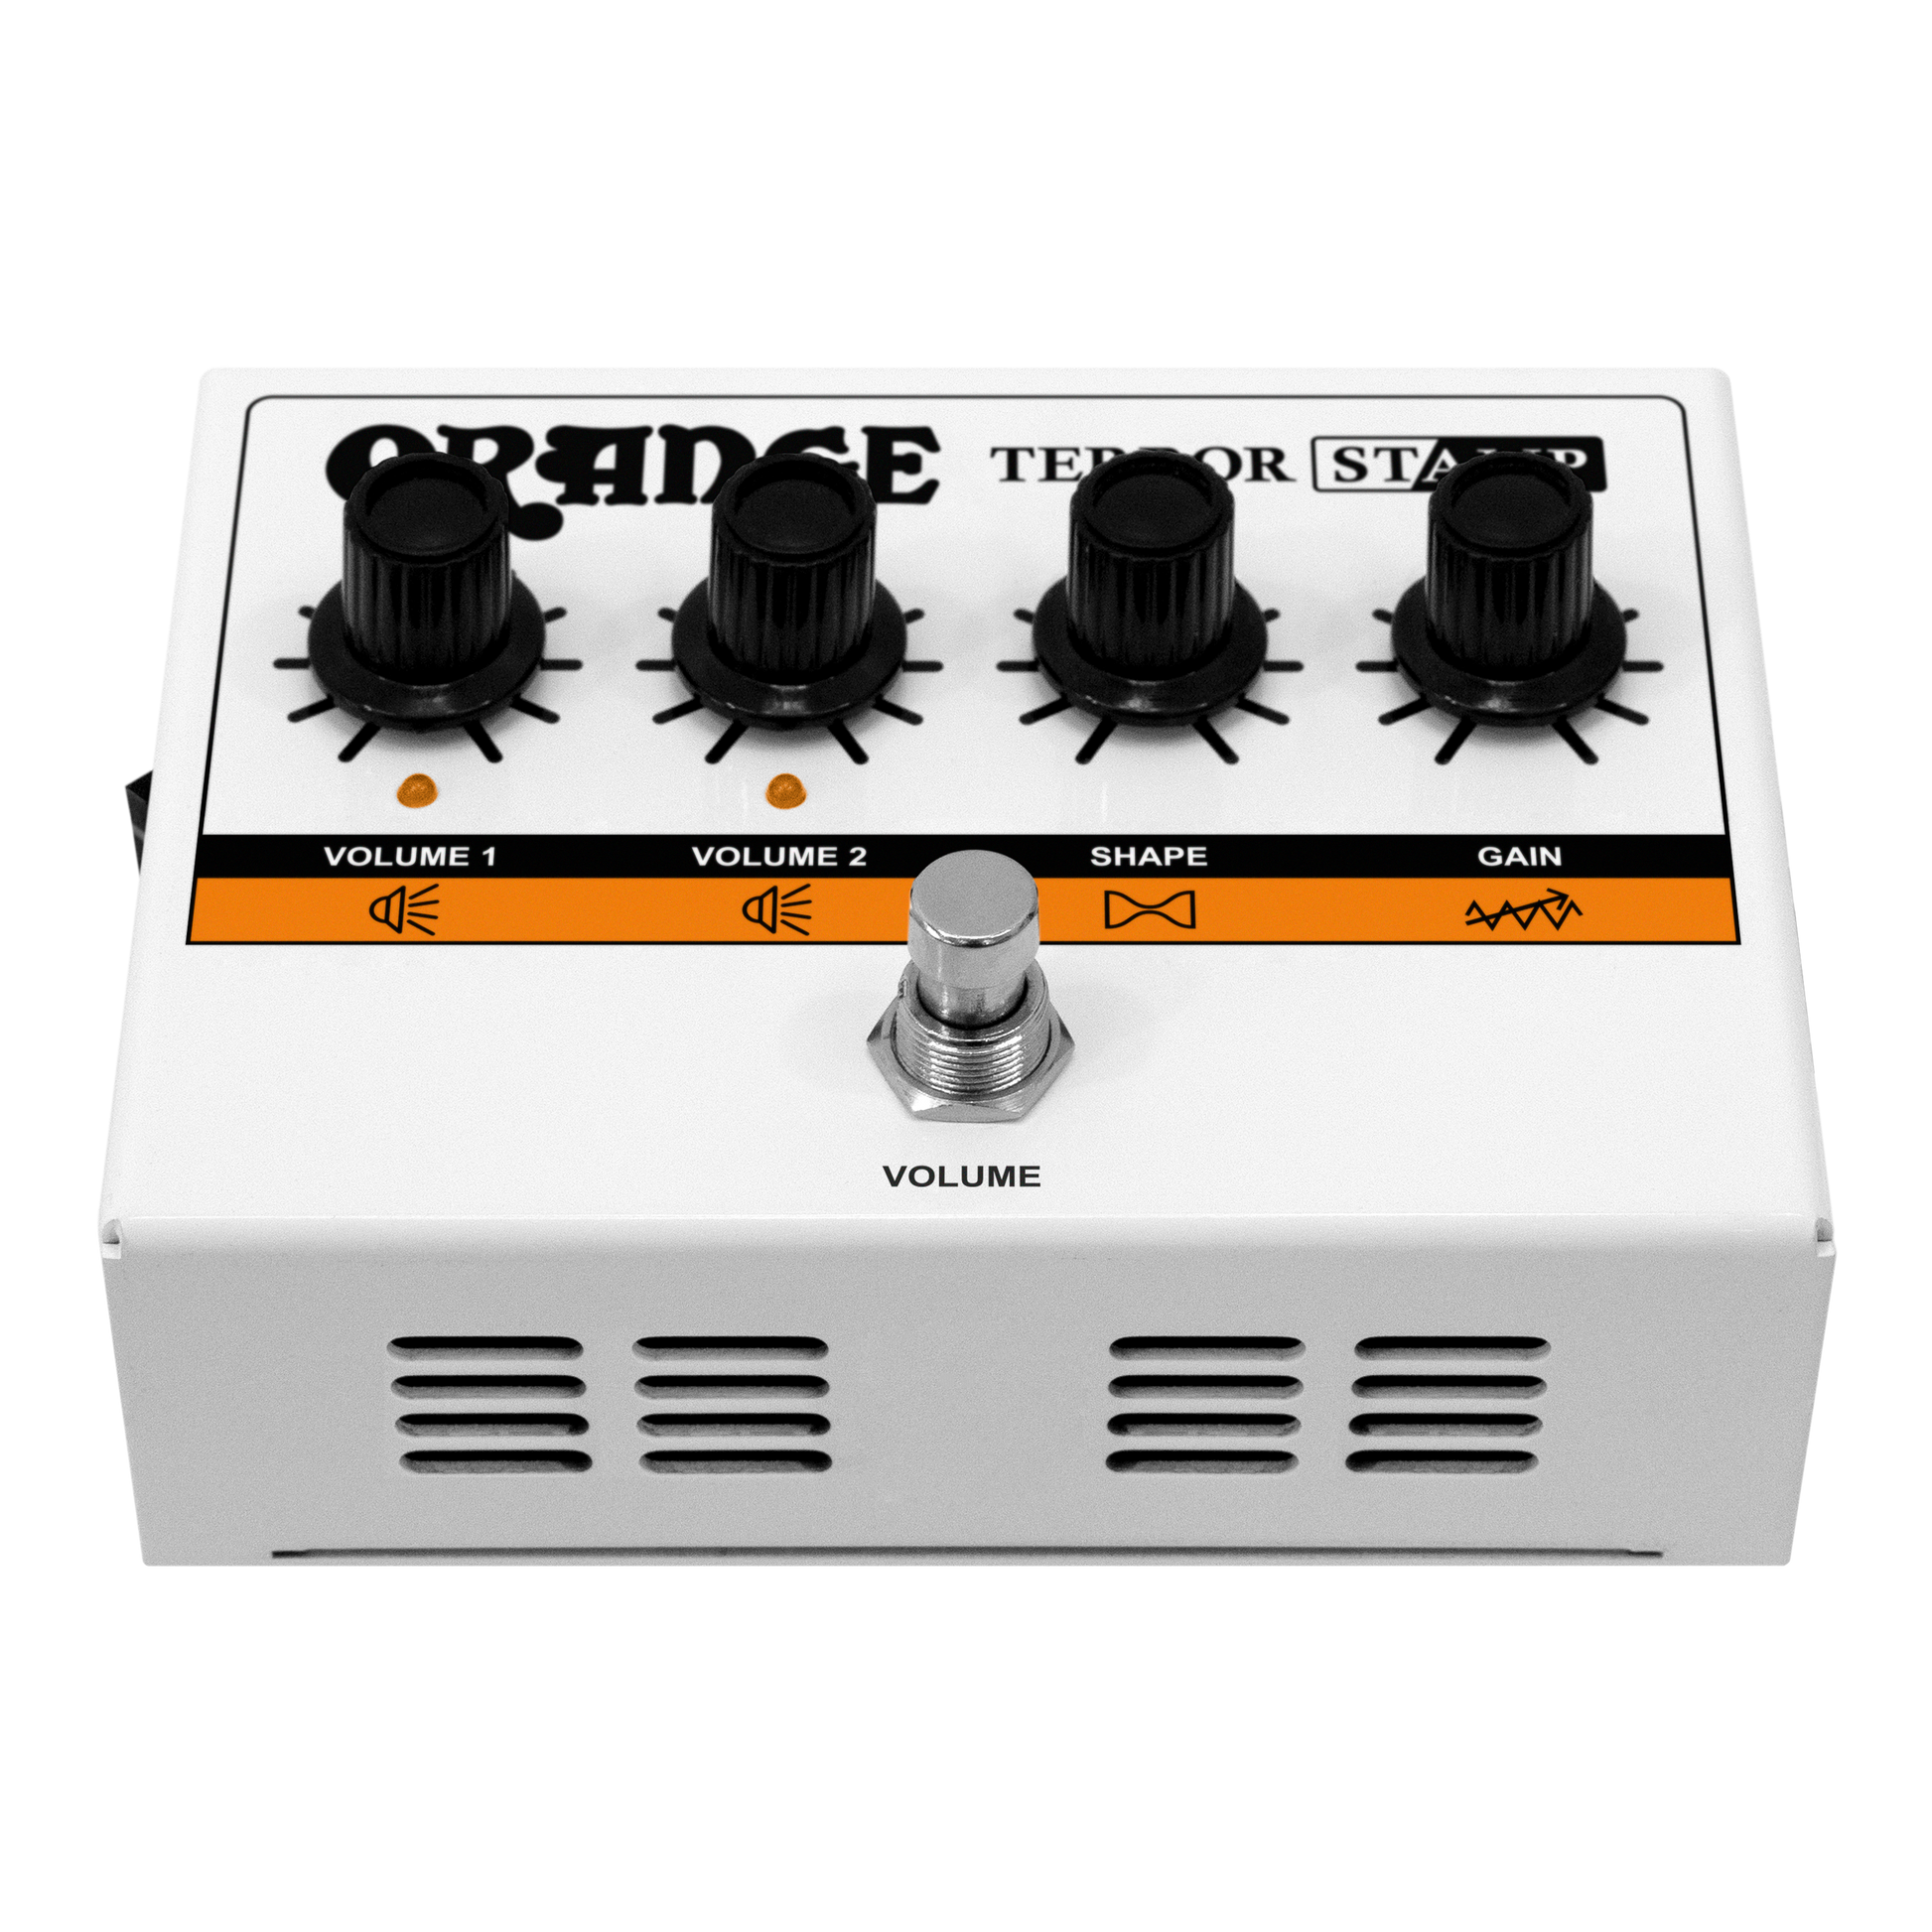
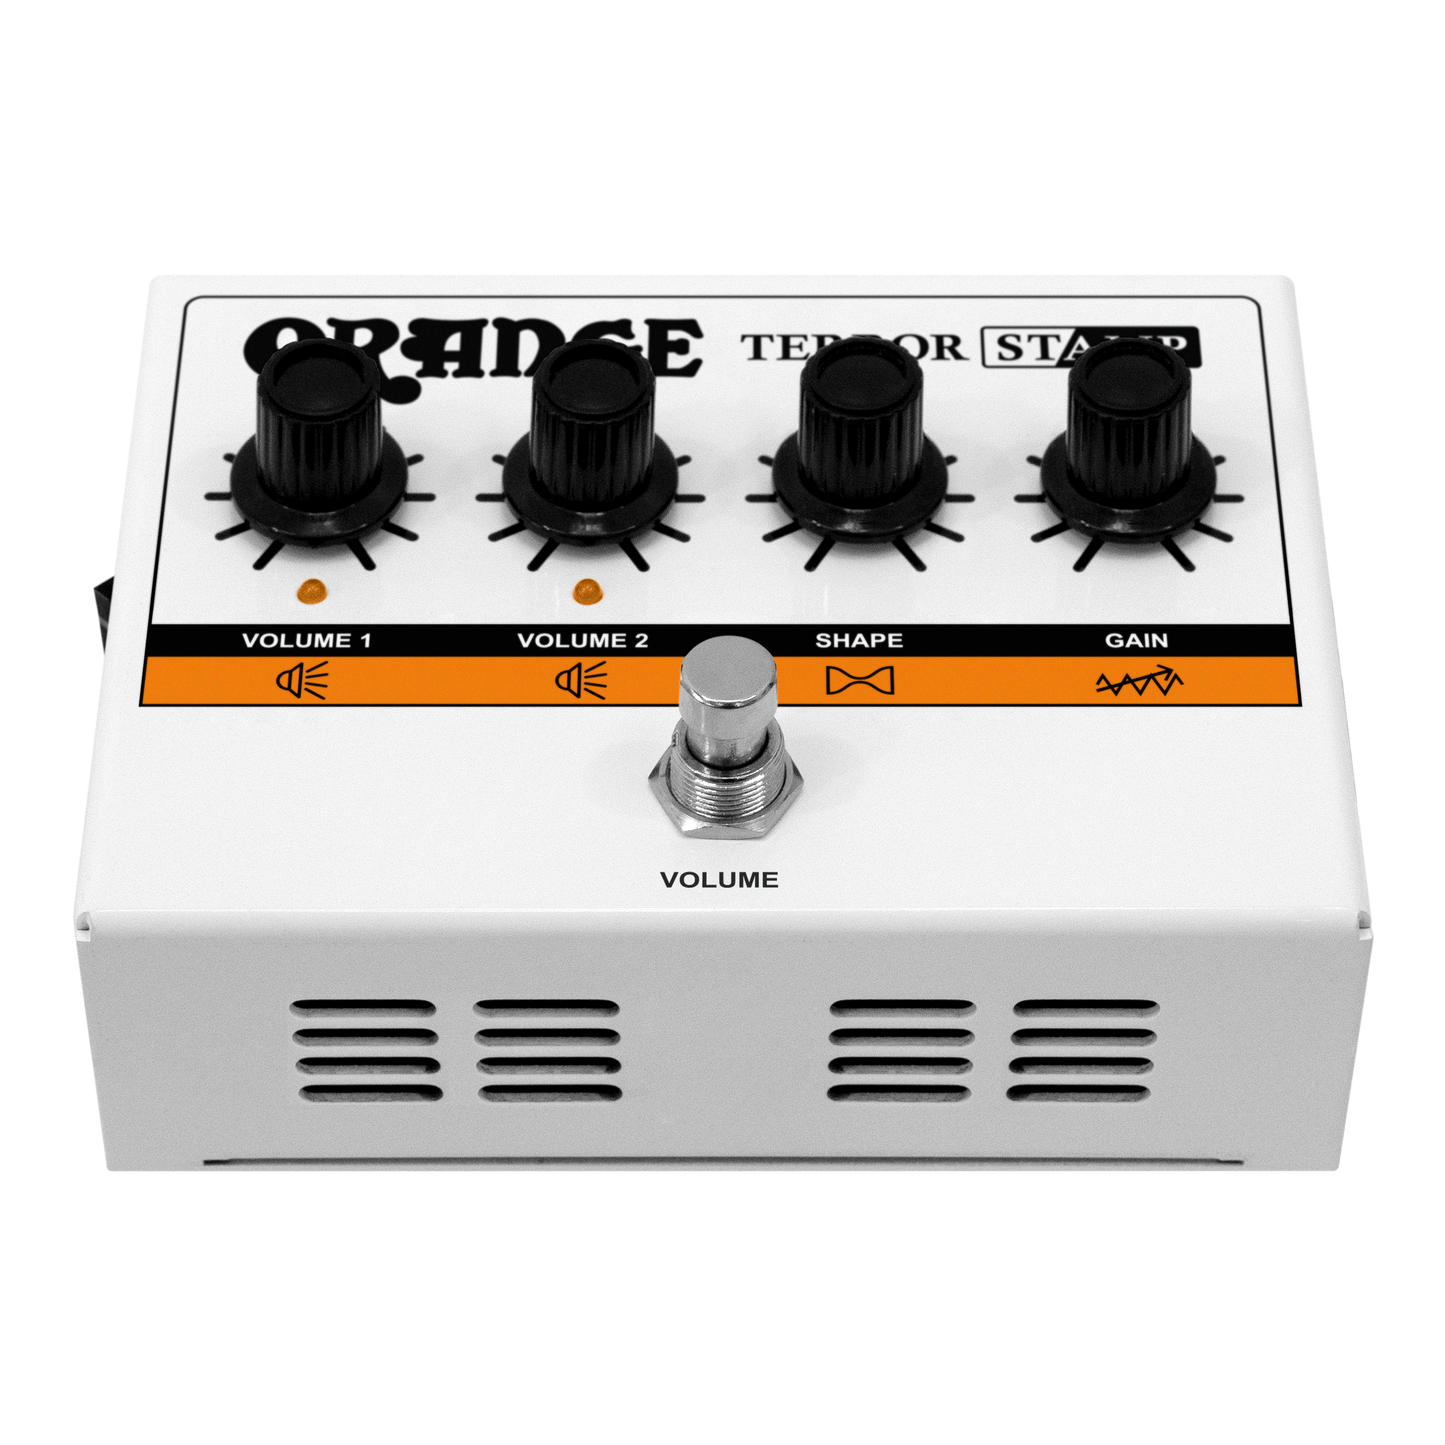
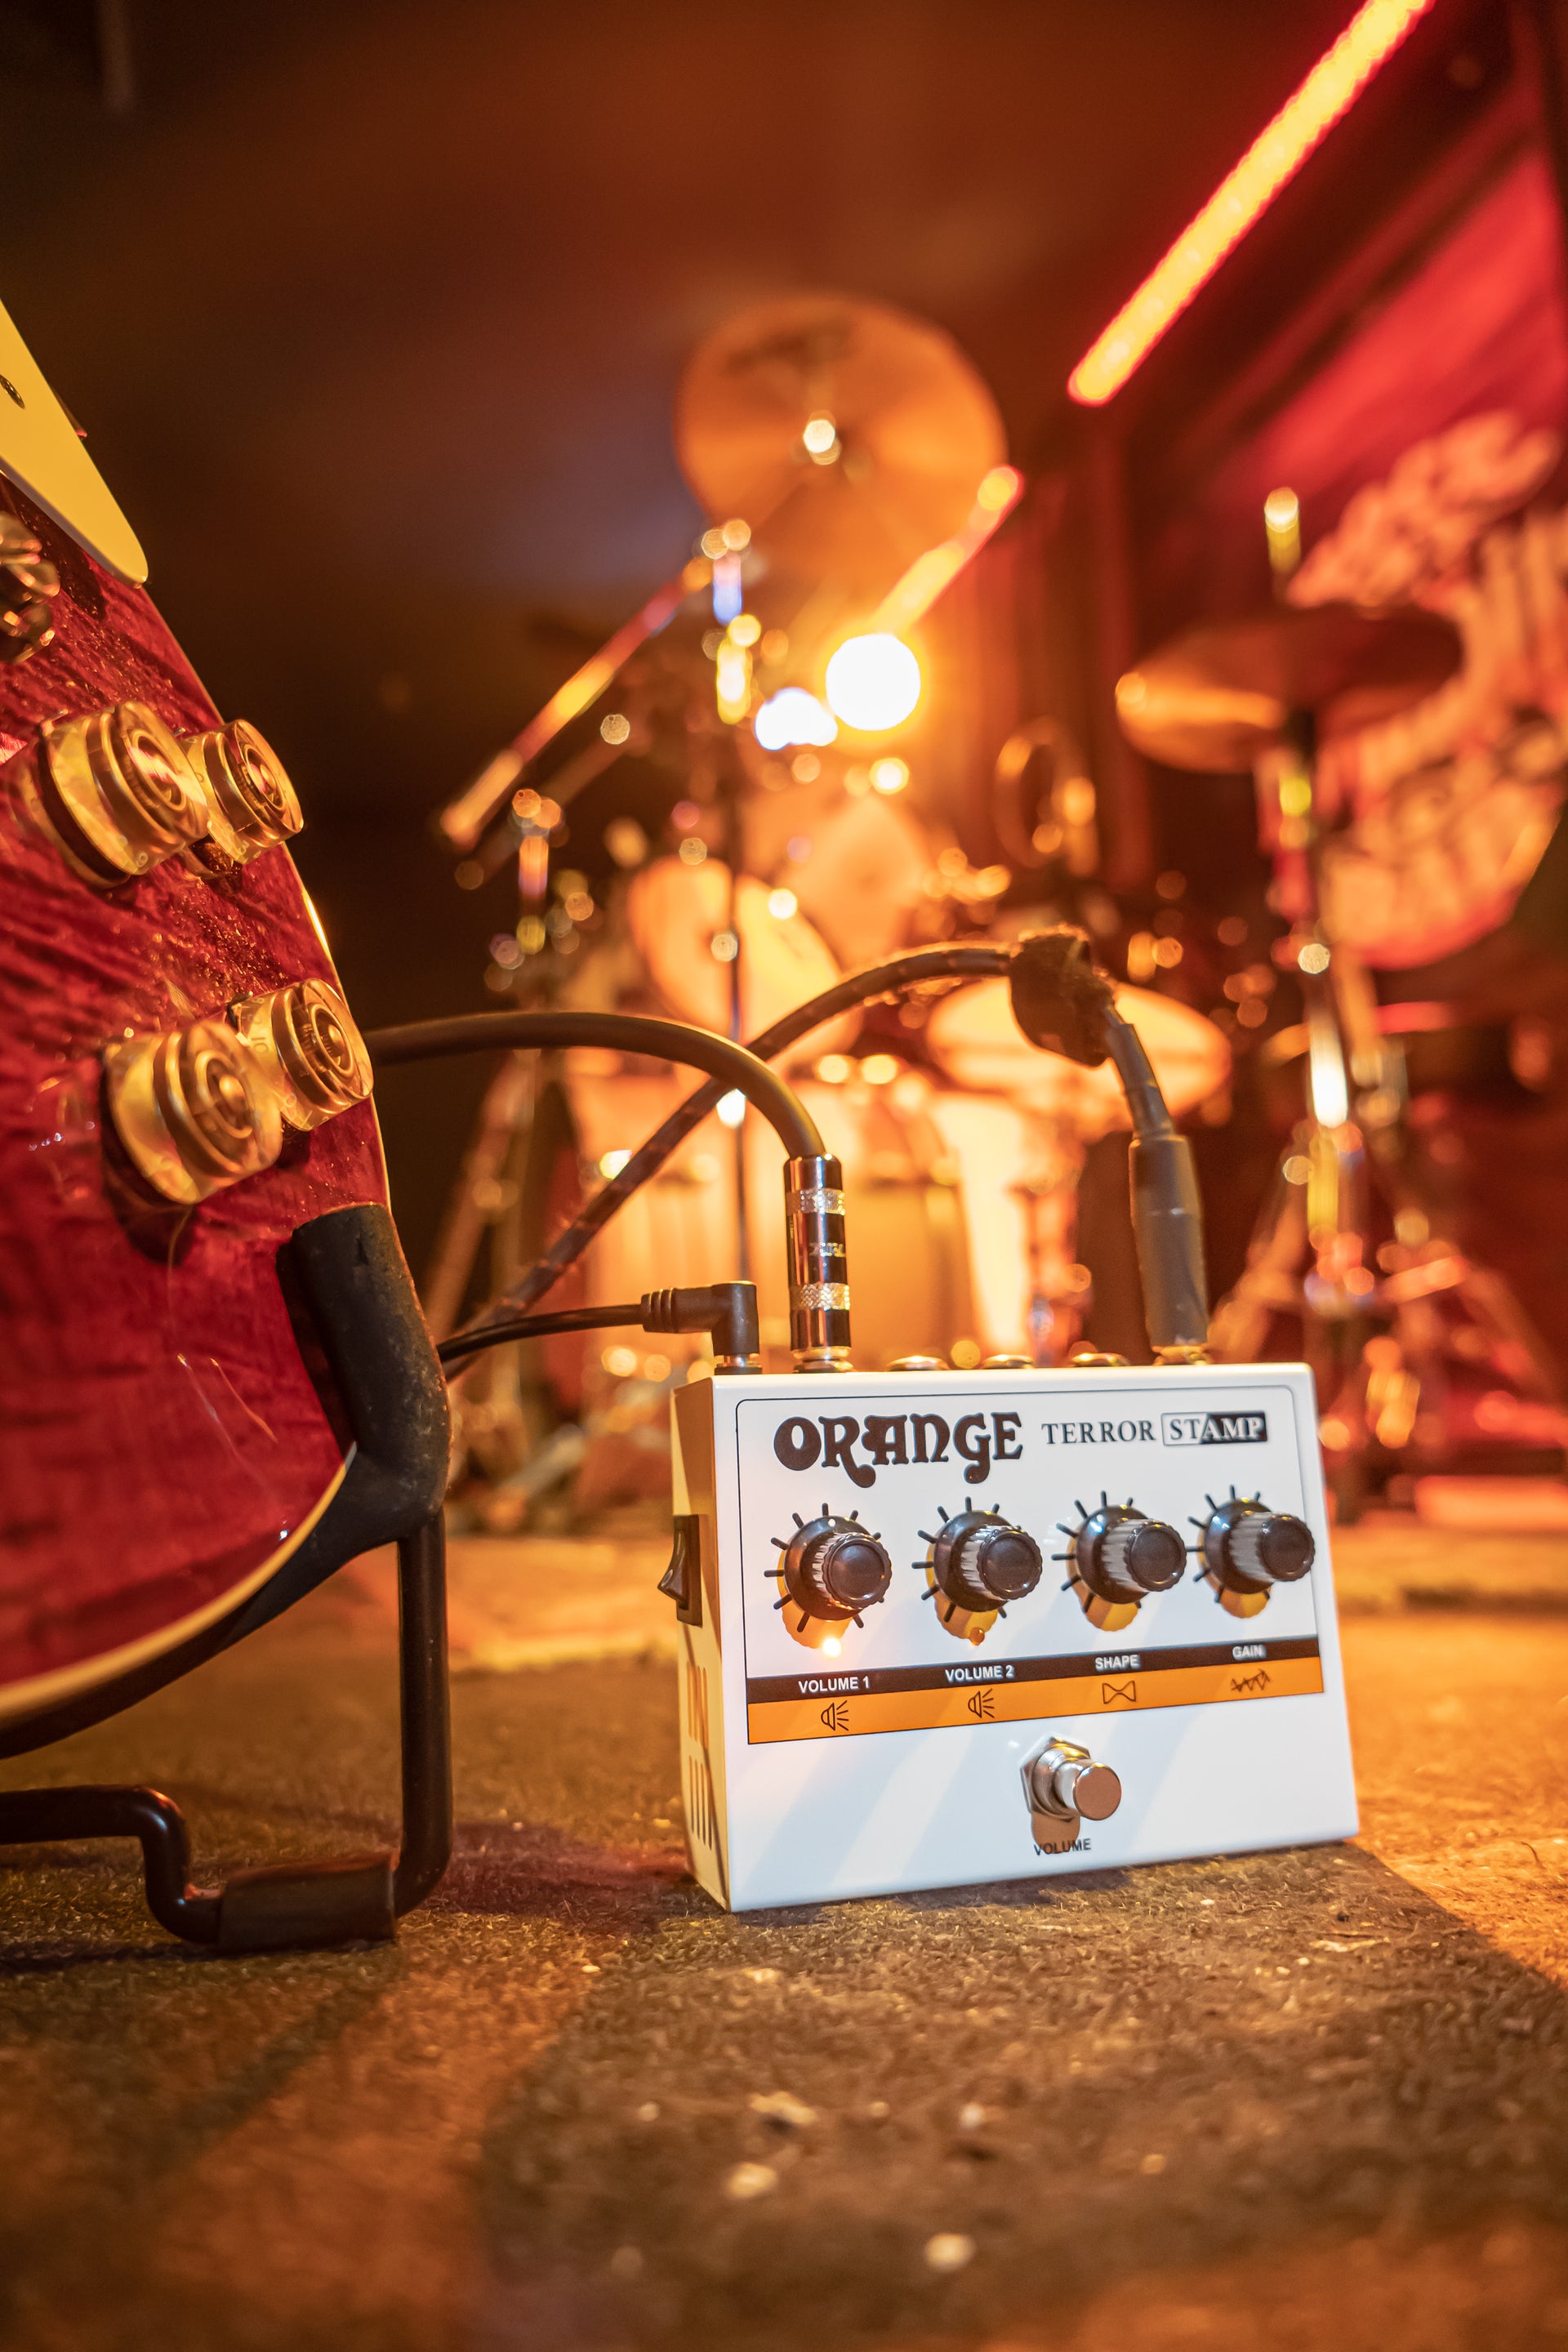
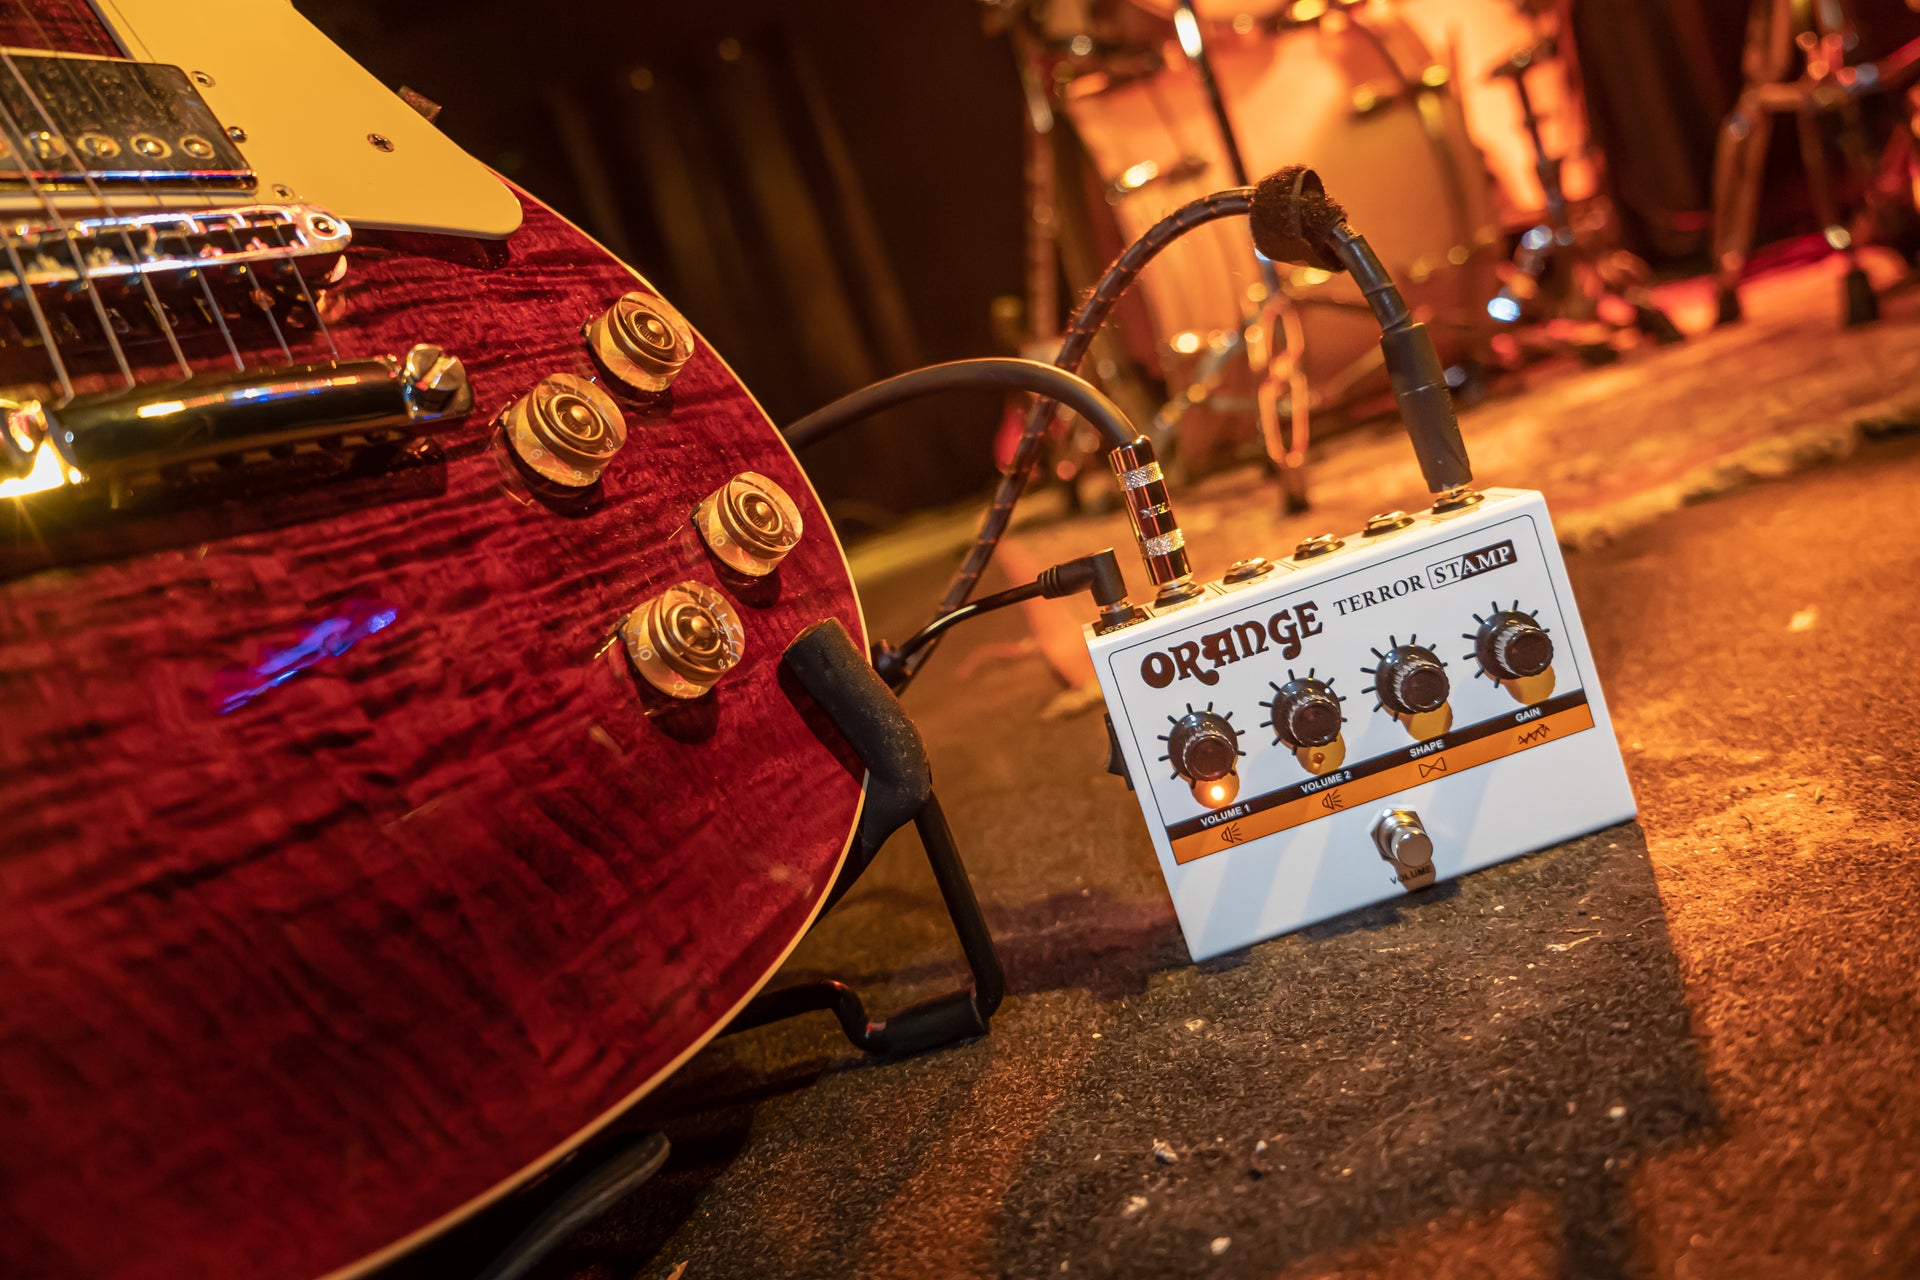
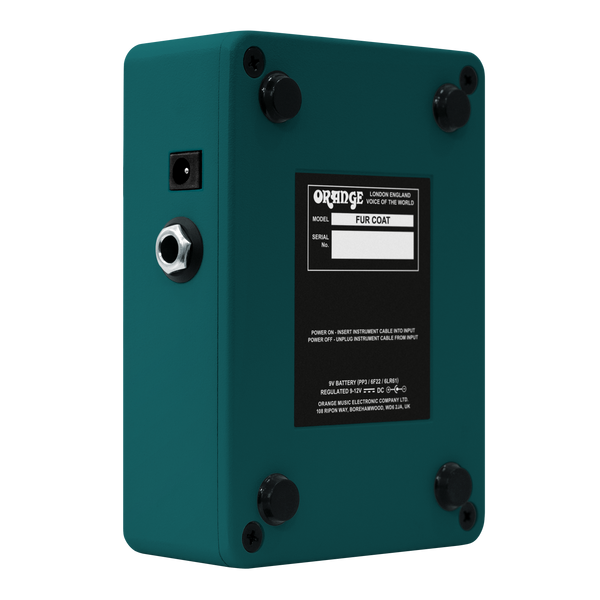
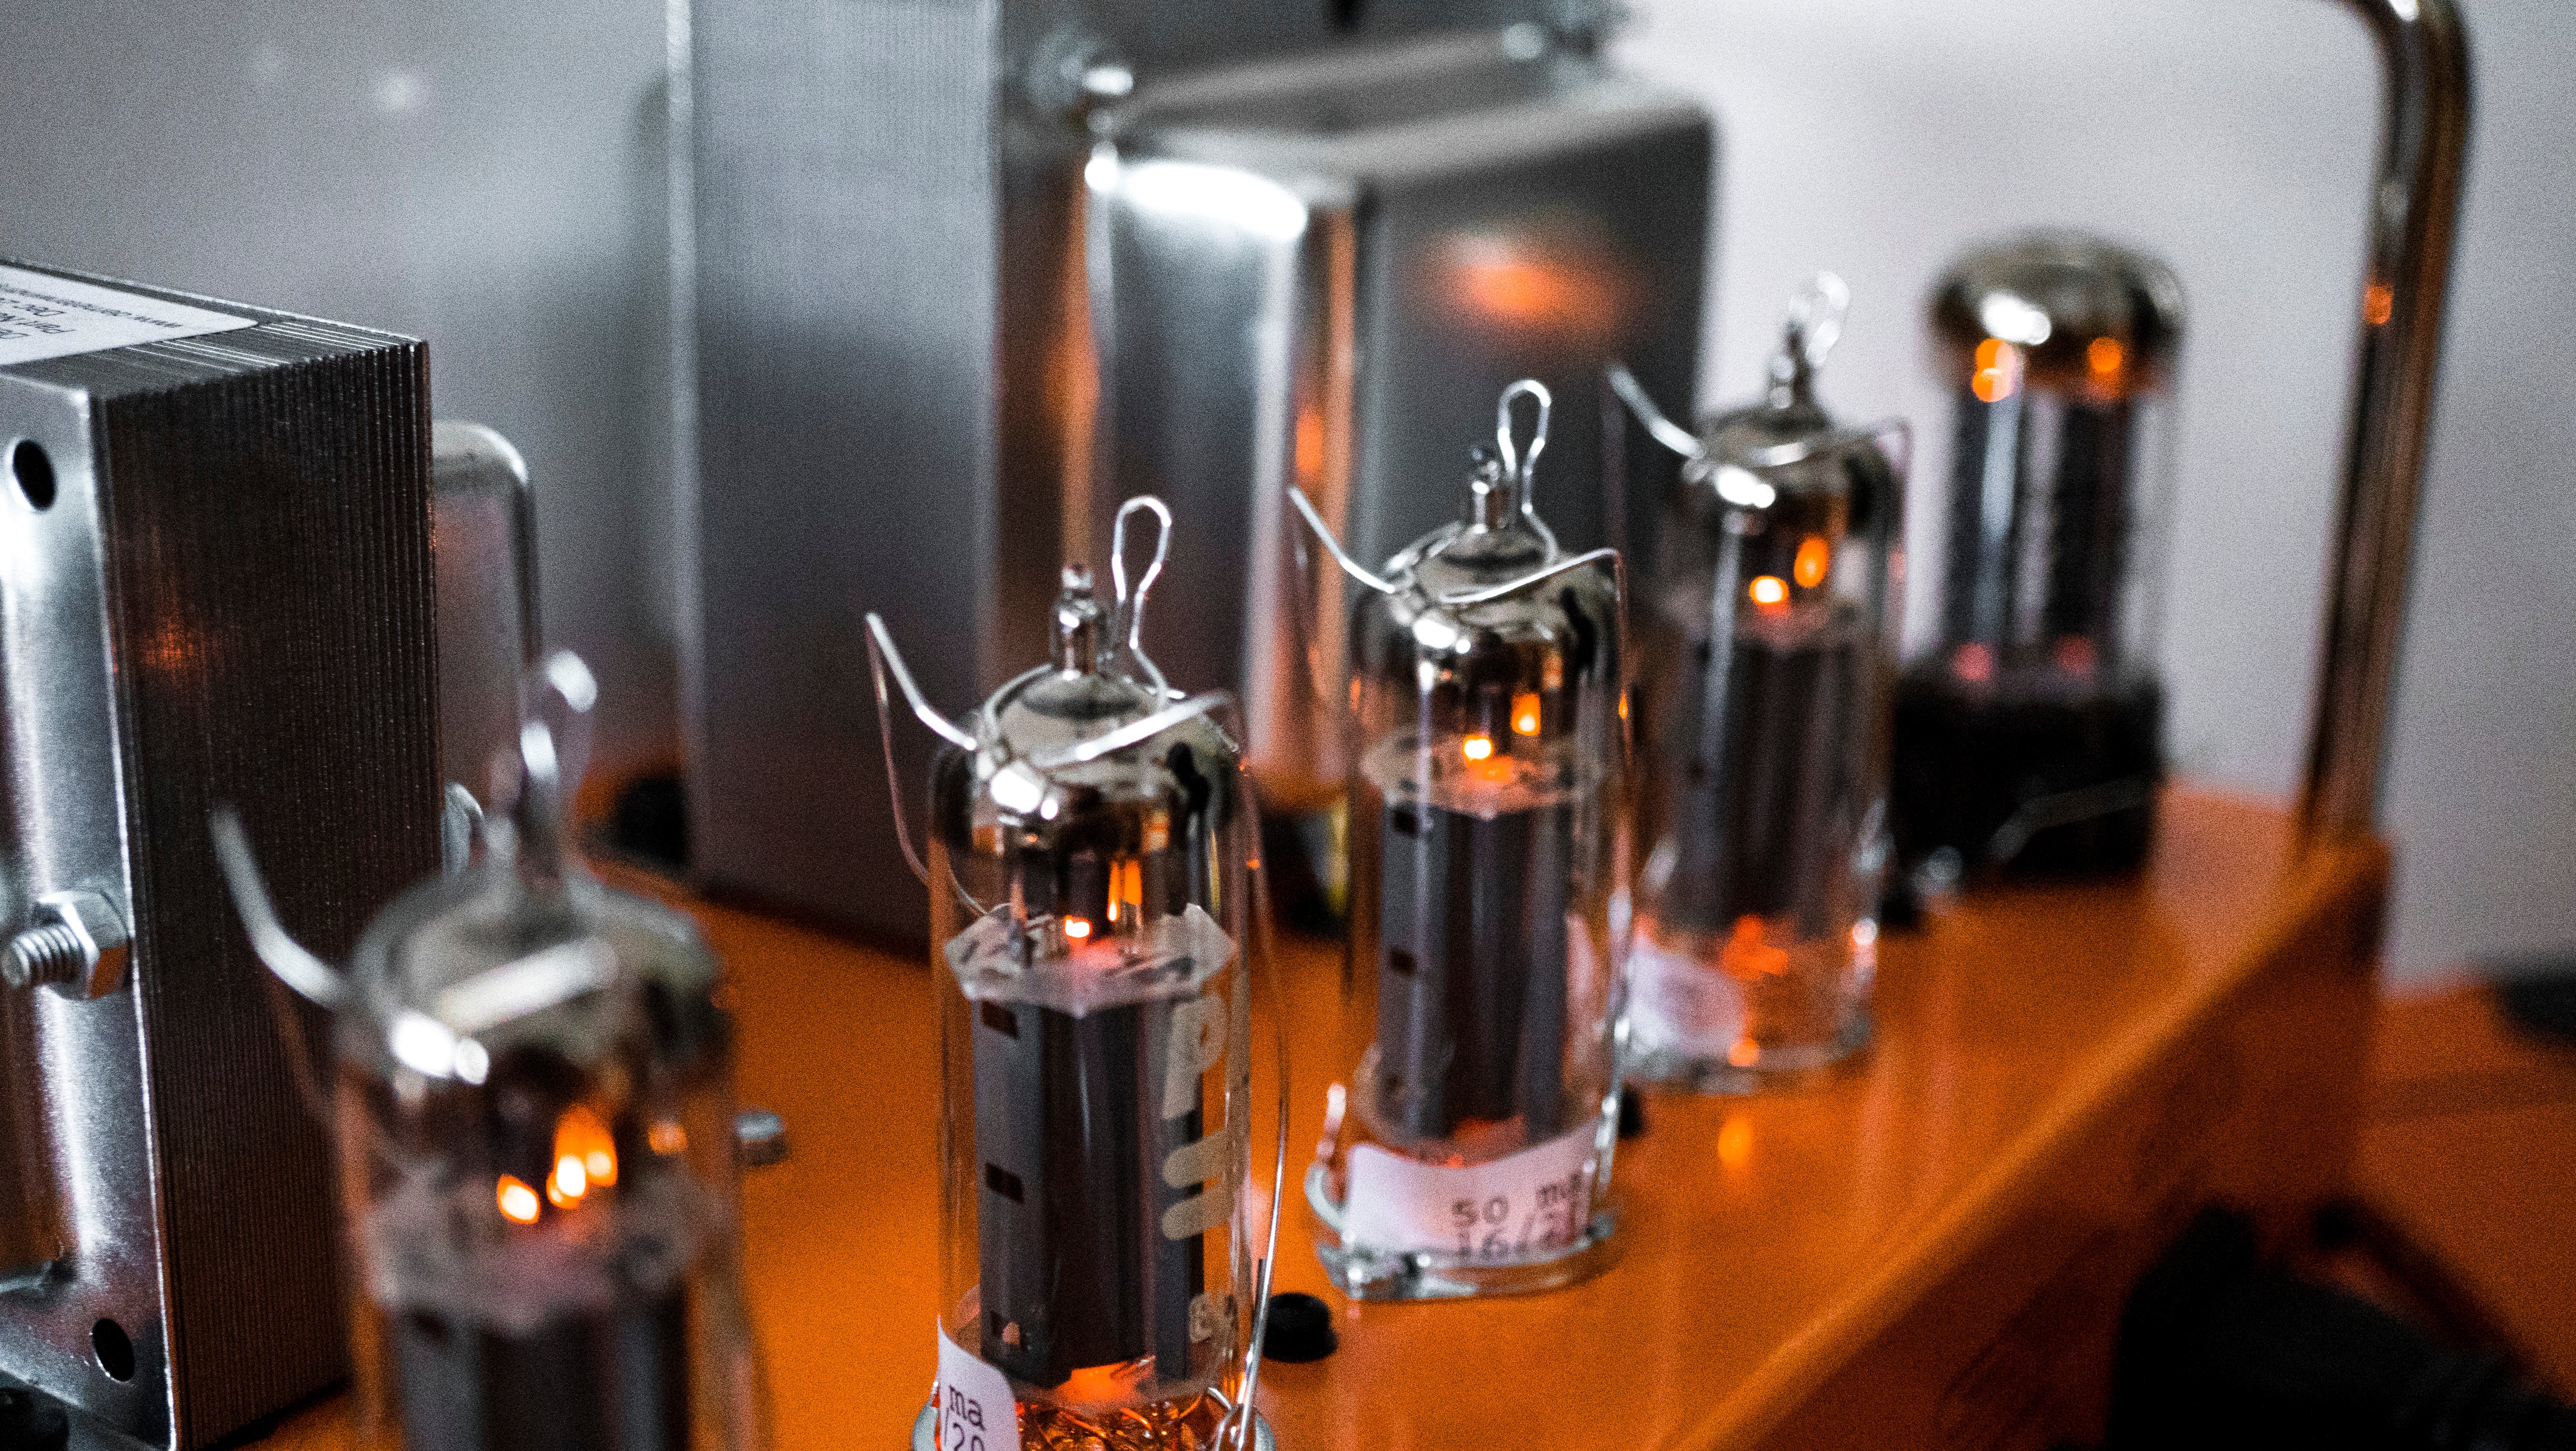
The Orange Terror Stamp condenses the power and tone of the Terror series into a single stompbox. Its all‑analogue hybrid design pairs a valve-driven front end with a solid‑state output for warm, dynamic response and reliable punch. Two footswitchable volume controls give you a full range of sounds at two different levels of loud without sacrificing your carefully crafted tone, and while the buffered effects loop preserves your pedalboard’s clarity. Rugged, tough steel, and pedalboard‑friendly, the Terror Stamp is perfect for players who want true amp tone in a stompbox format.
Couldn't load pickup availability


All‑Analogue Hybrid Design
Dual Master Volumes
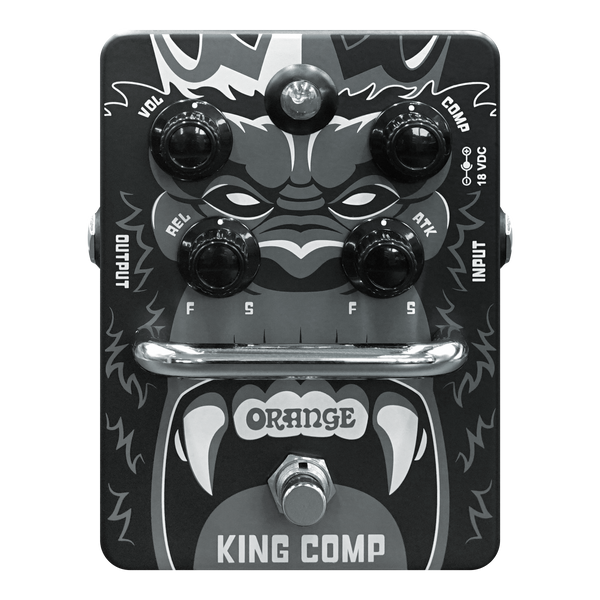
Shape and Gain Controls
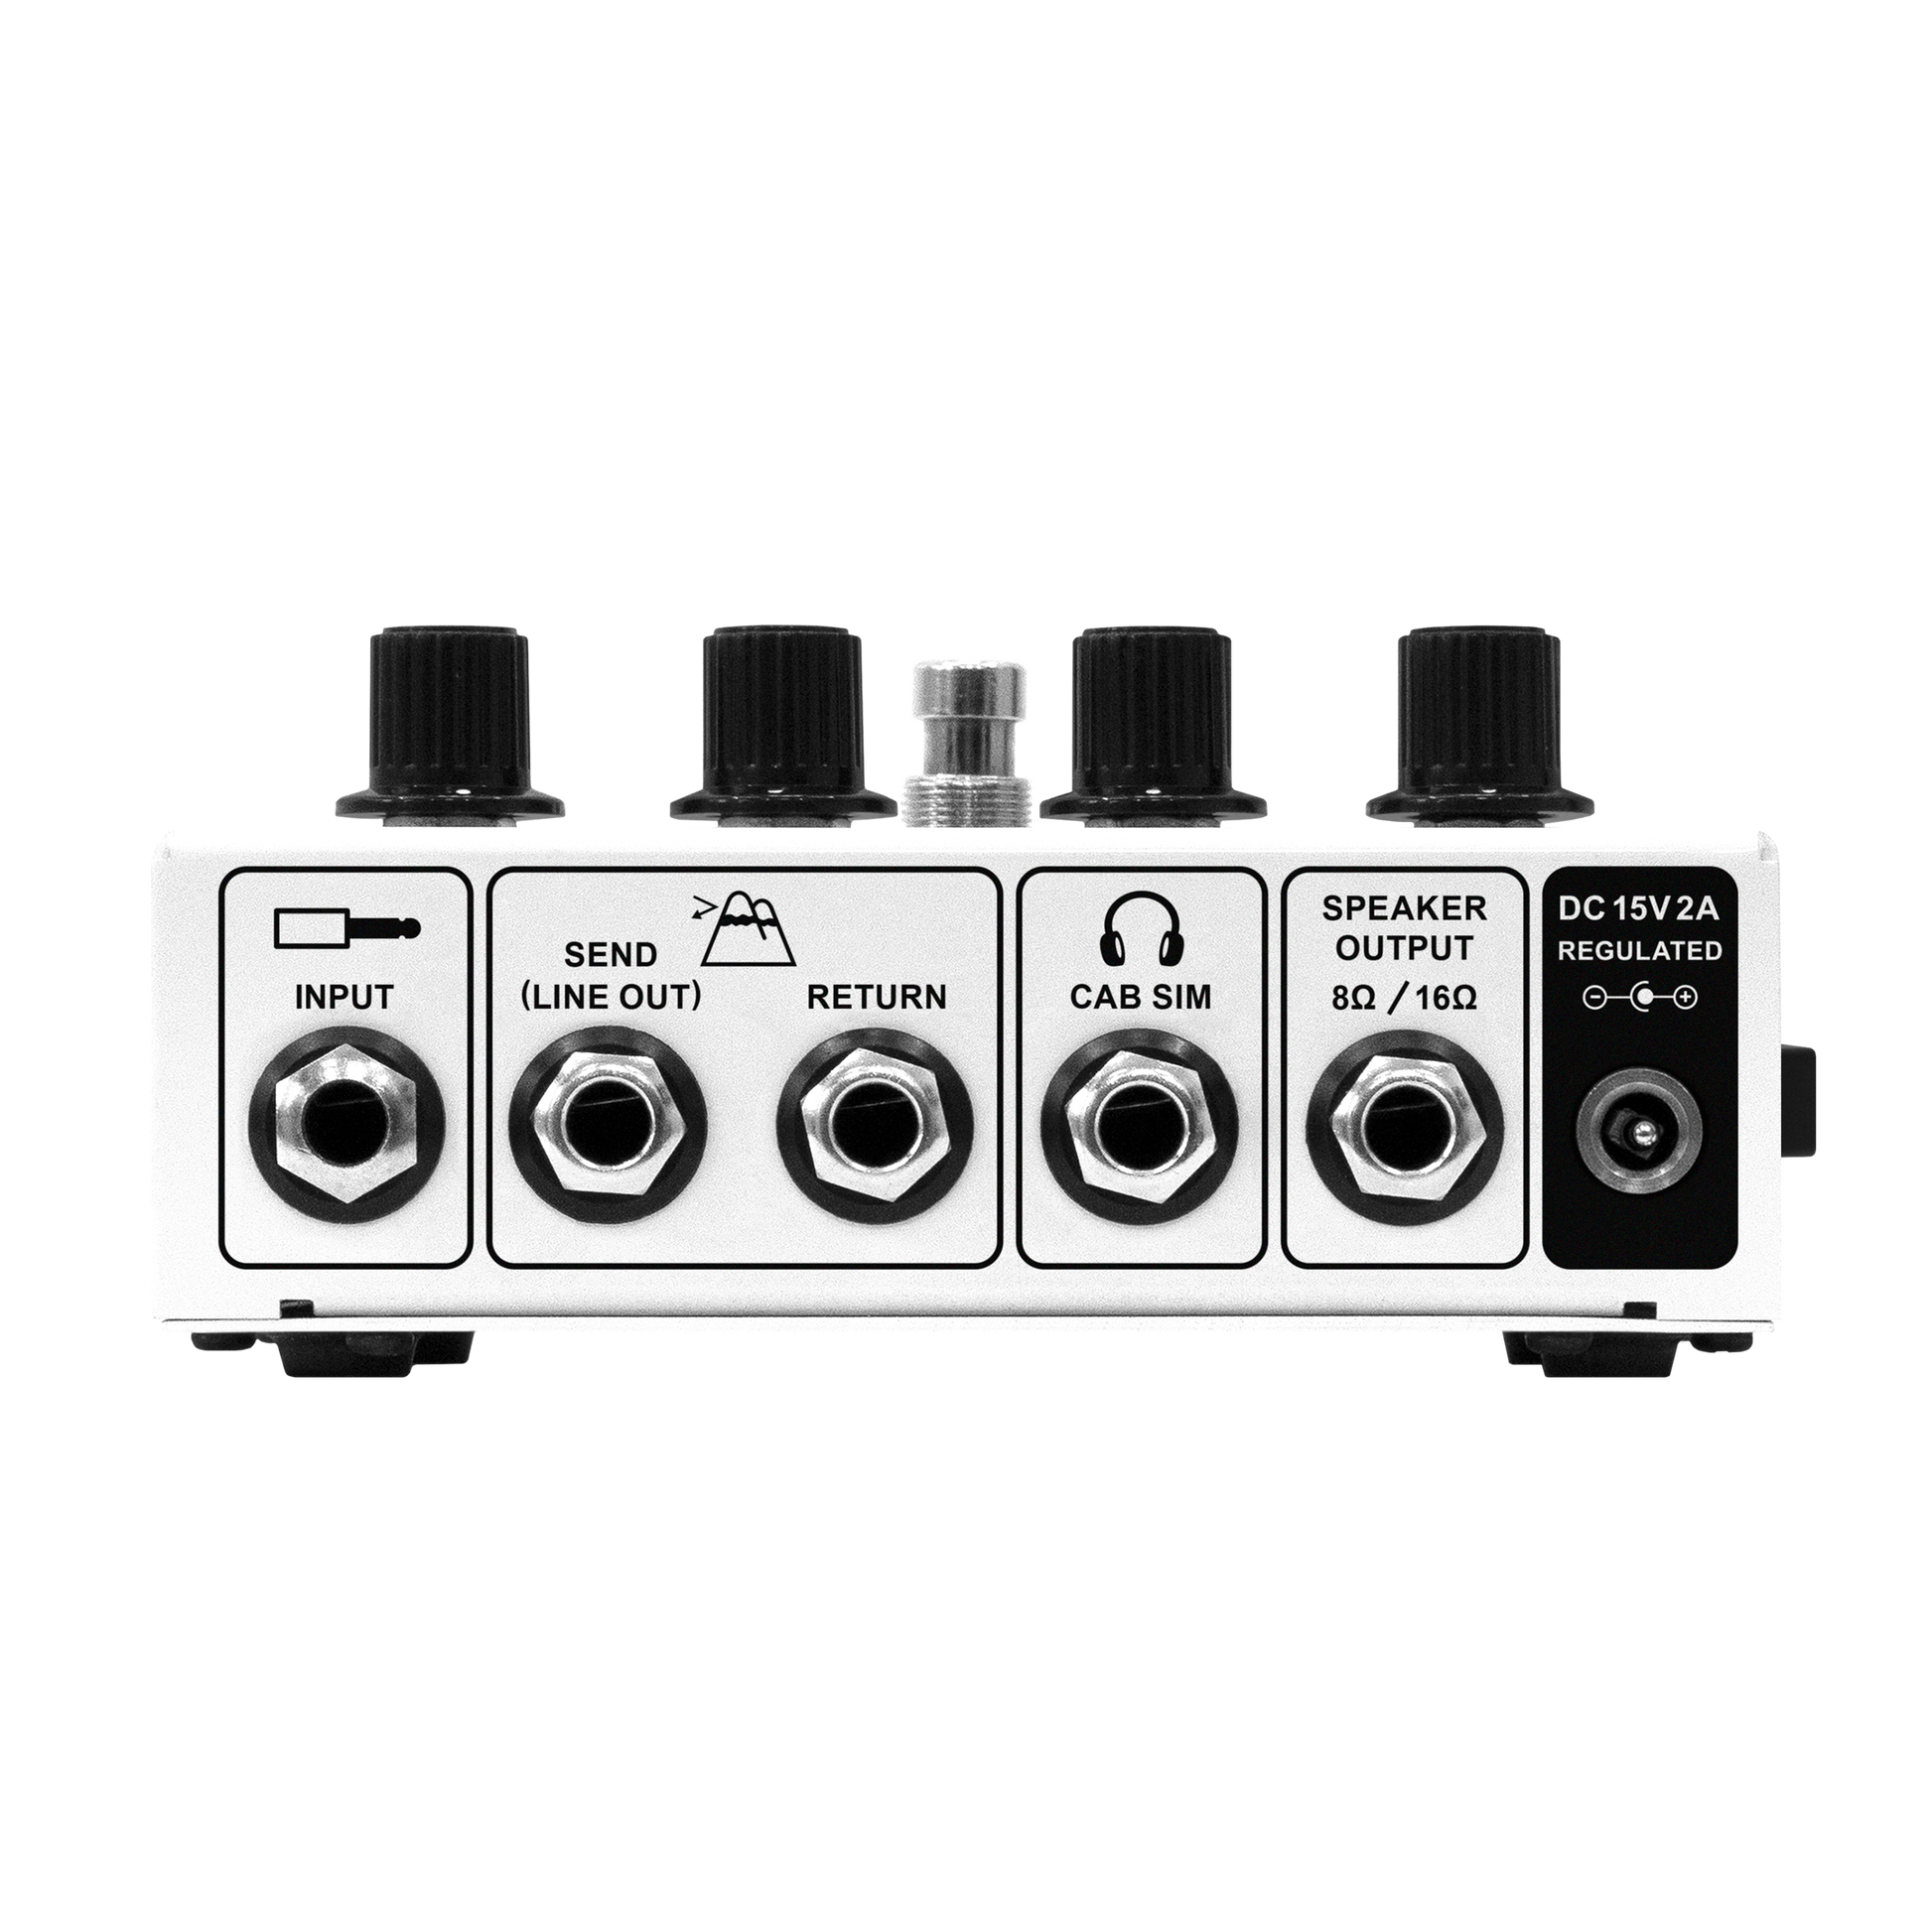
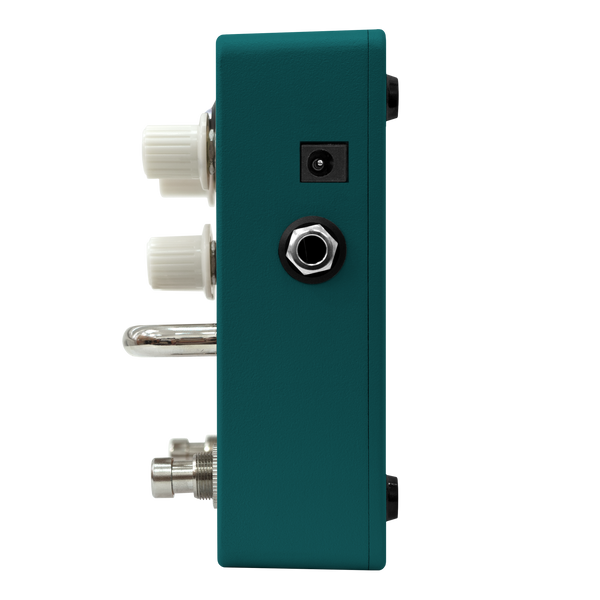
Buffered Effects Loop
Collapsible content
Full Specification
Manuals
In More Detail
Small enough to sit on your pedalboard but big enough to drive a full cab, the Terror Stamp is an amp in a box. Its analogue preamp circuit delivers the touch‑sensitive warmth you’d expect from a valve amp while the solid‑state output stage provides 20 Watts of consistent, punchy power. Volume 1 and Volume 2 act as dual master volumes for when you need to jump out of the mix for that Earth-conquering solo.
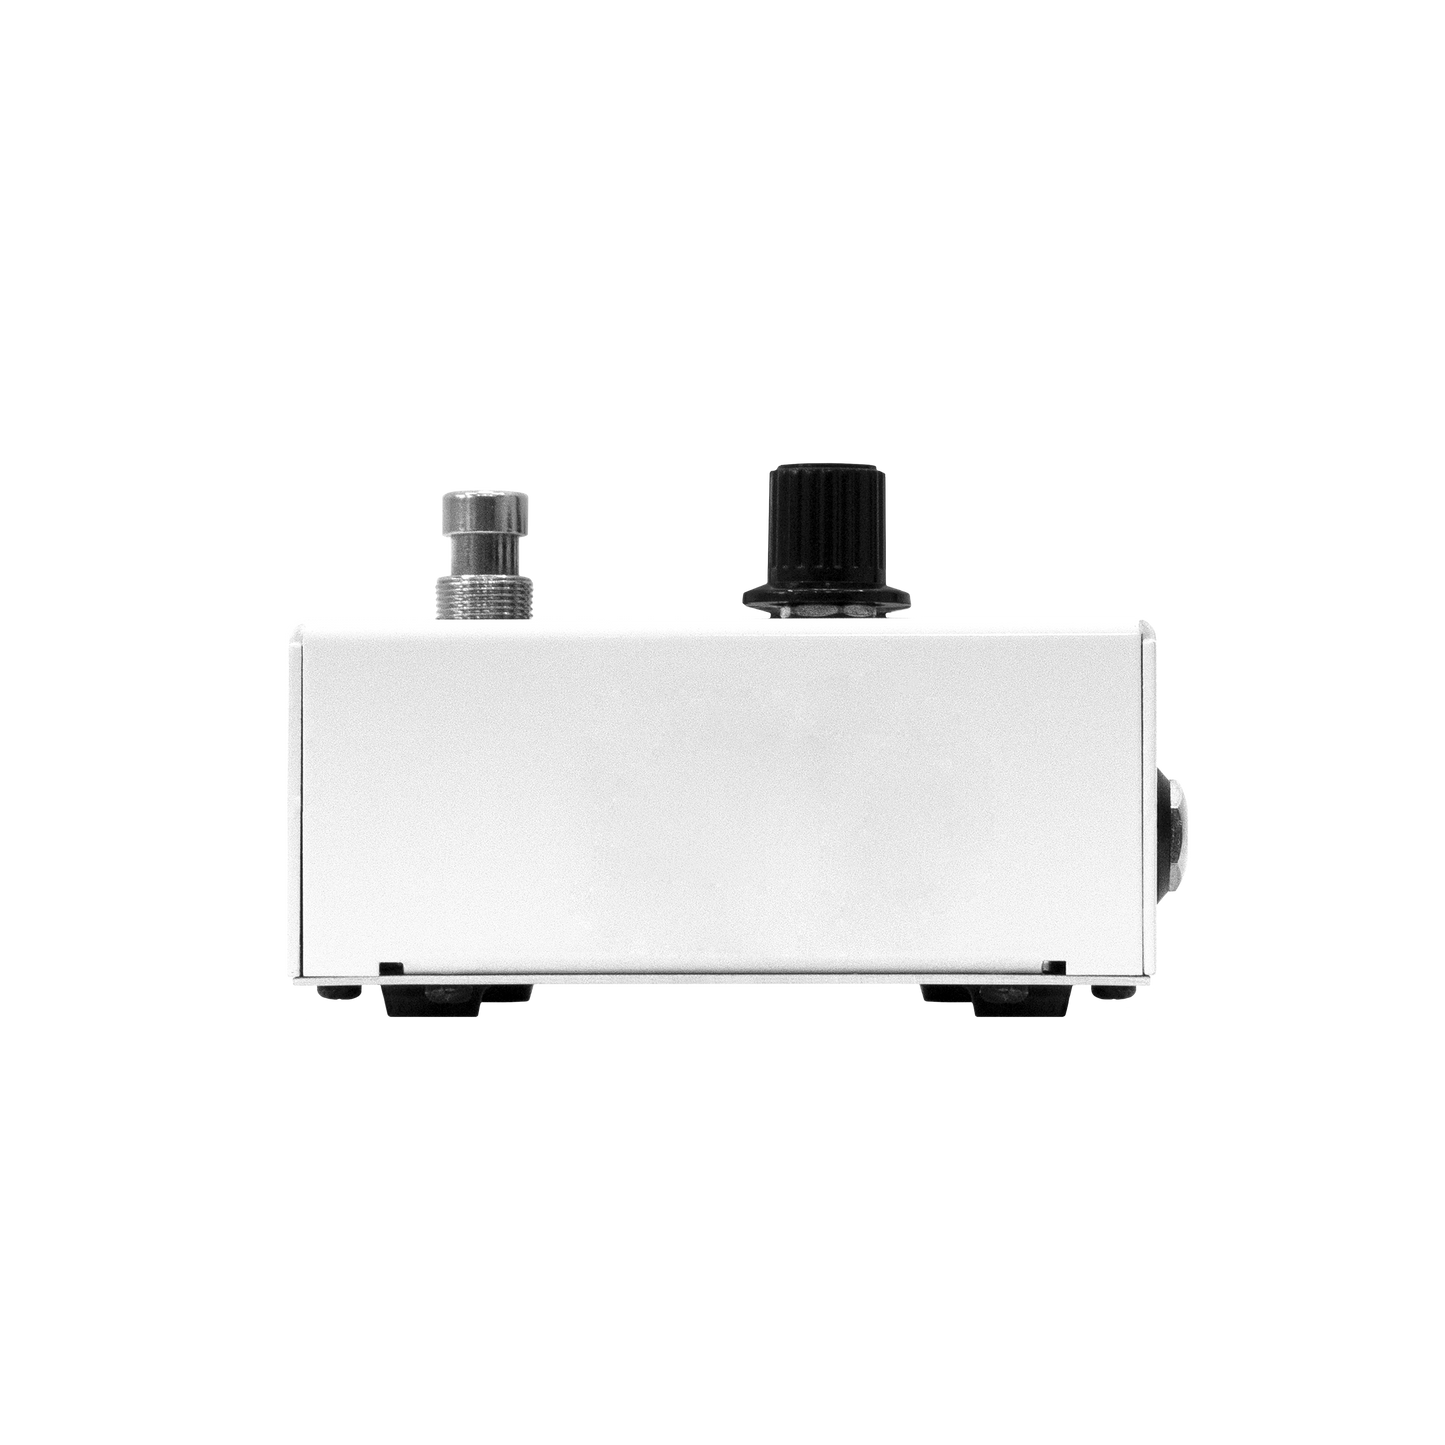
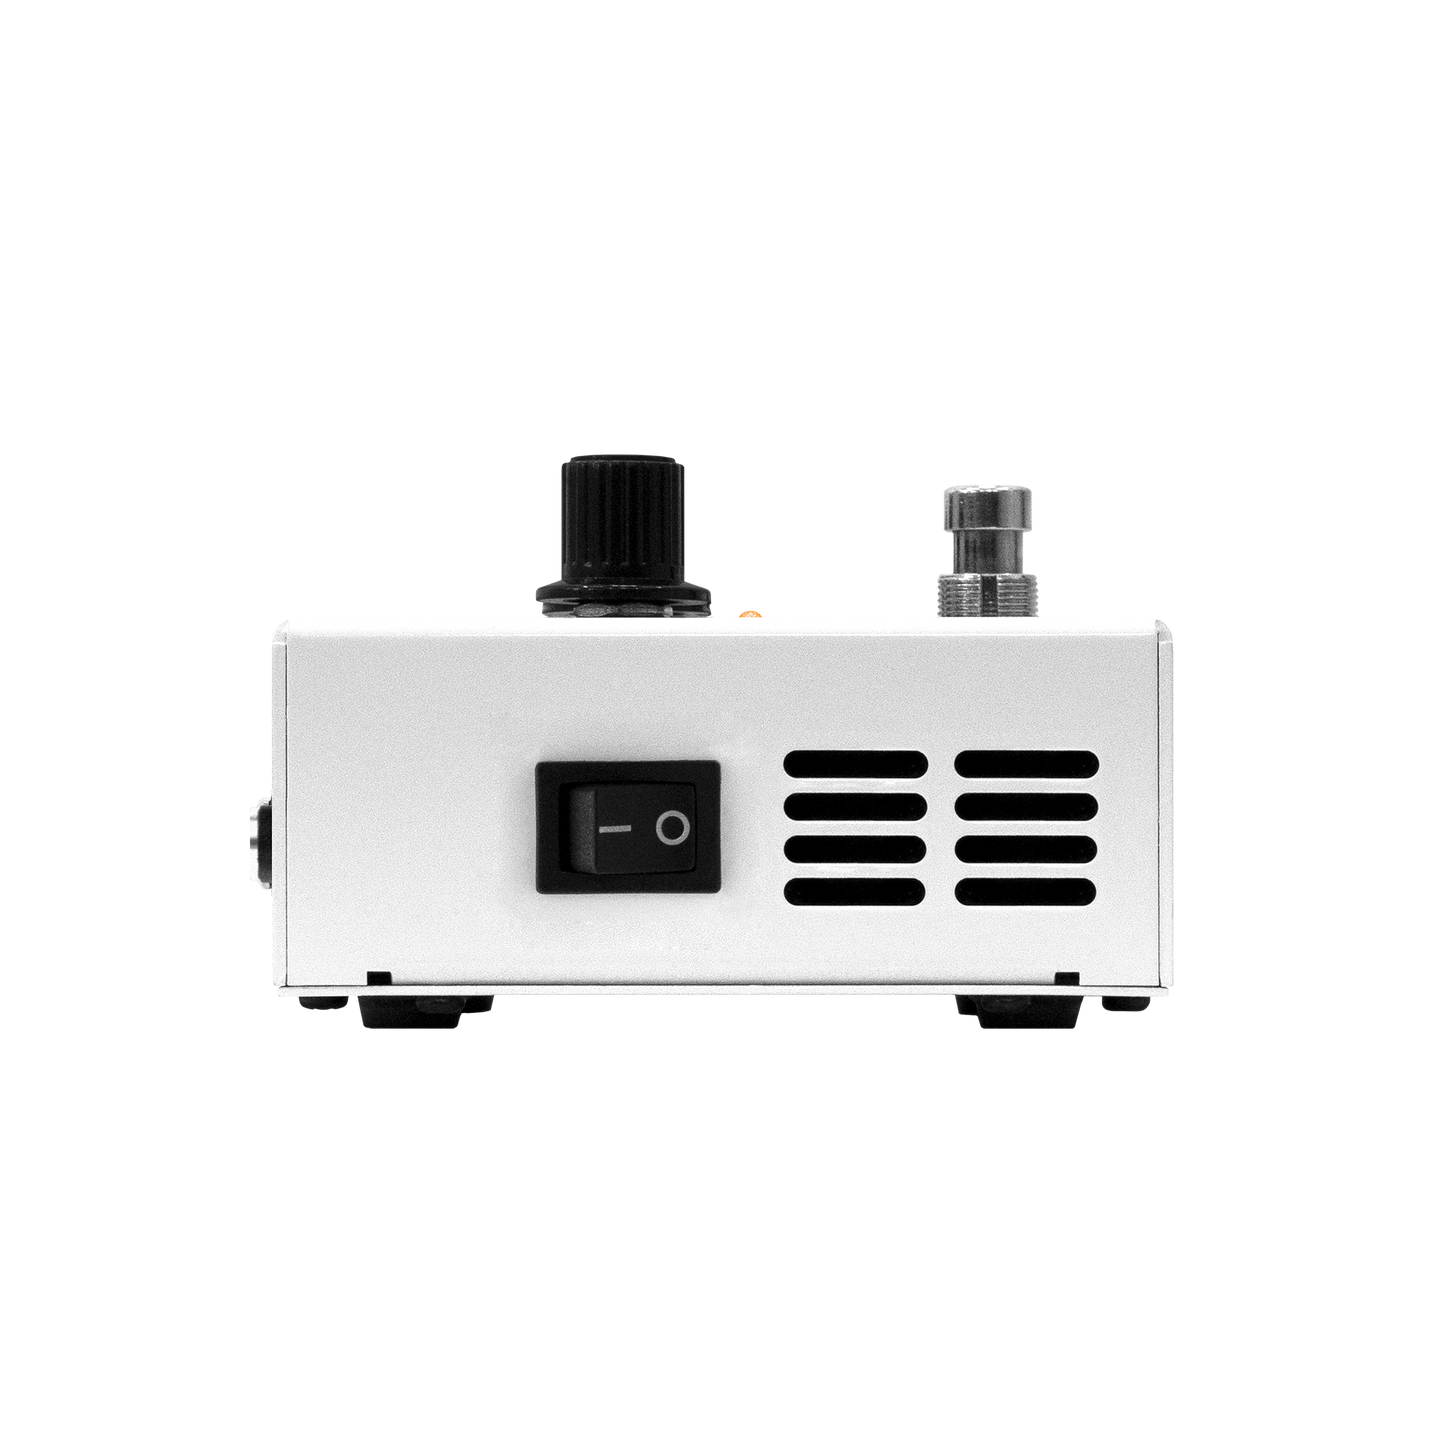
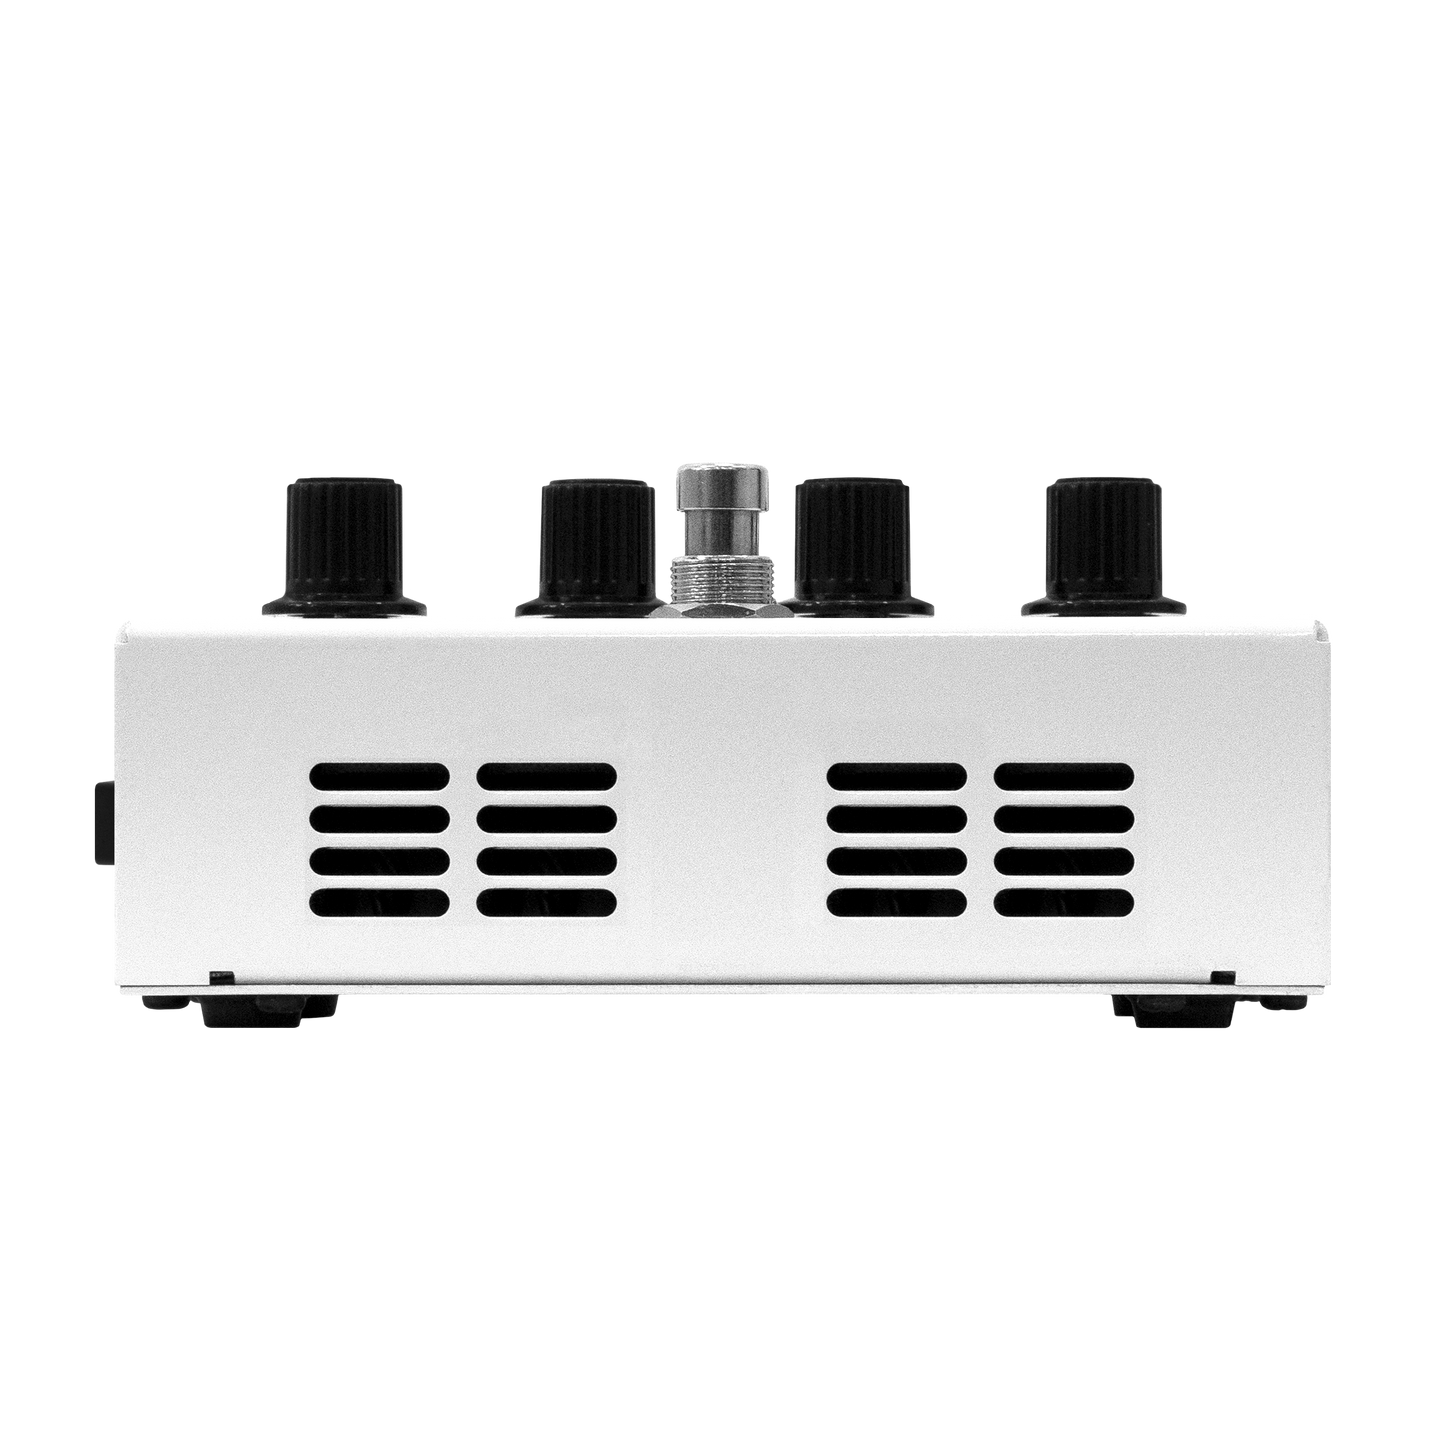
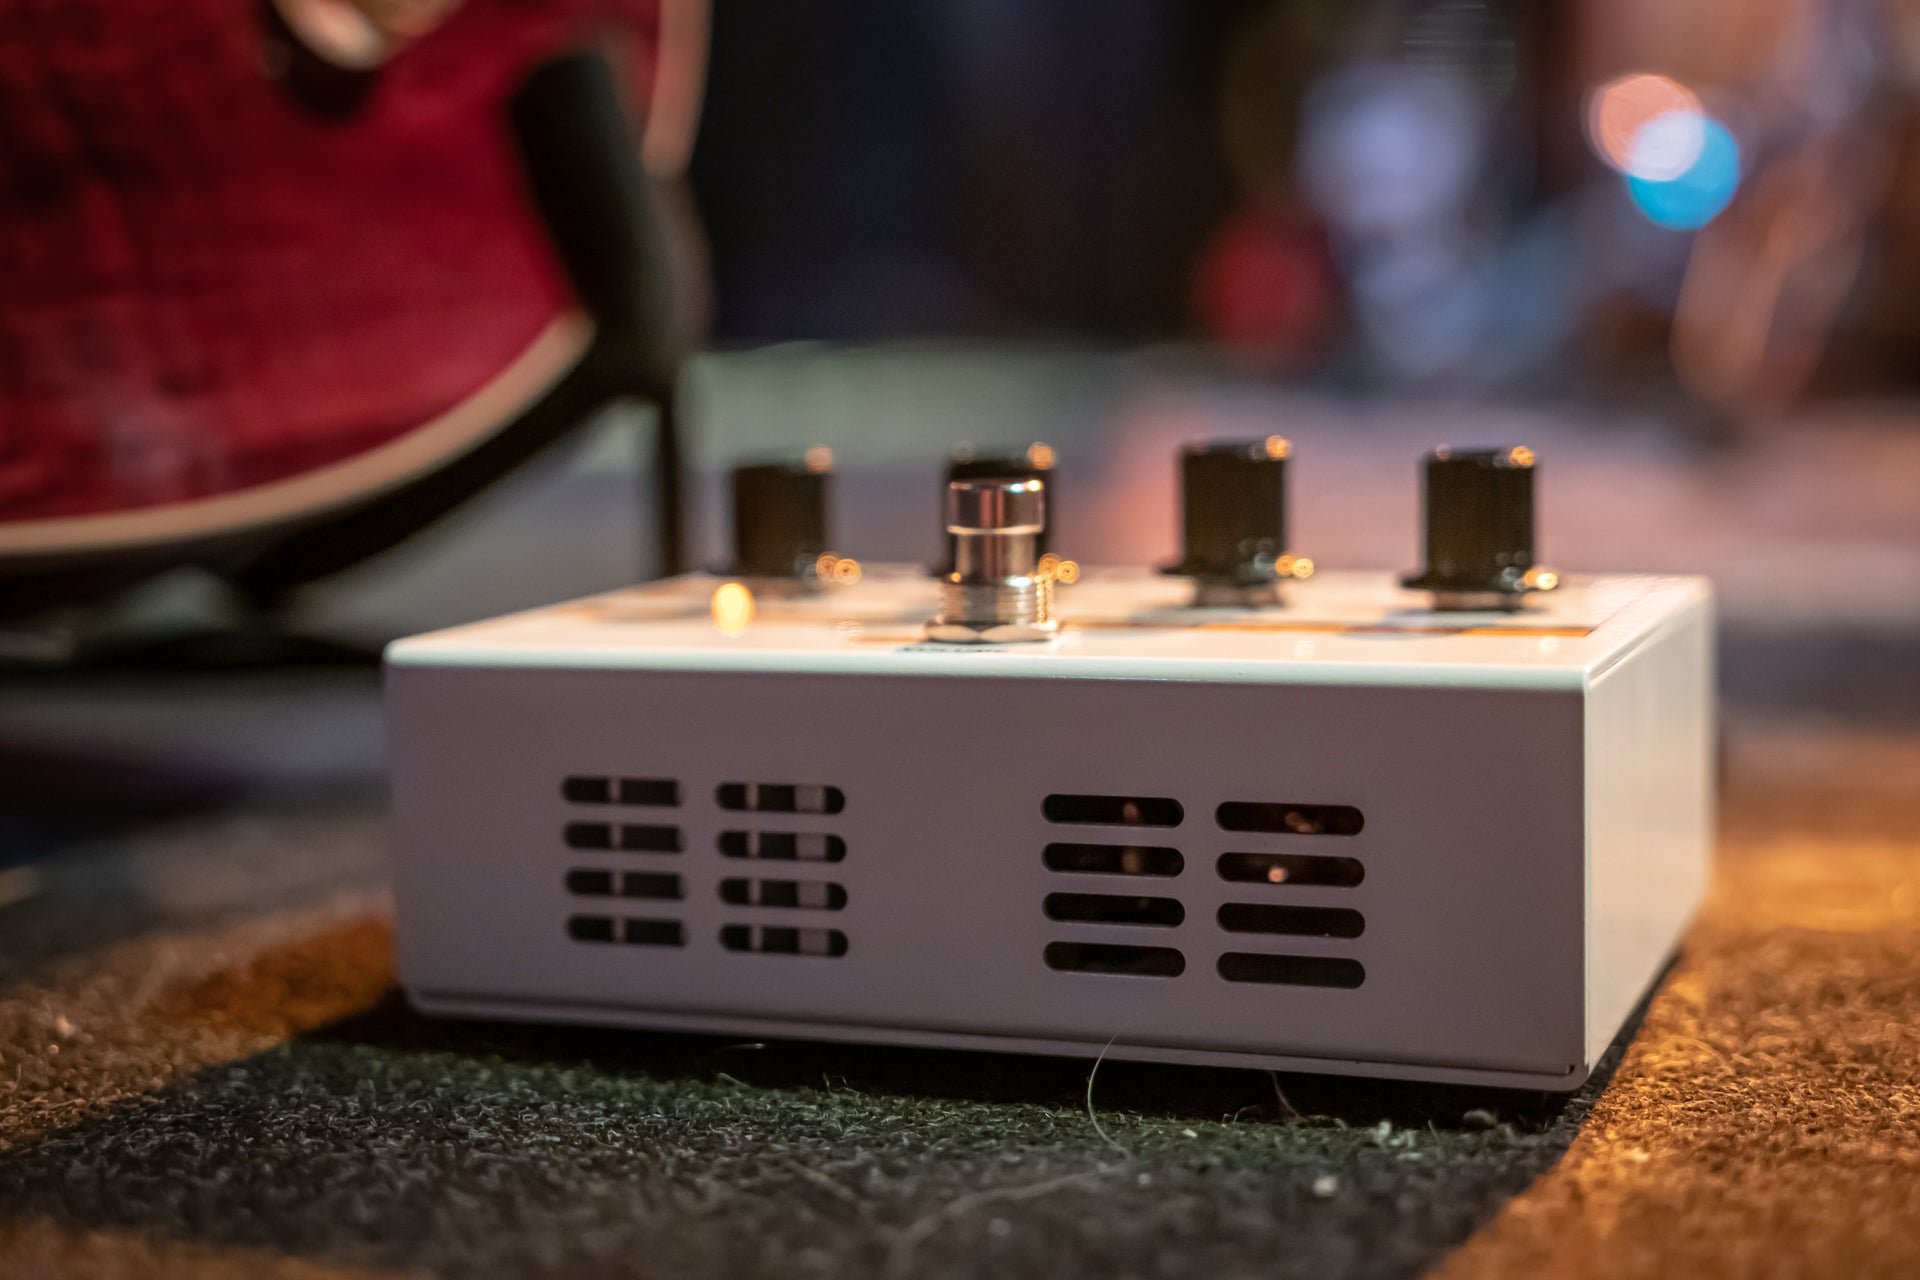
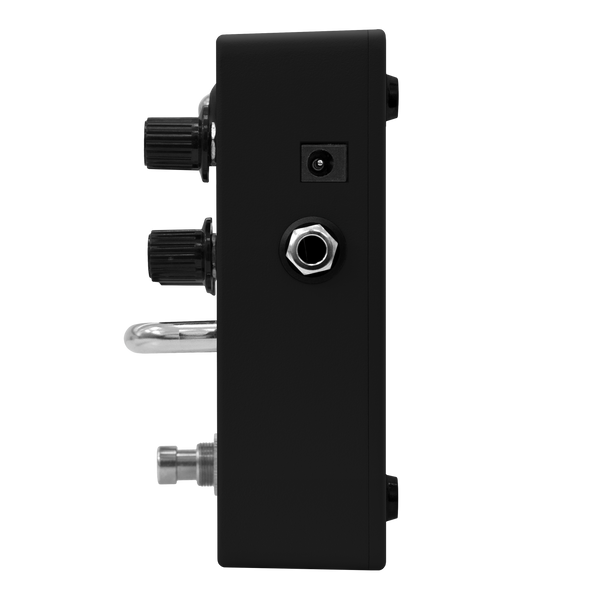
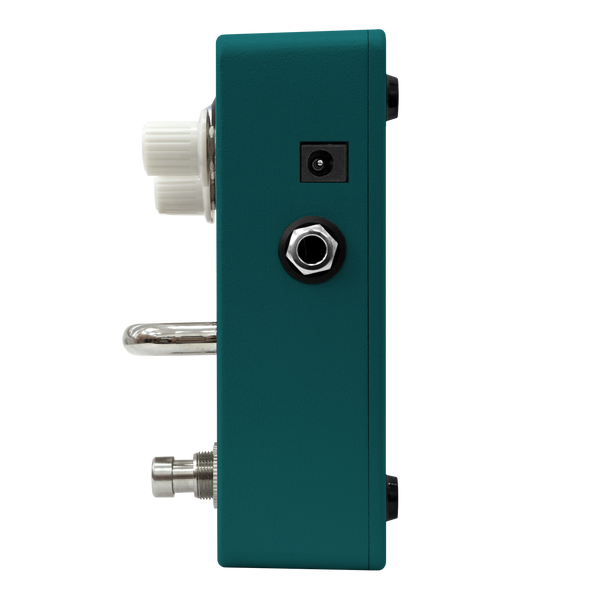
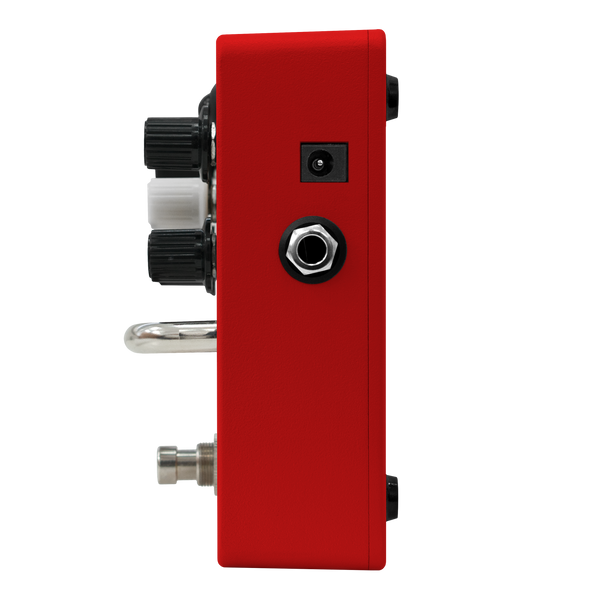
The Shape control sculpts mids, lows and highs with a single sweep, and the Gain knob adjusts the level of saturation. The buffered effects loop maintains true‑bypass pedal integrity and time‑based effects clarity, ensuring no tone loss through your chain. Built into a steel chassis with road‑worthy jacks and footswitch, the Terror Stamp is pedalboard‑ready and road‑tested.
All-analogue hybrid design
Experience a genuine amp feel in a stompbox. The Terror Stamp’s analogue preamp circuit delivers authentic warmth and harmonic richness without modeling, while its solid‑state output stage provides reliable power and consistency on any cab. It’s an uncompromising tube‑style tone engine in pedal form.
Switchable master volume
Two independent volume controls let you dial in your ideal amp saturation with a choice of output levels. Whether you’re practising at home or powering a gig, simply hit the footswitch to access a boost without touching your amp settings.
Buffered effects loop
Keep your pedals sounding their best. The Terror Stamp’s buffered loop preserves pedal dynamics and tone, ensuring your delays and reverbs stay clear and lush even through long signal chains.
Listen Yourself


Built to Perform
Tour-tough, gig-ready and made with premium components, all Orange equipment is built for a lifetime on the road or in the studio.
Iconic British Tone
From classic crunch to modern pristine chime, the unmistakable Orange sound is rich, responsive and full of character.

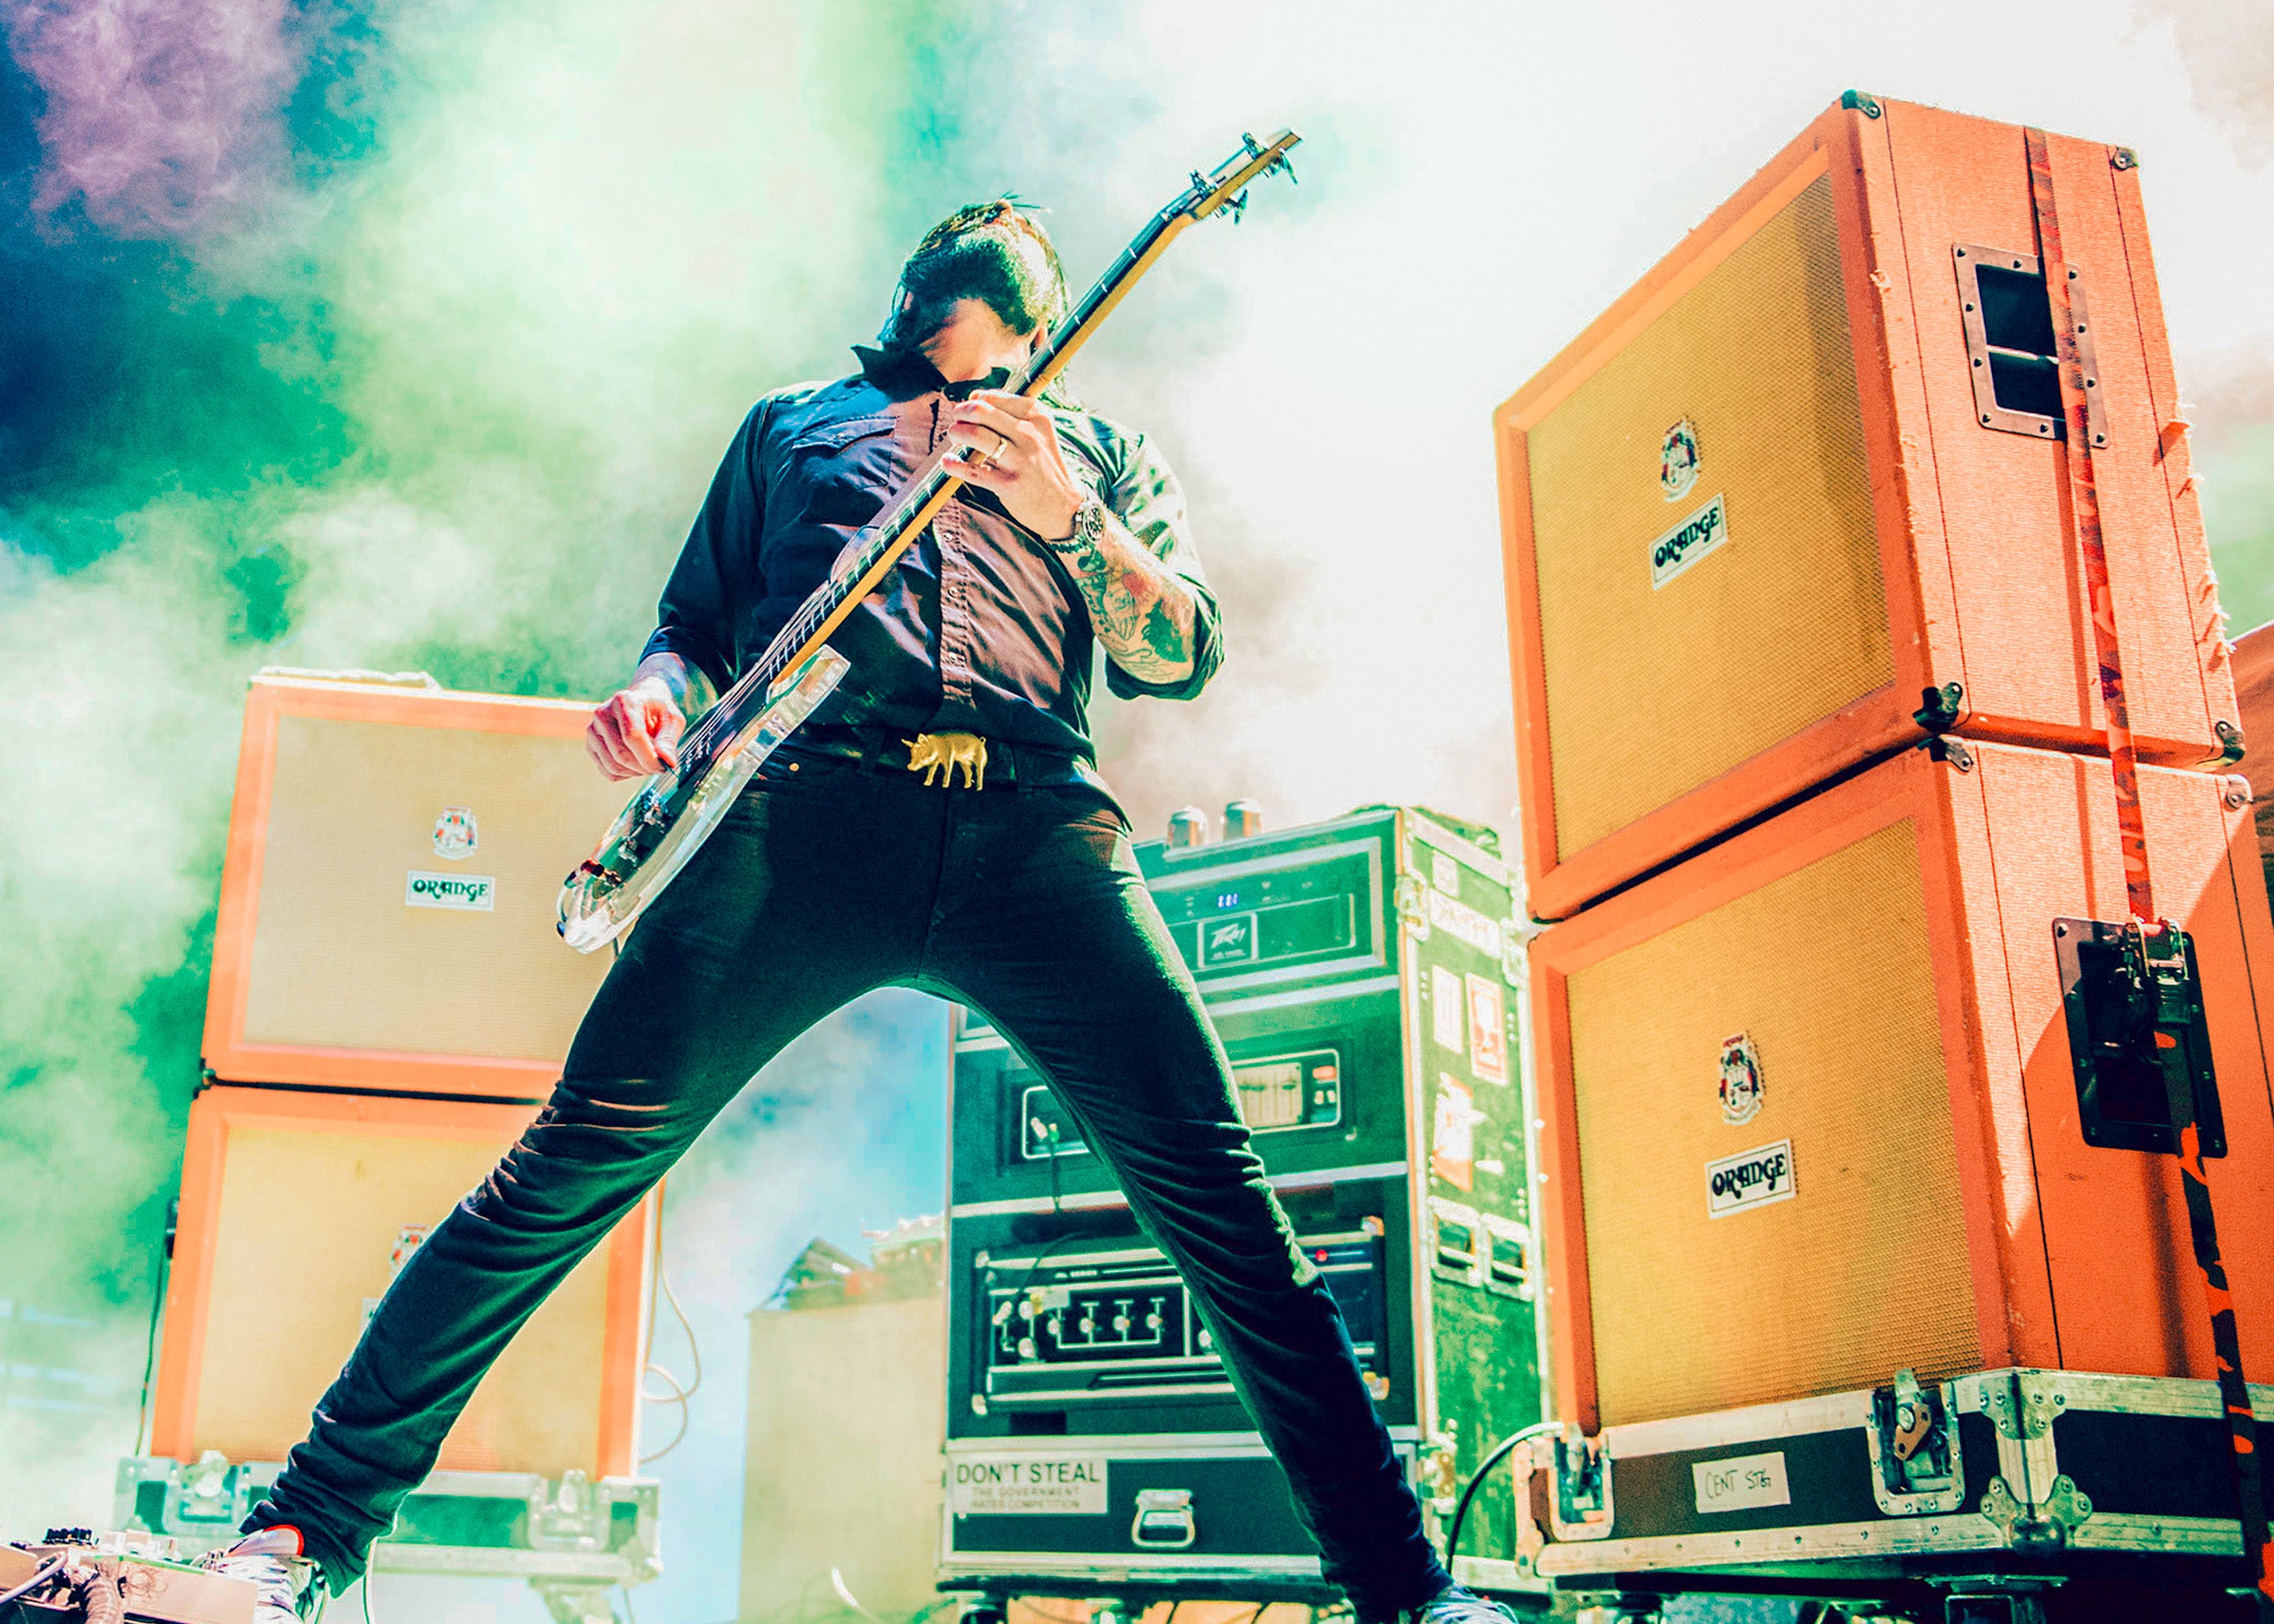
Instantly Recognisable
Our bold design, including the classic pics-only controls and signature orange tolex finish, have made us a stage and studio icon for half a century.