


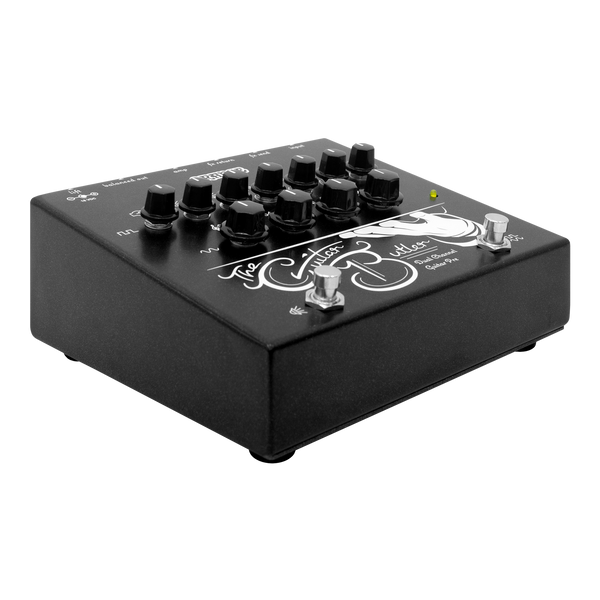
Bass Butler
Bass Butler
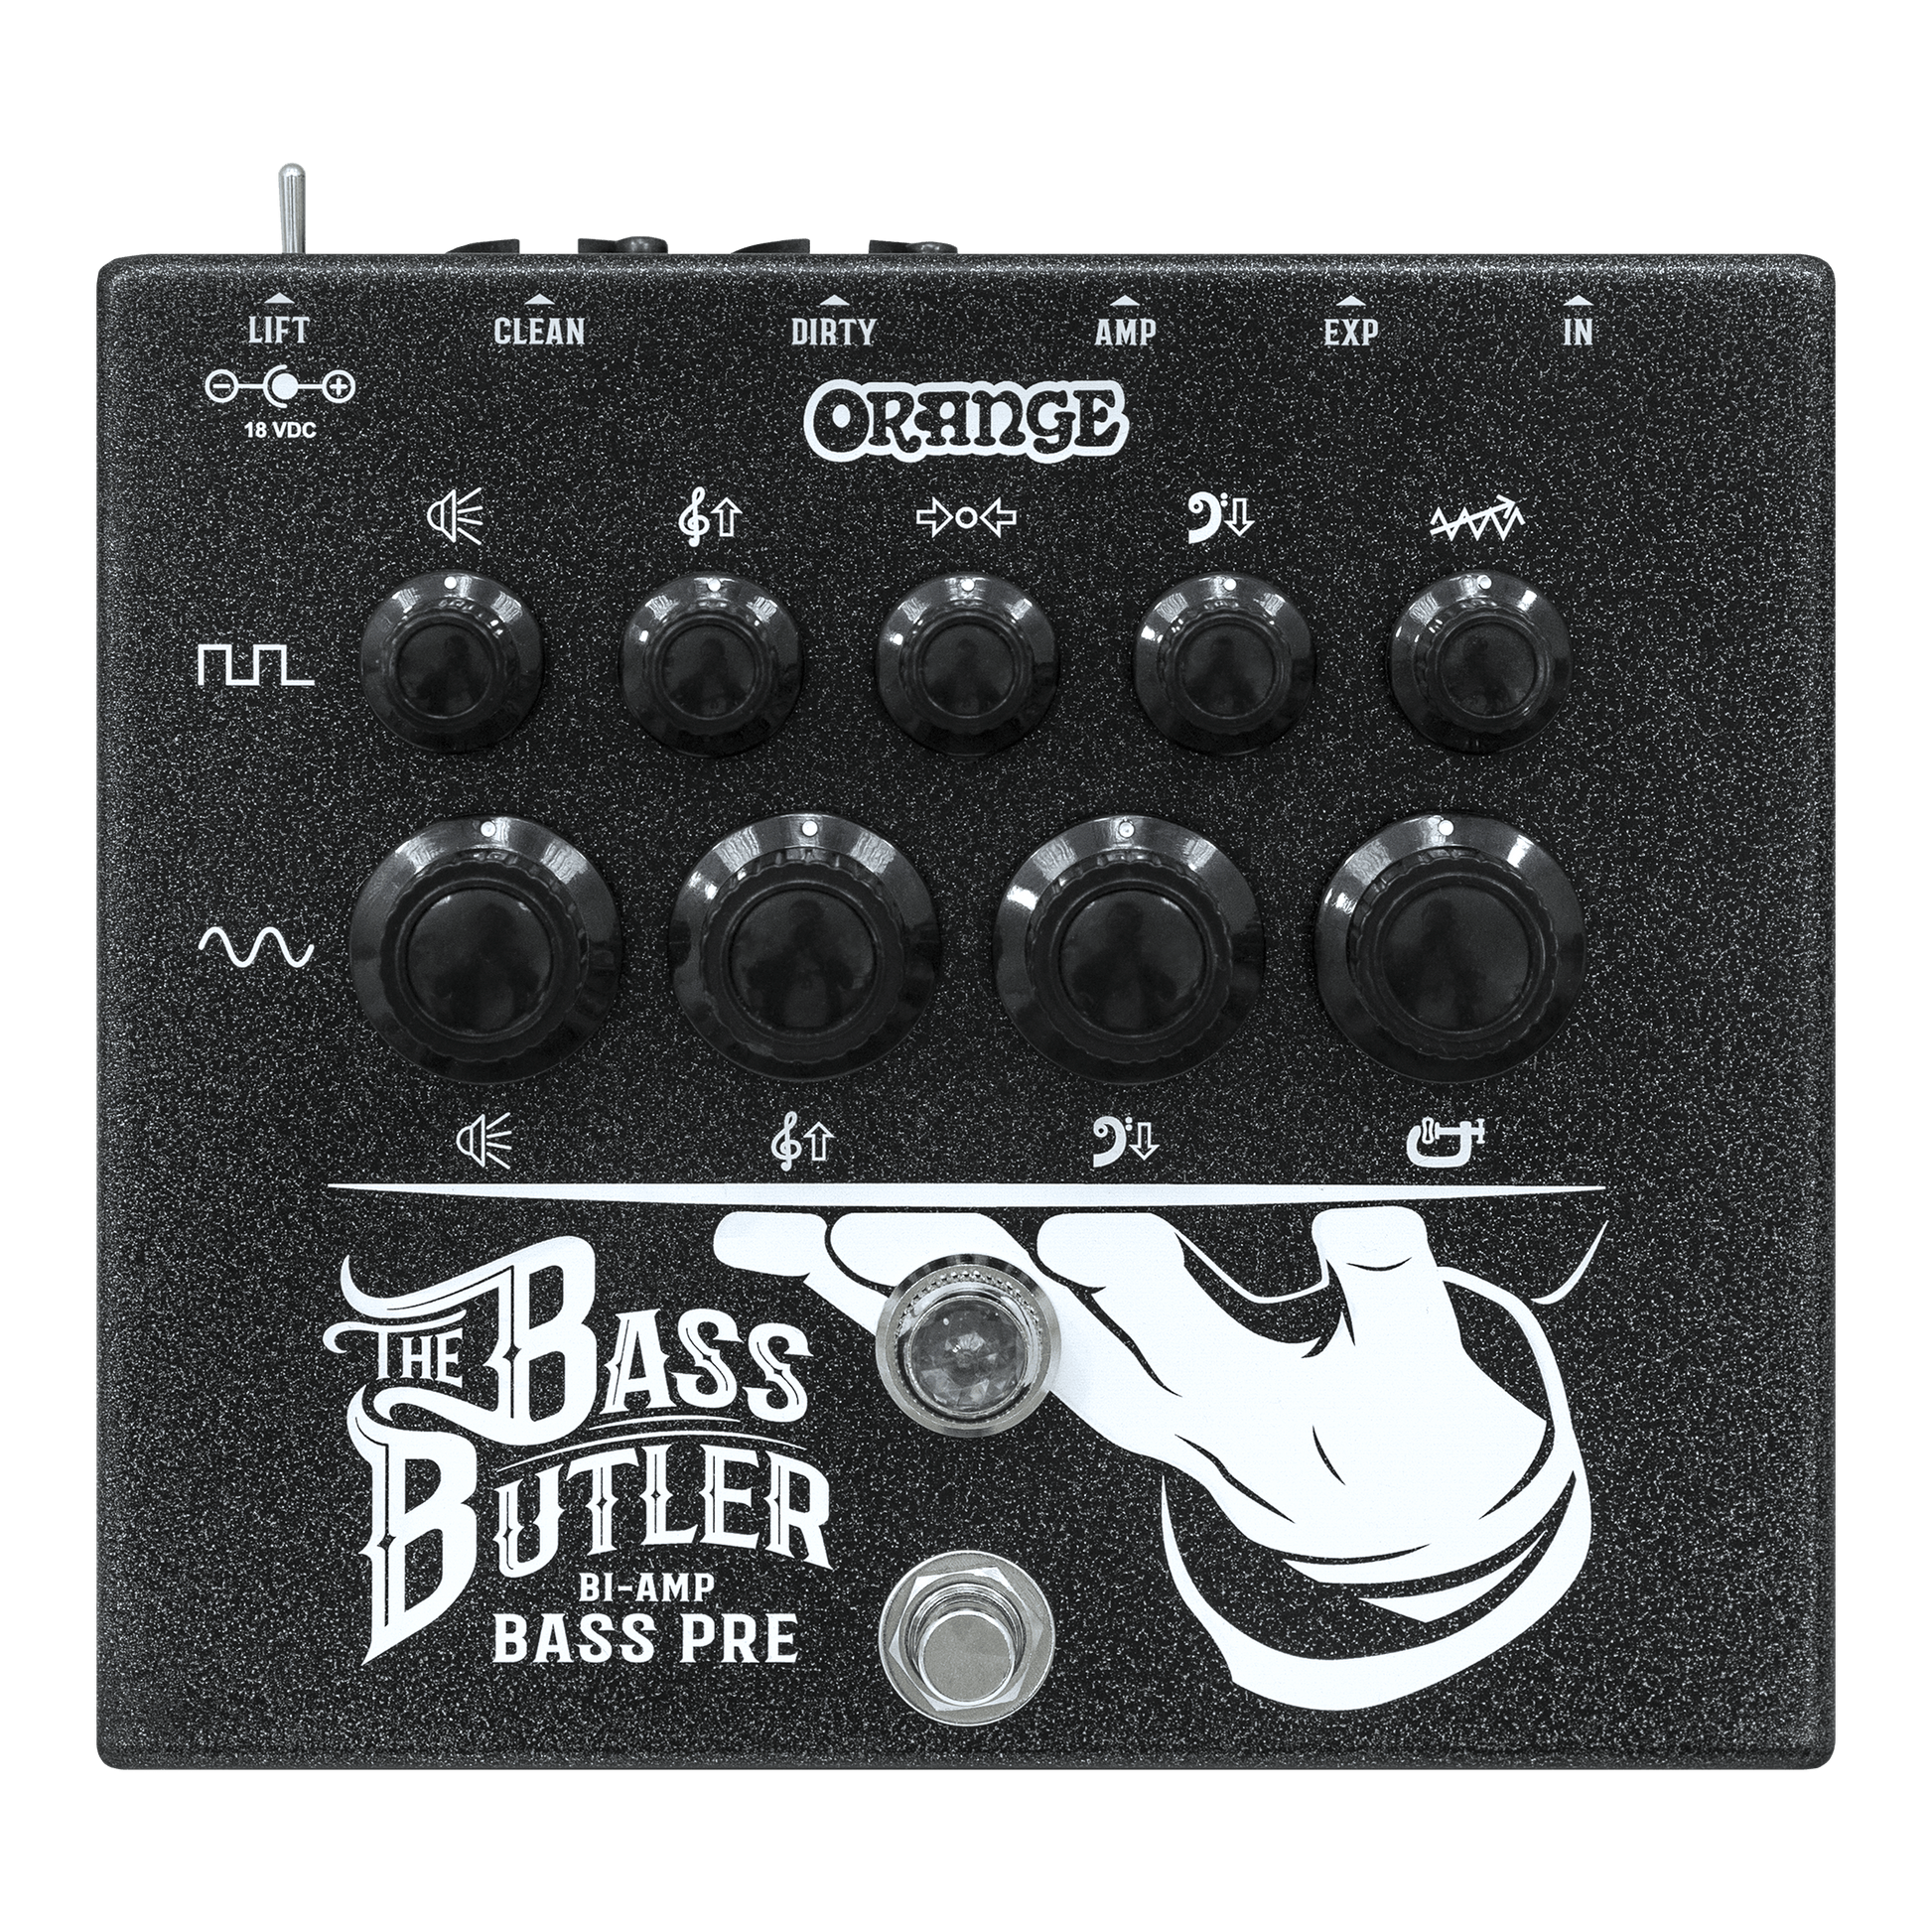
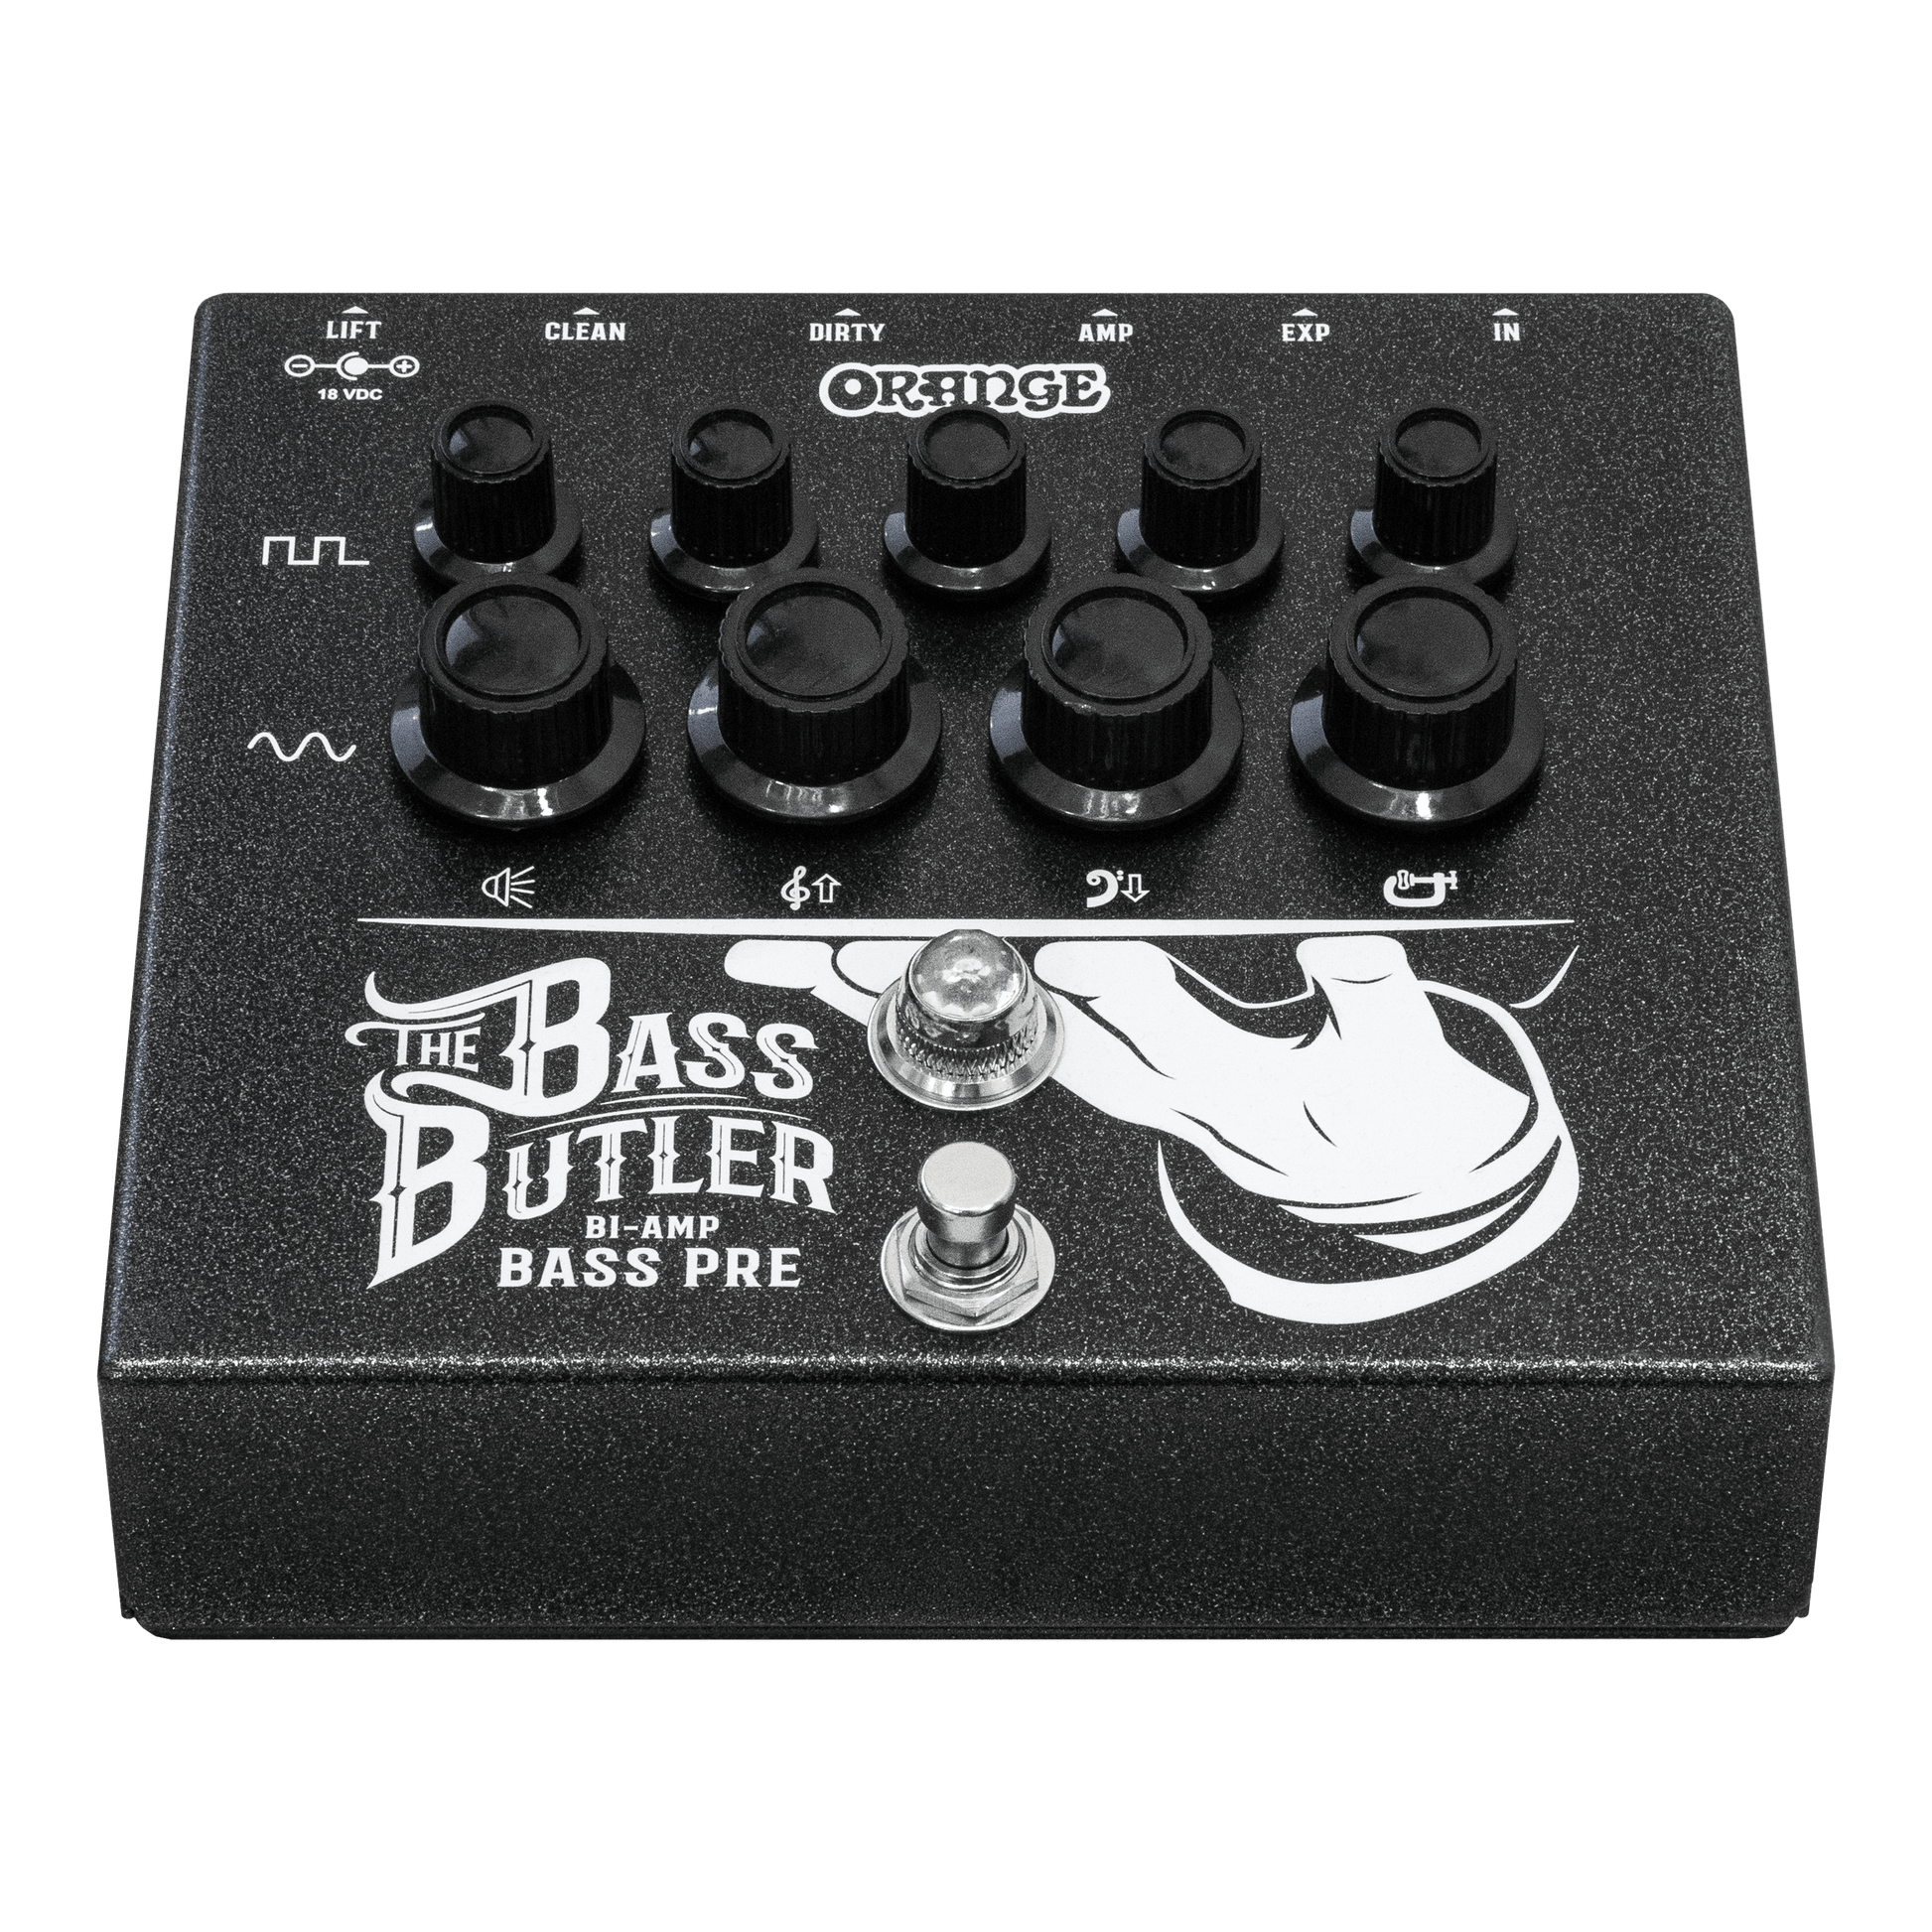
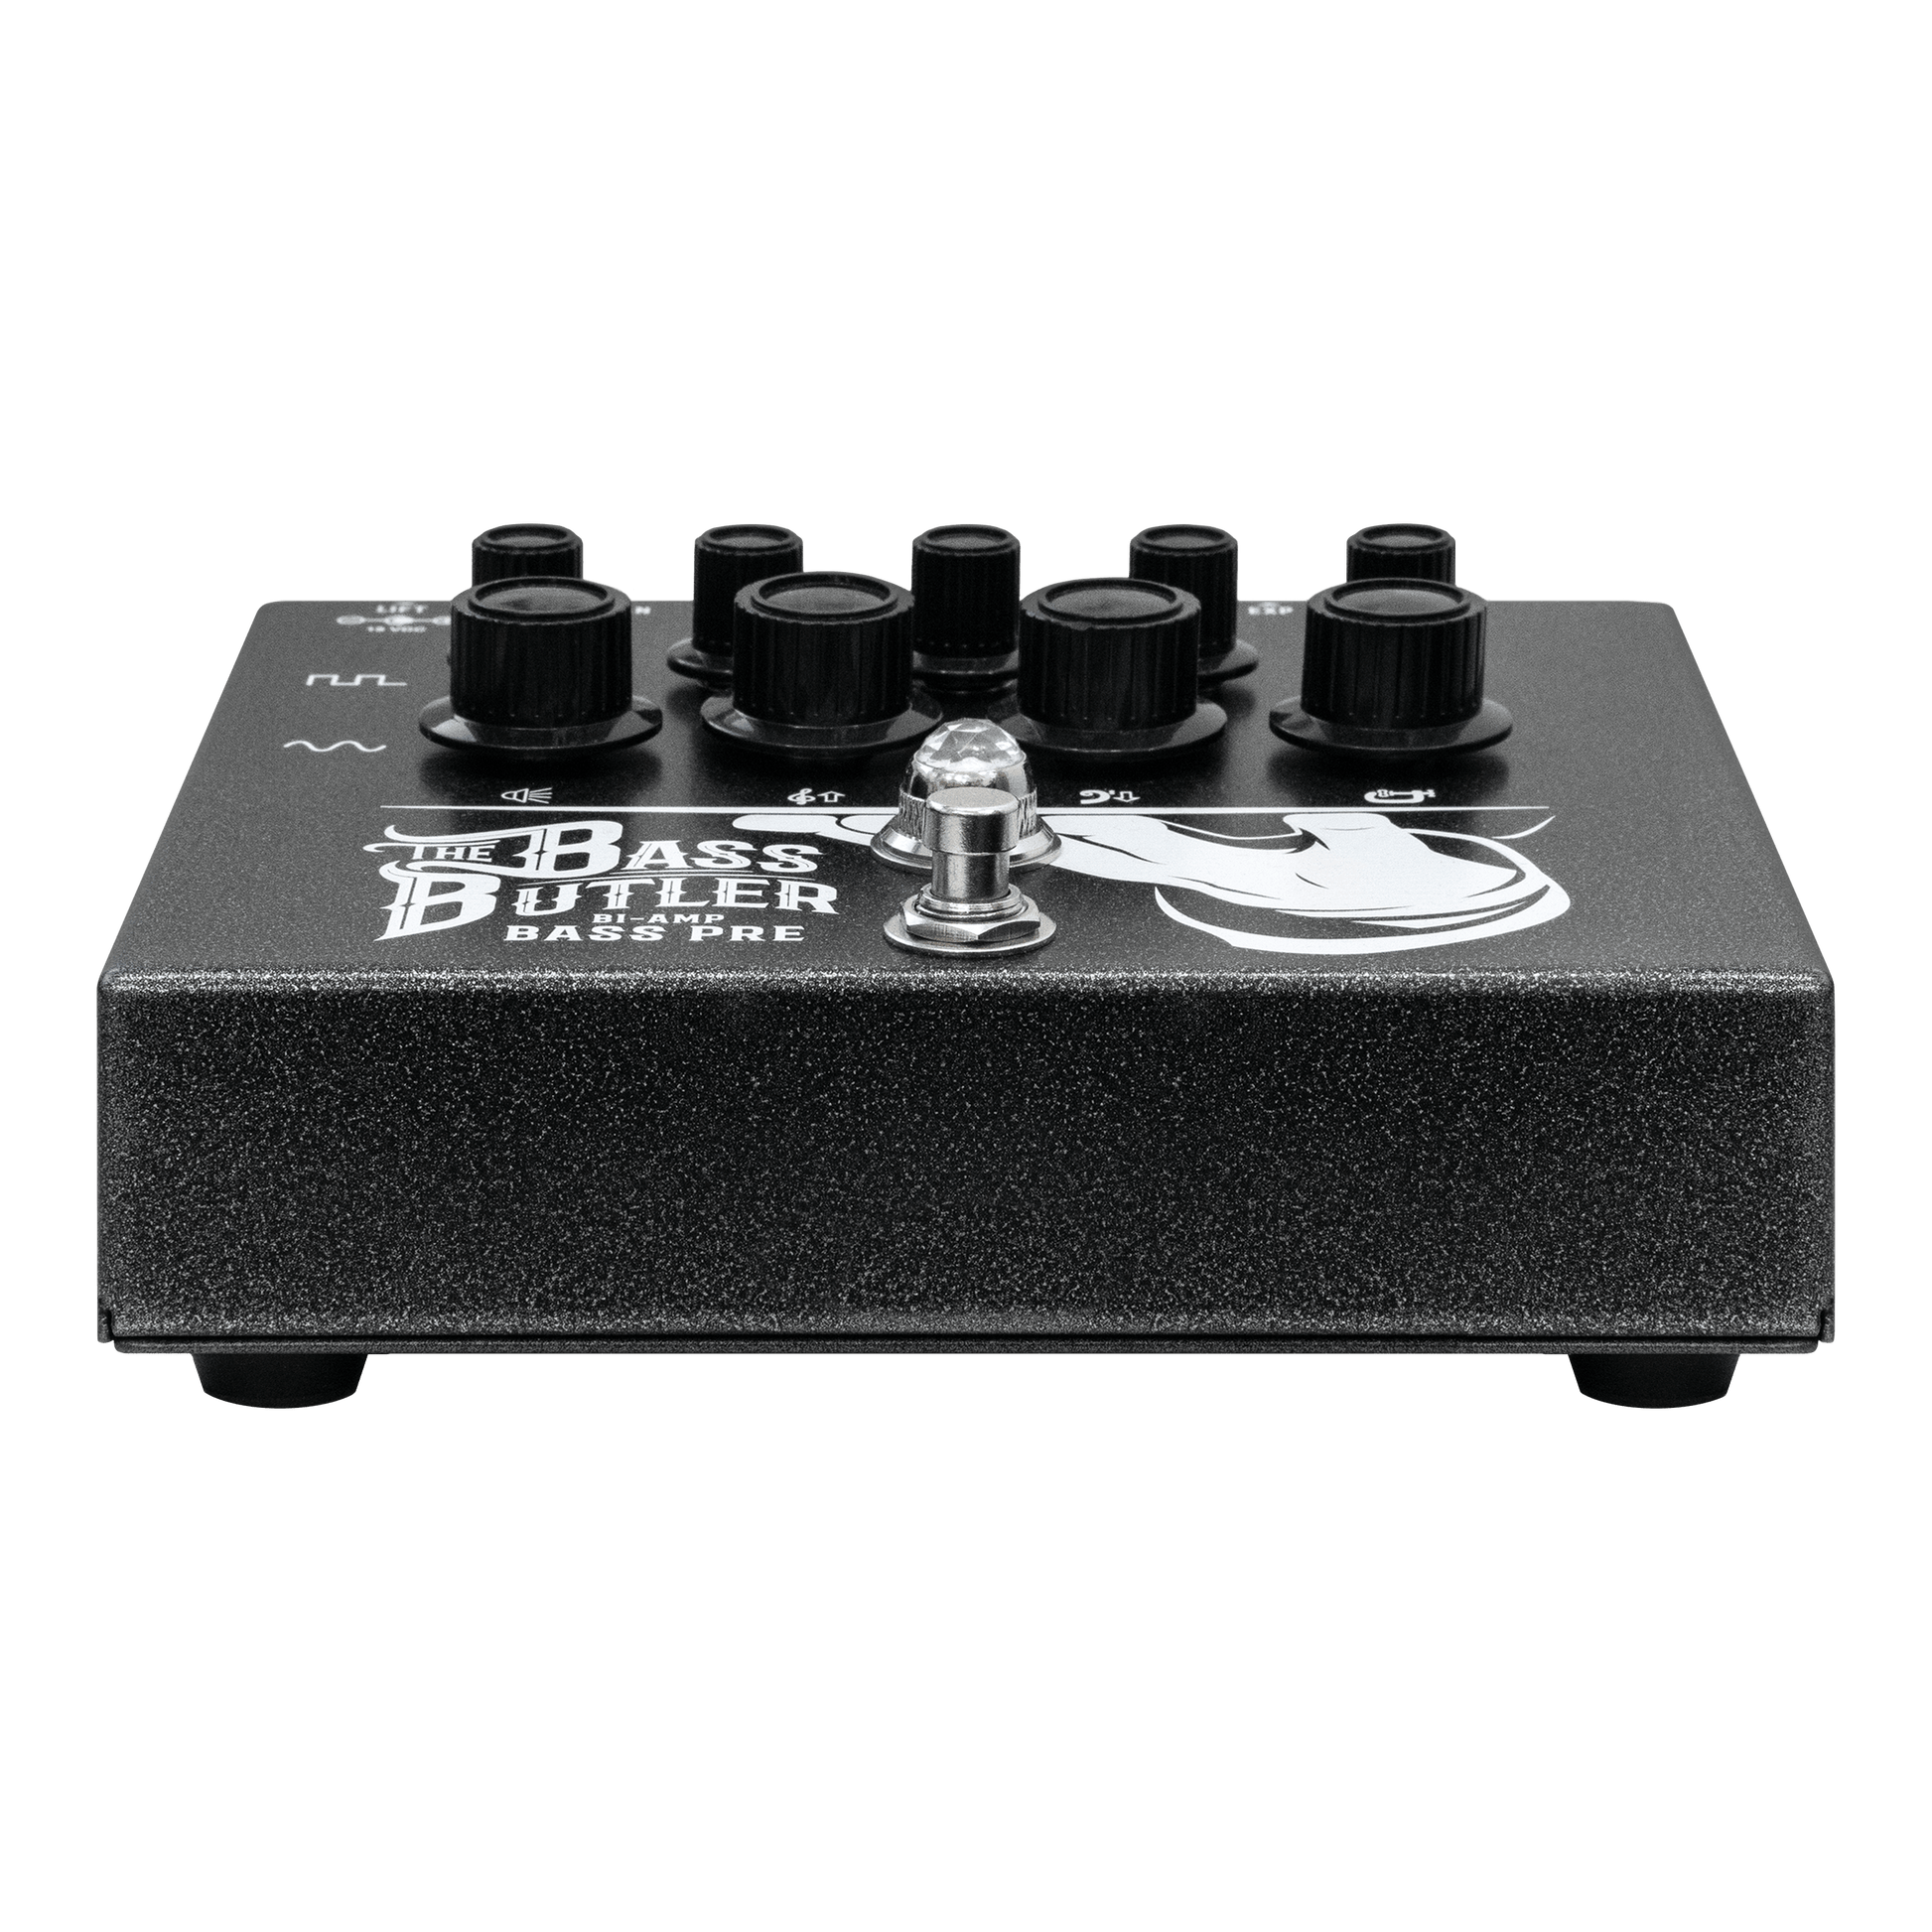
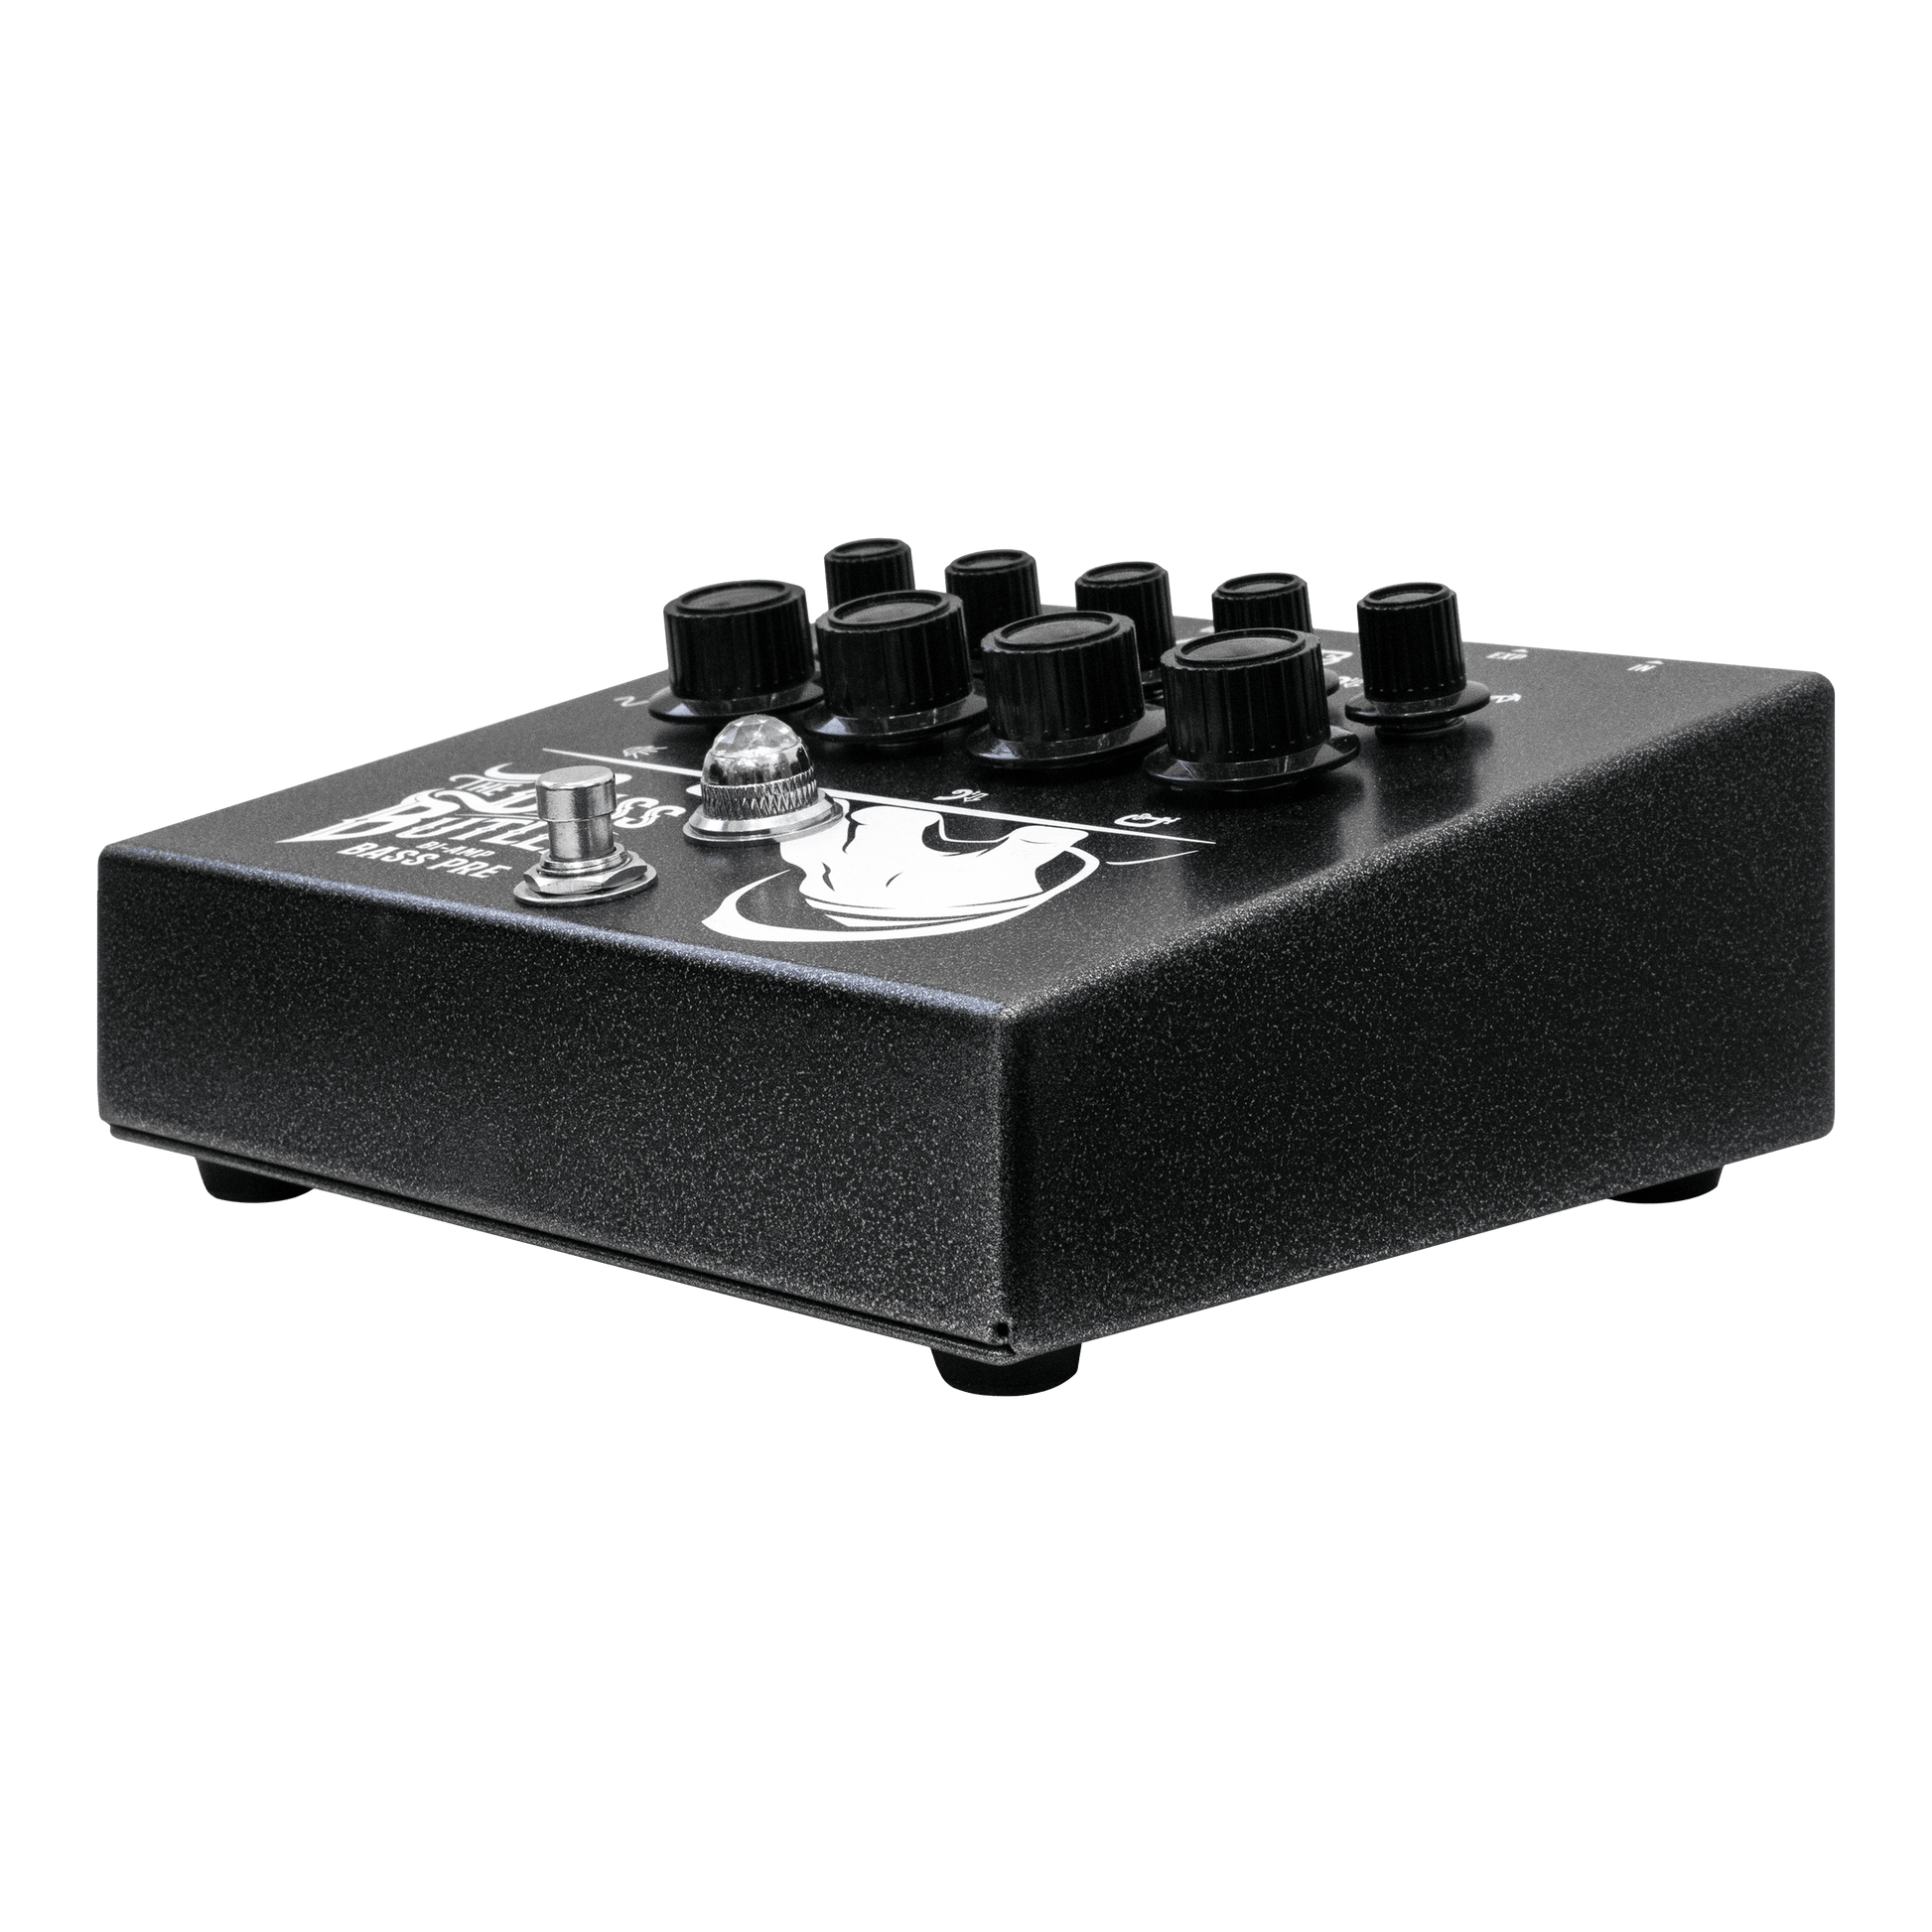
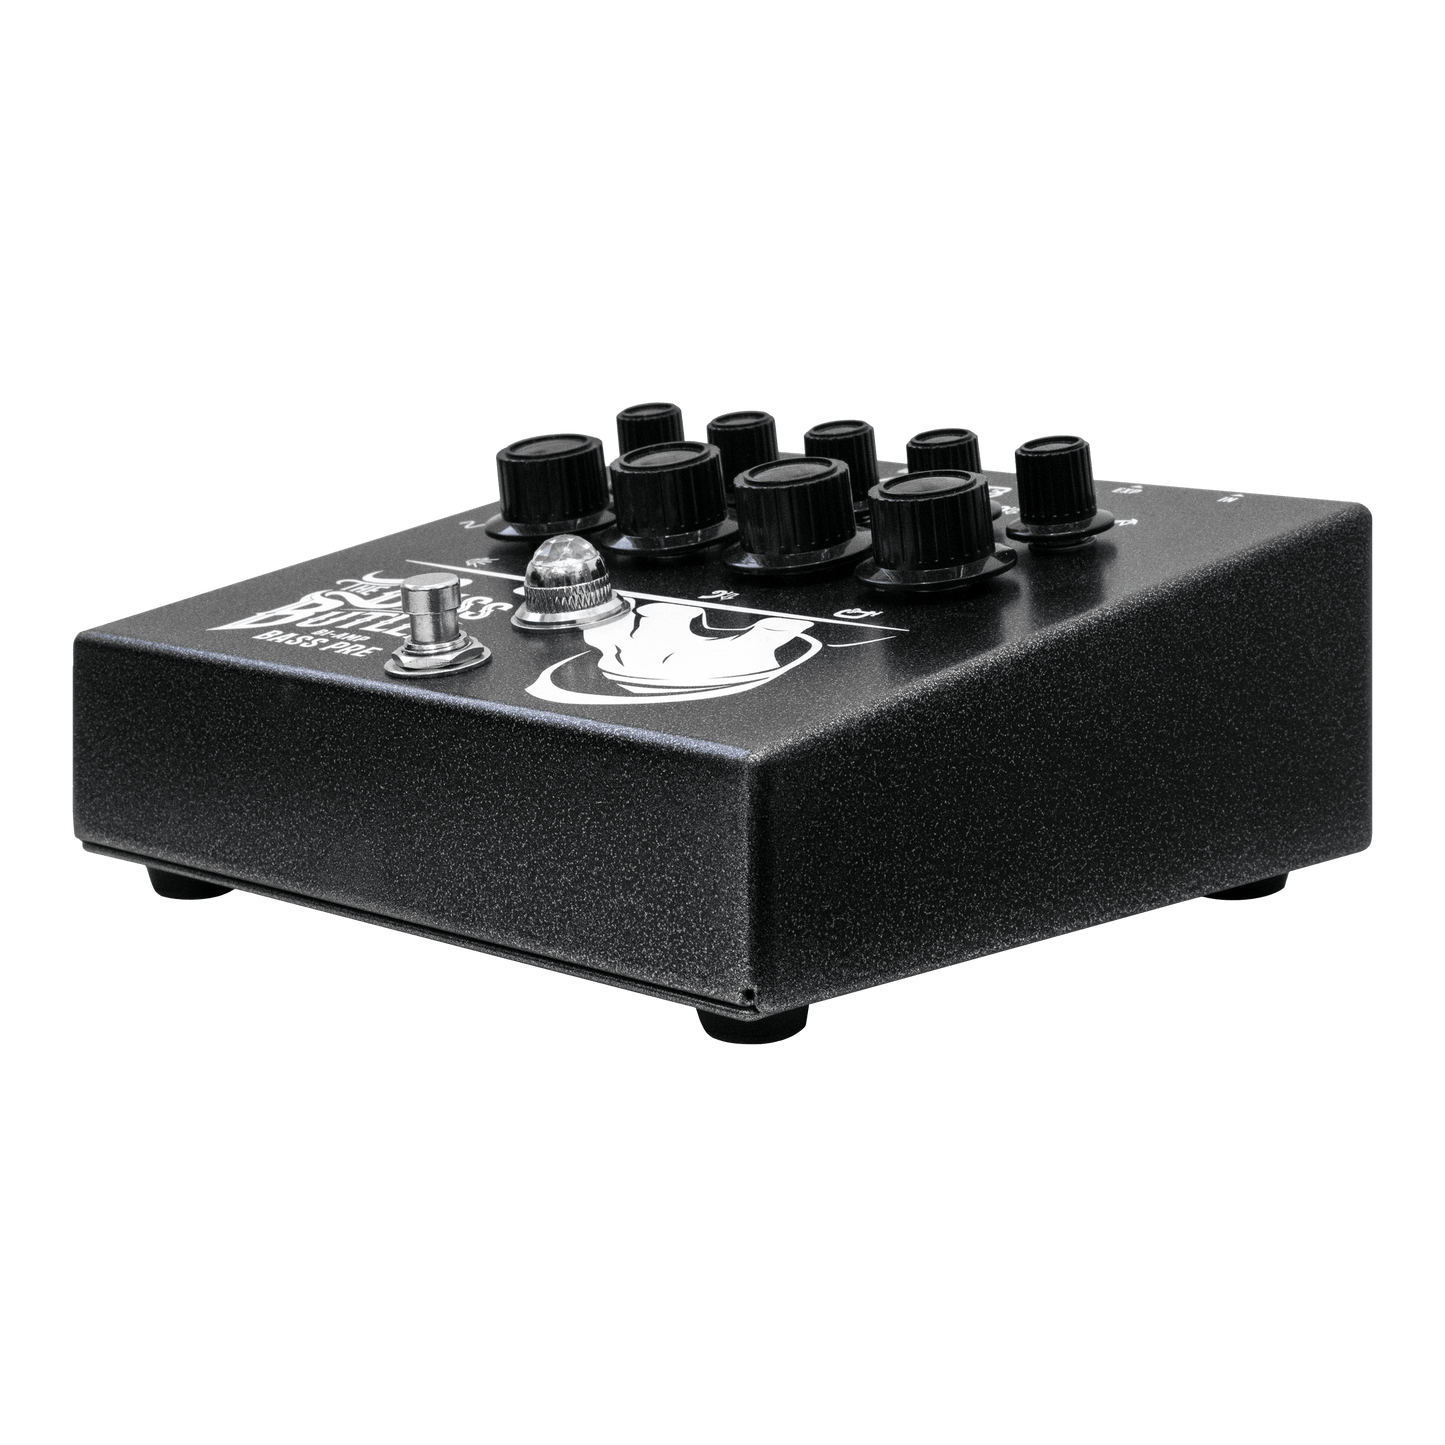
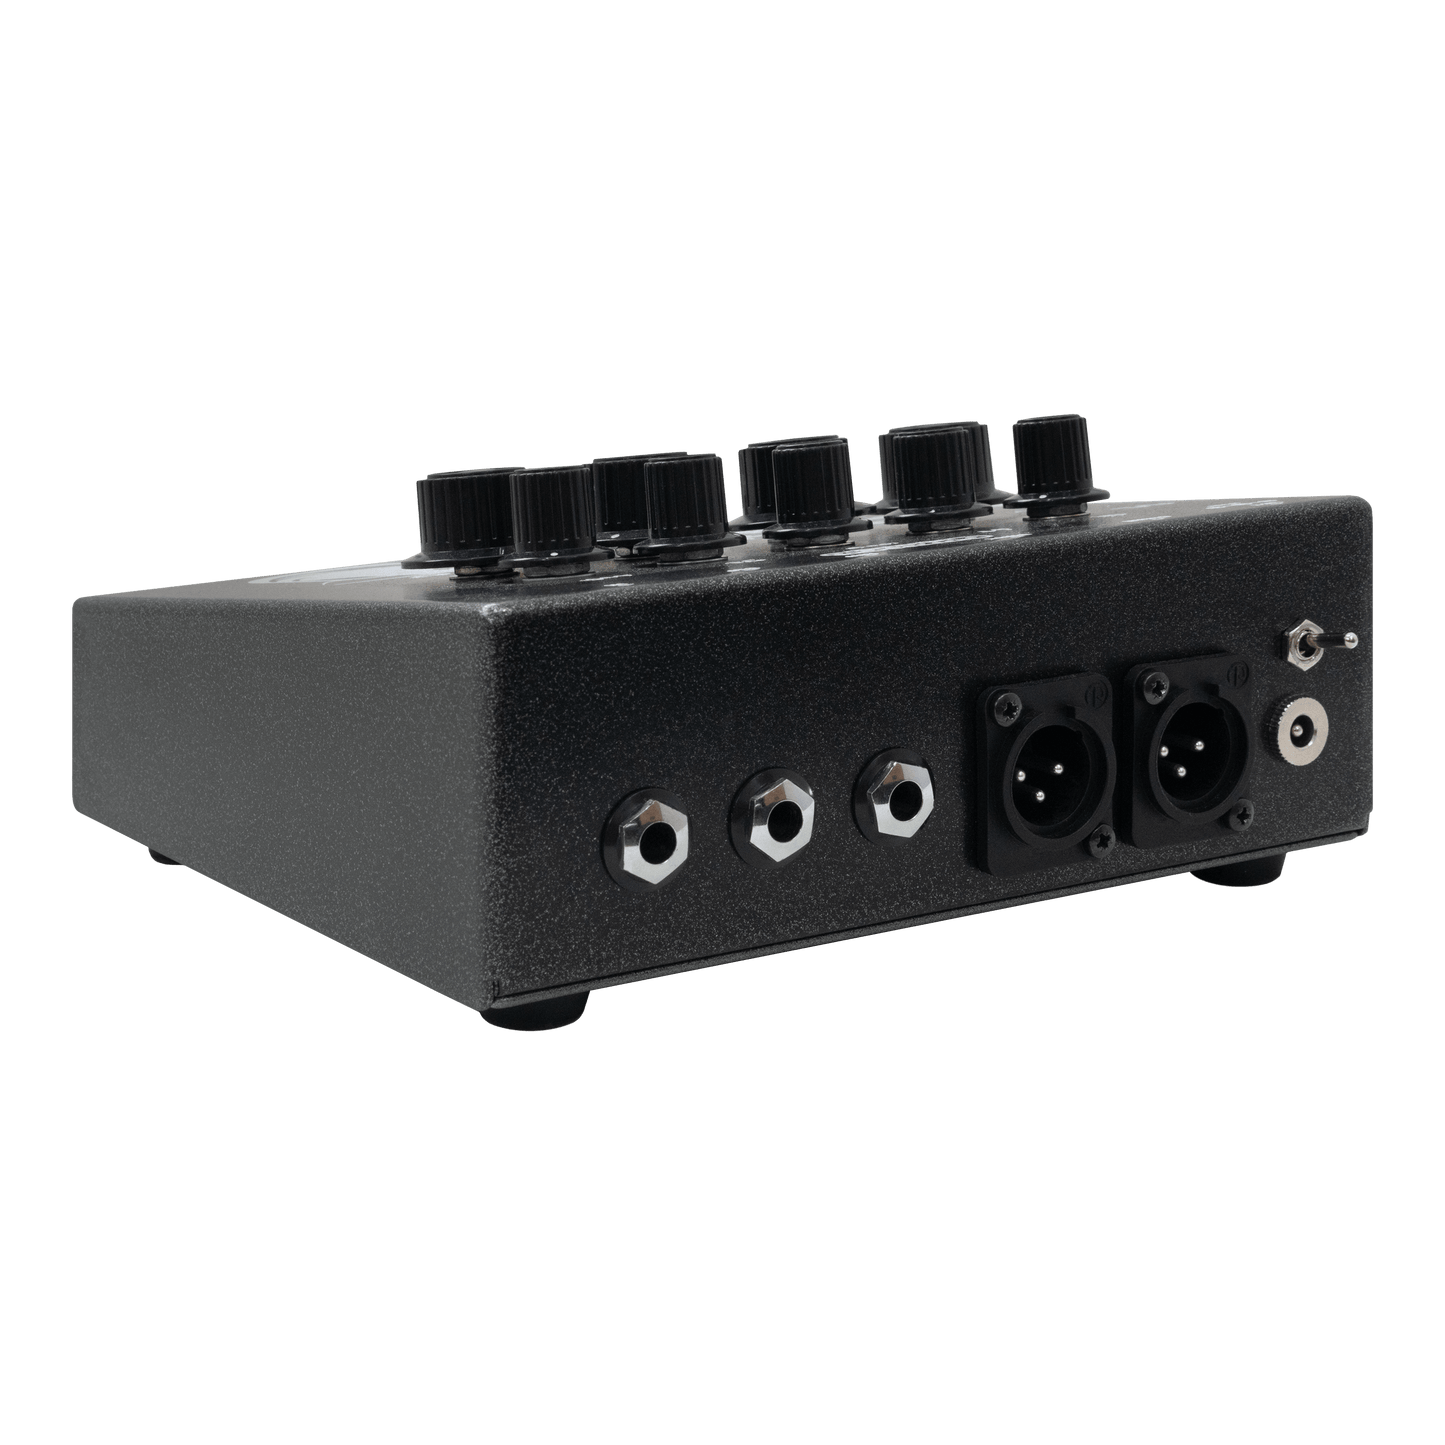
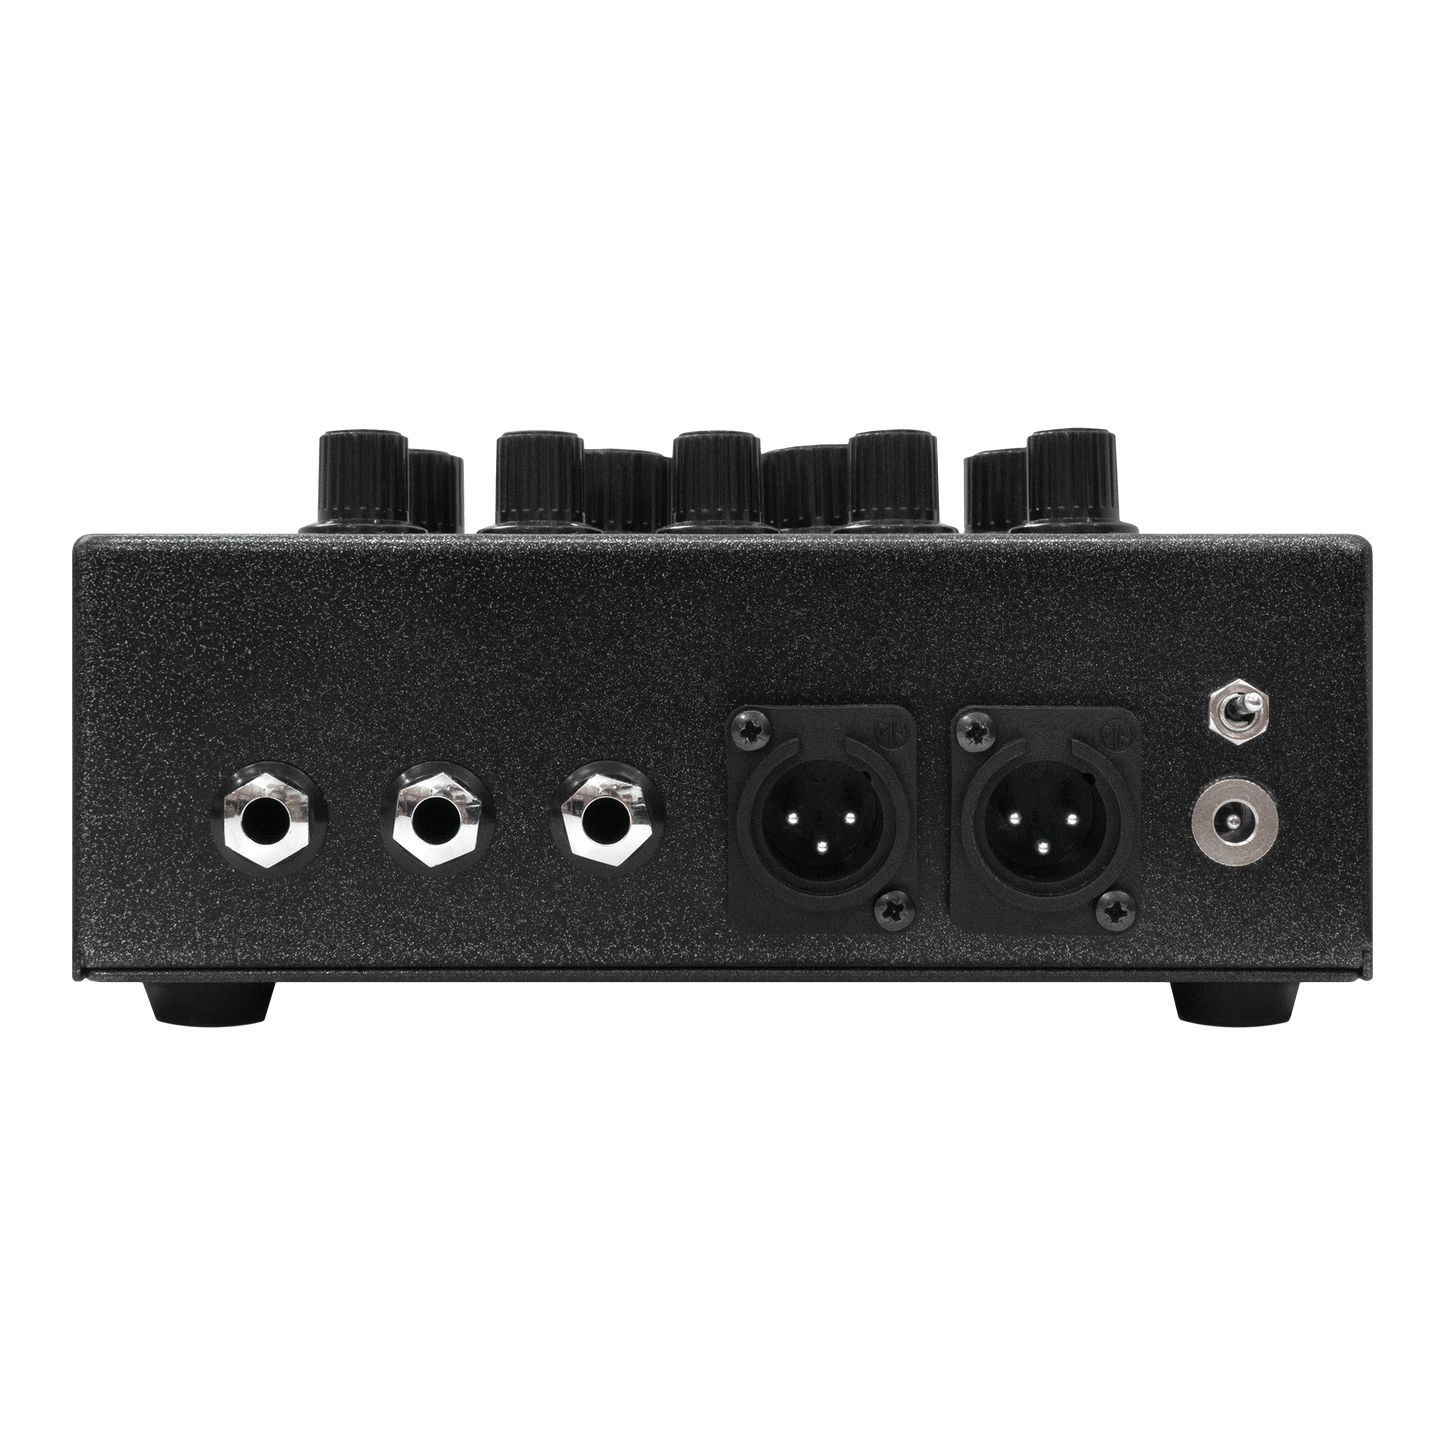
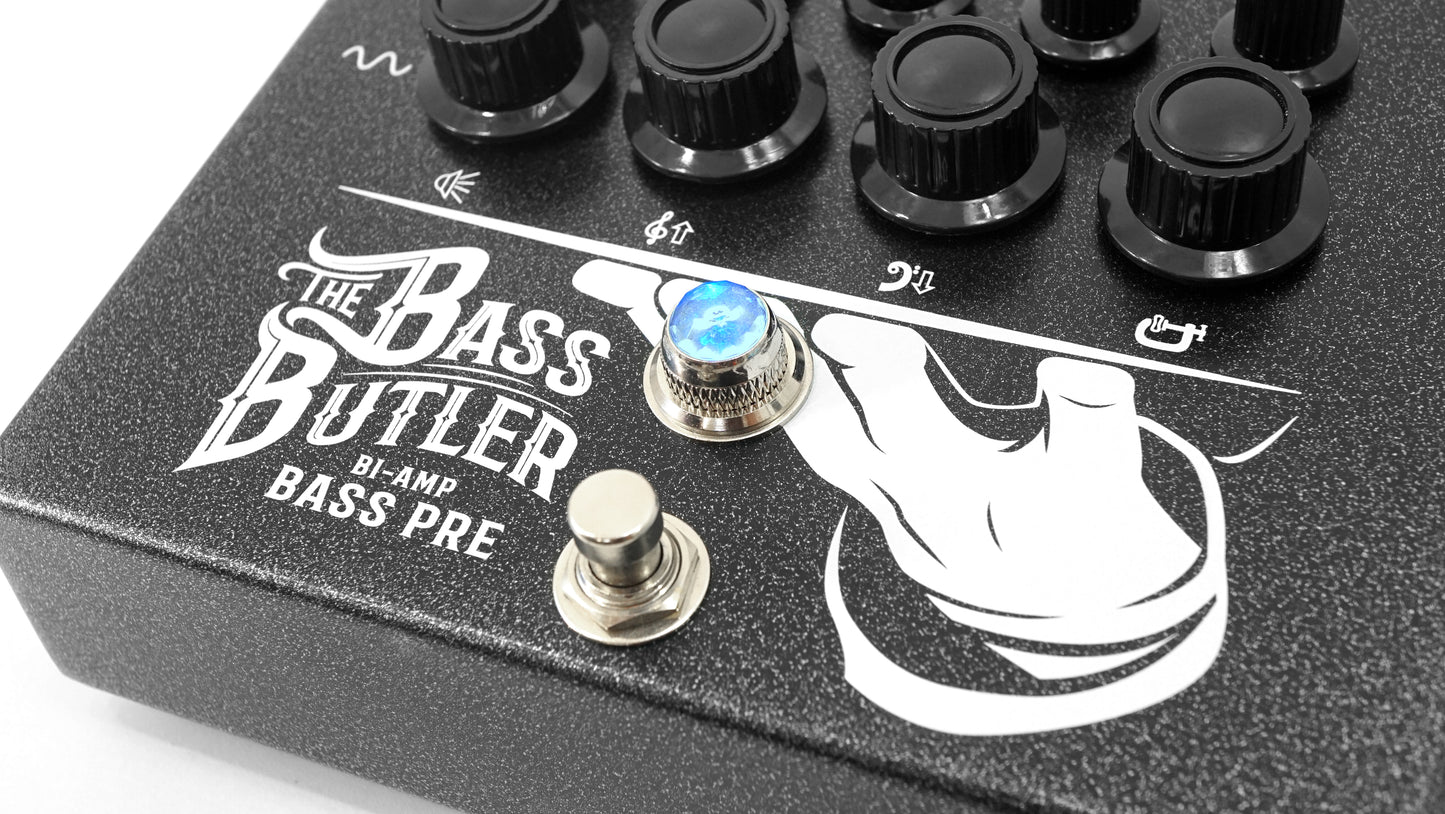
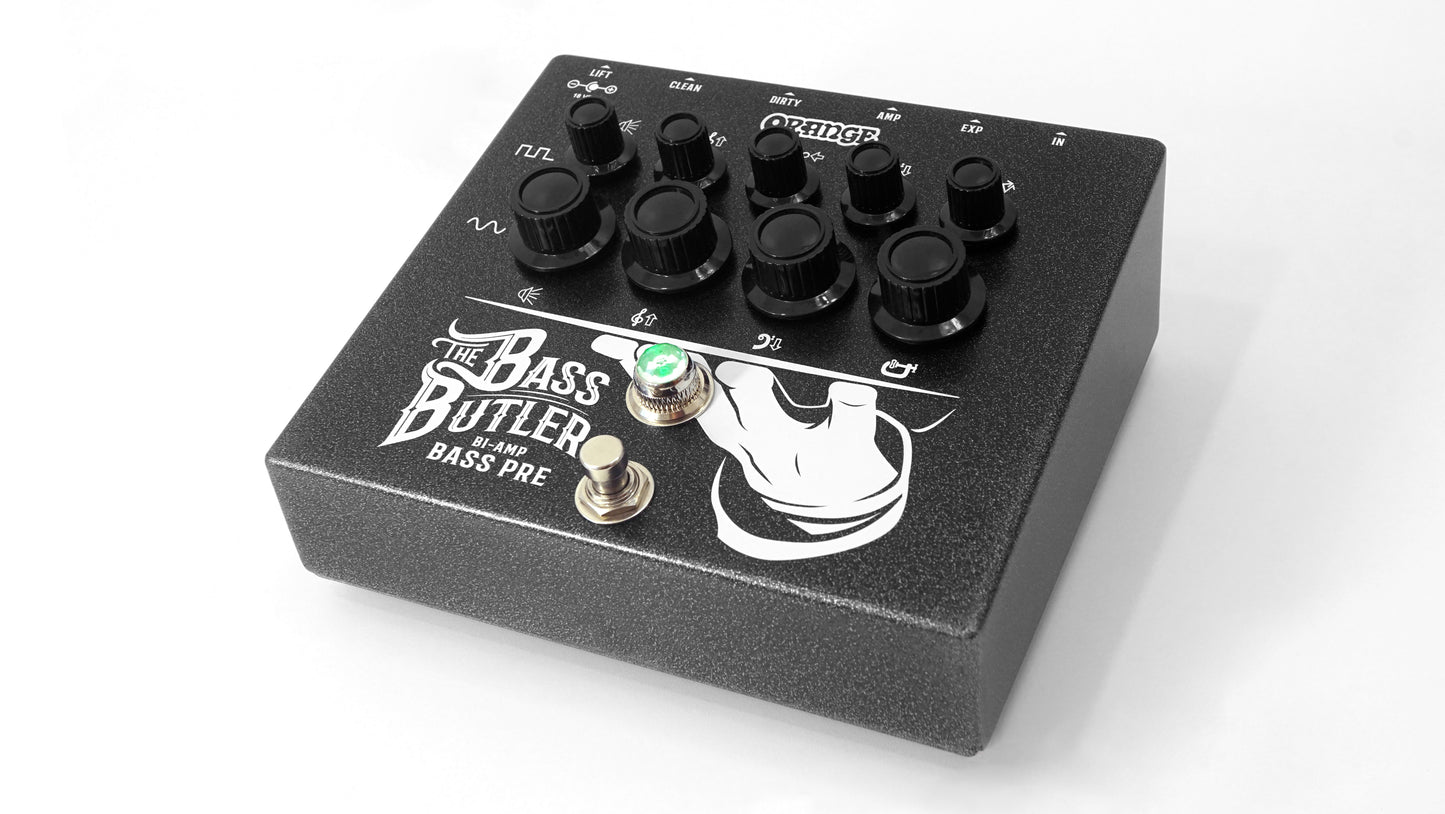
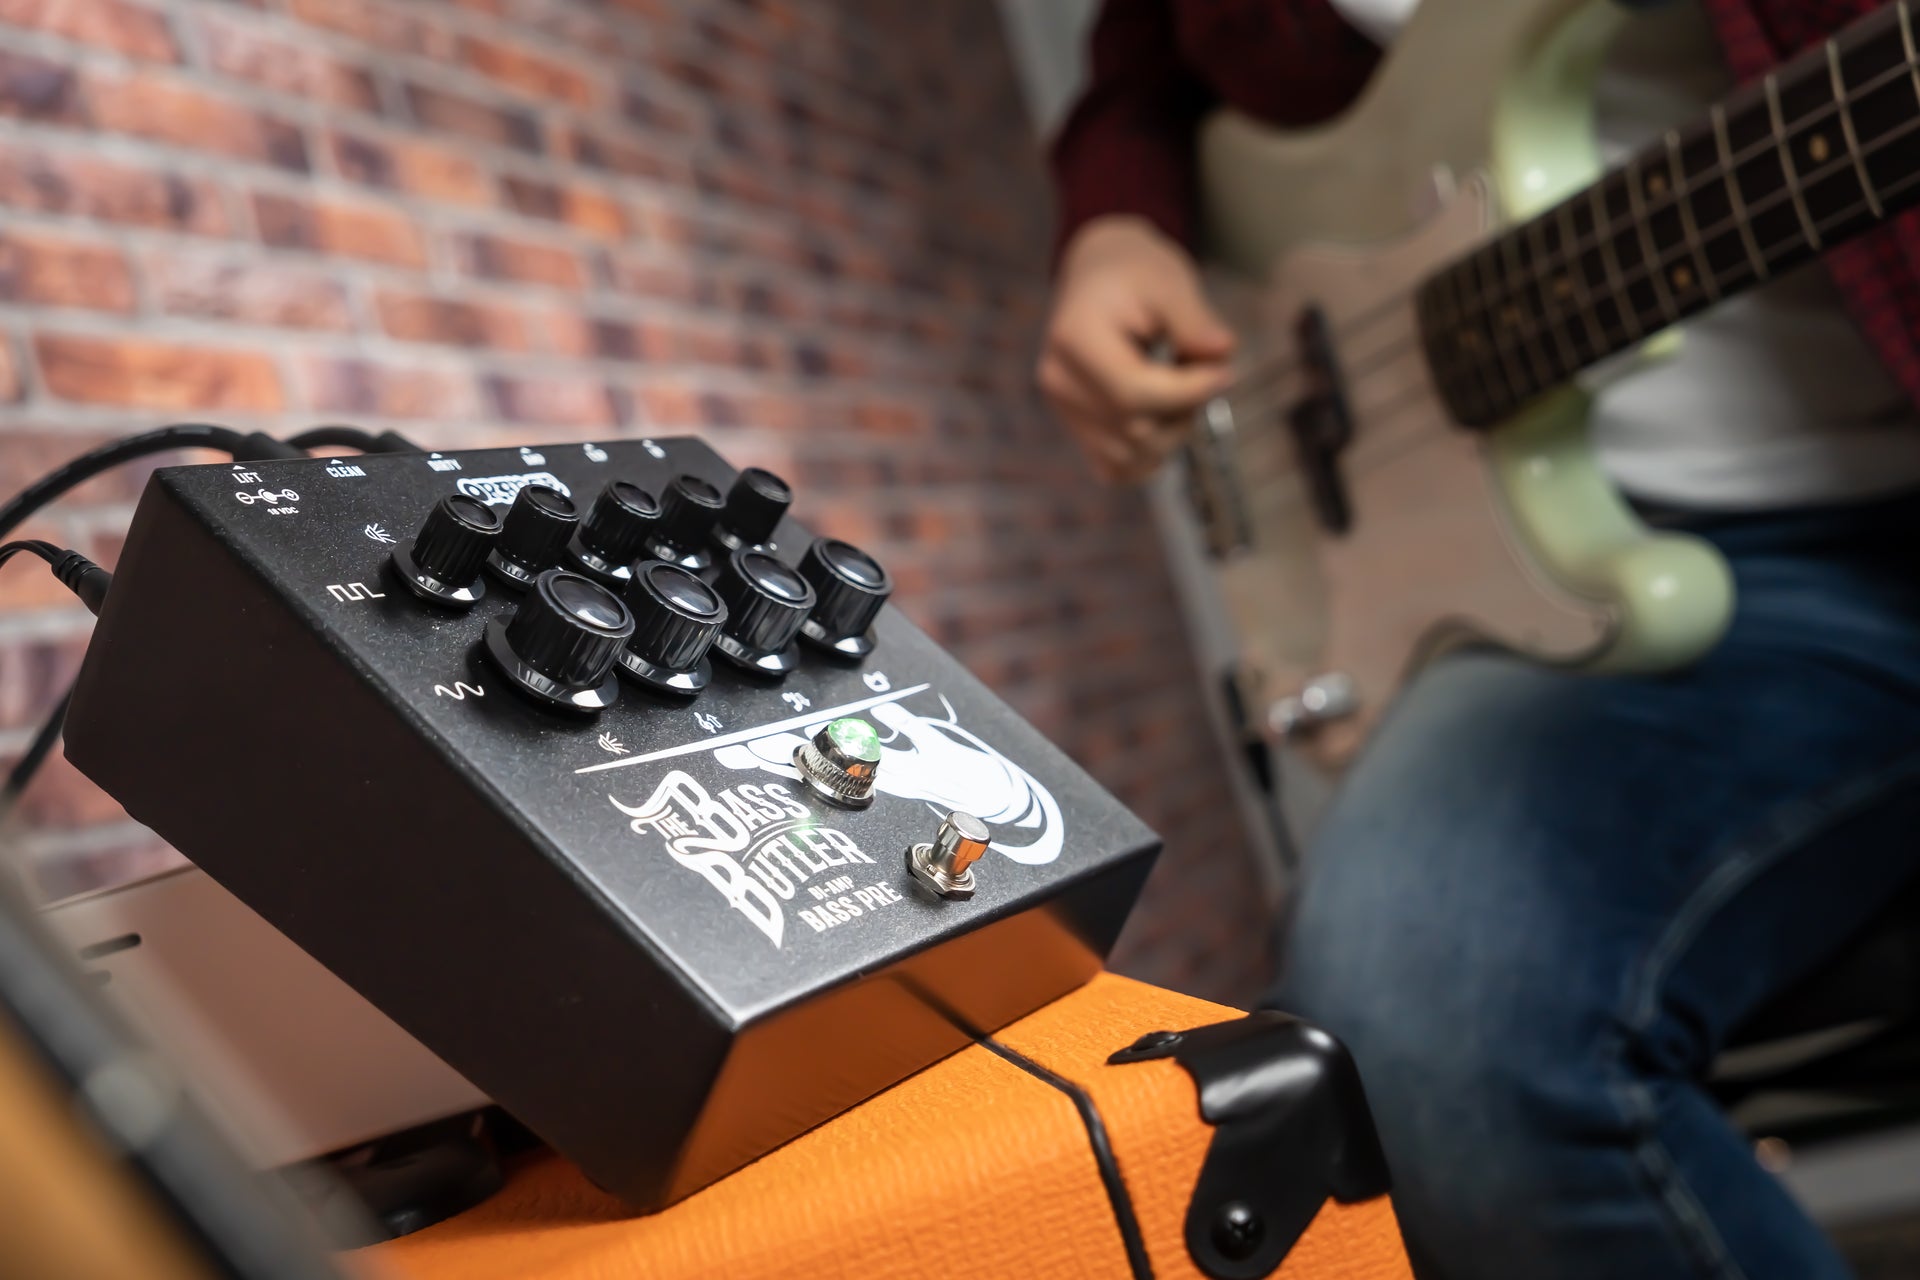
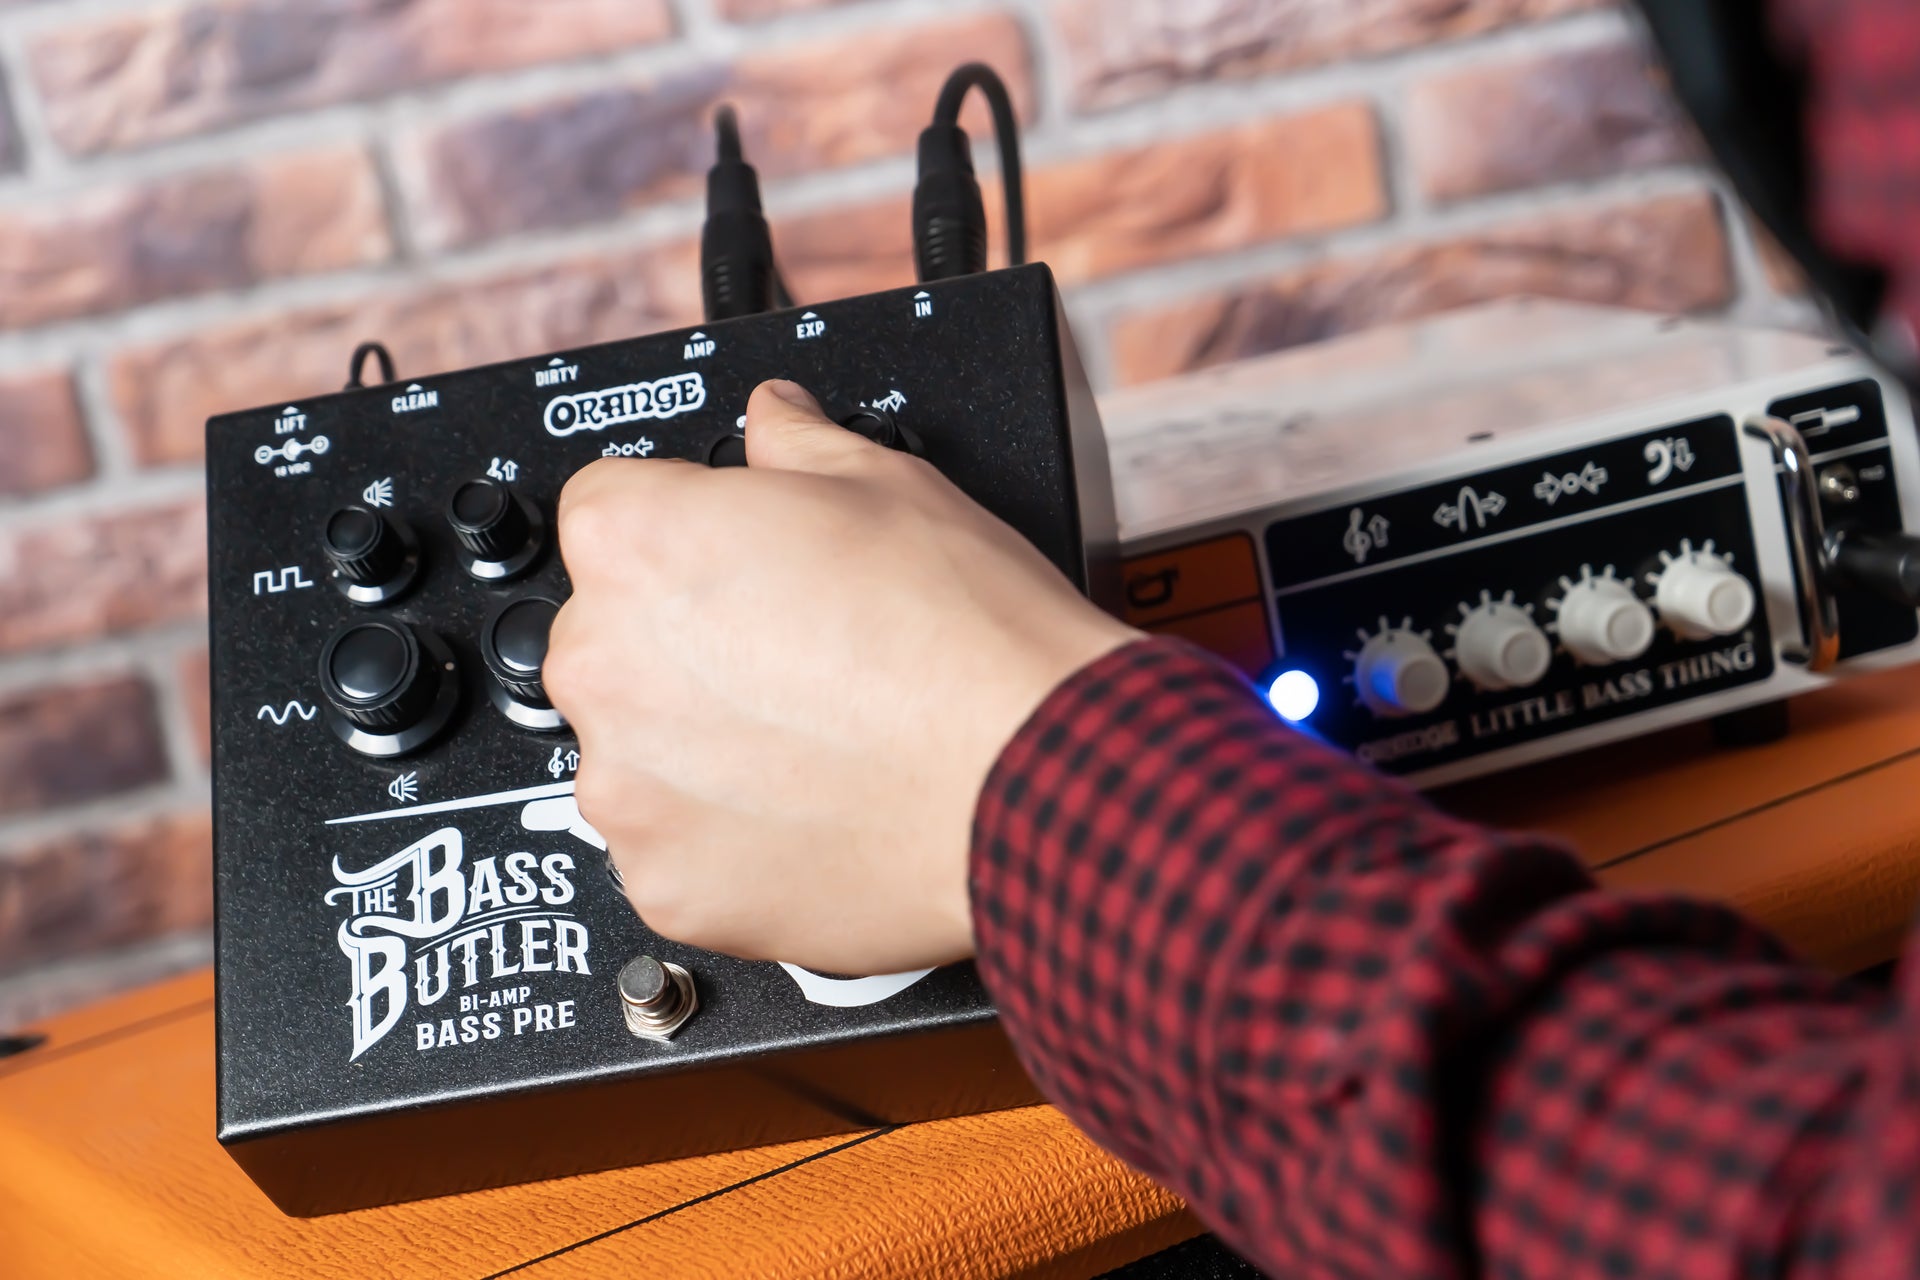
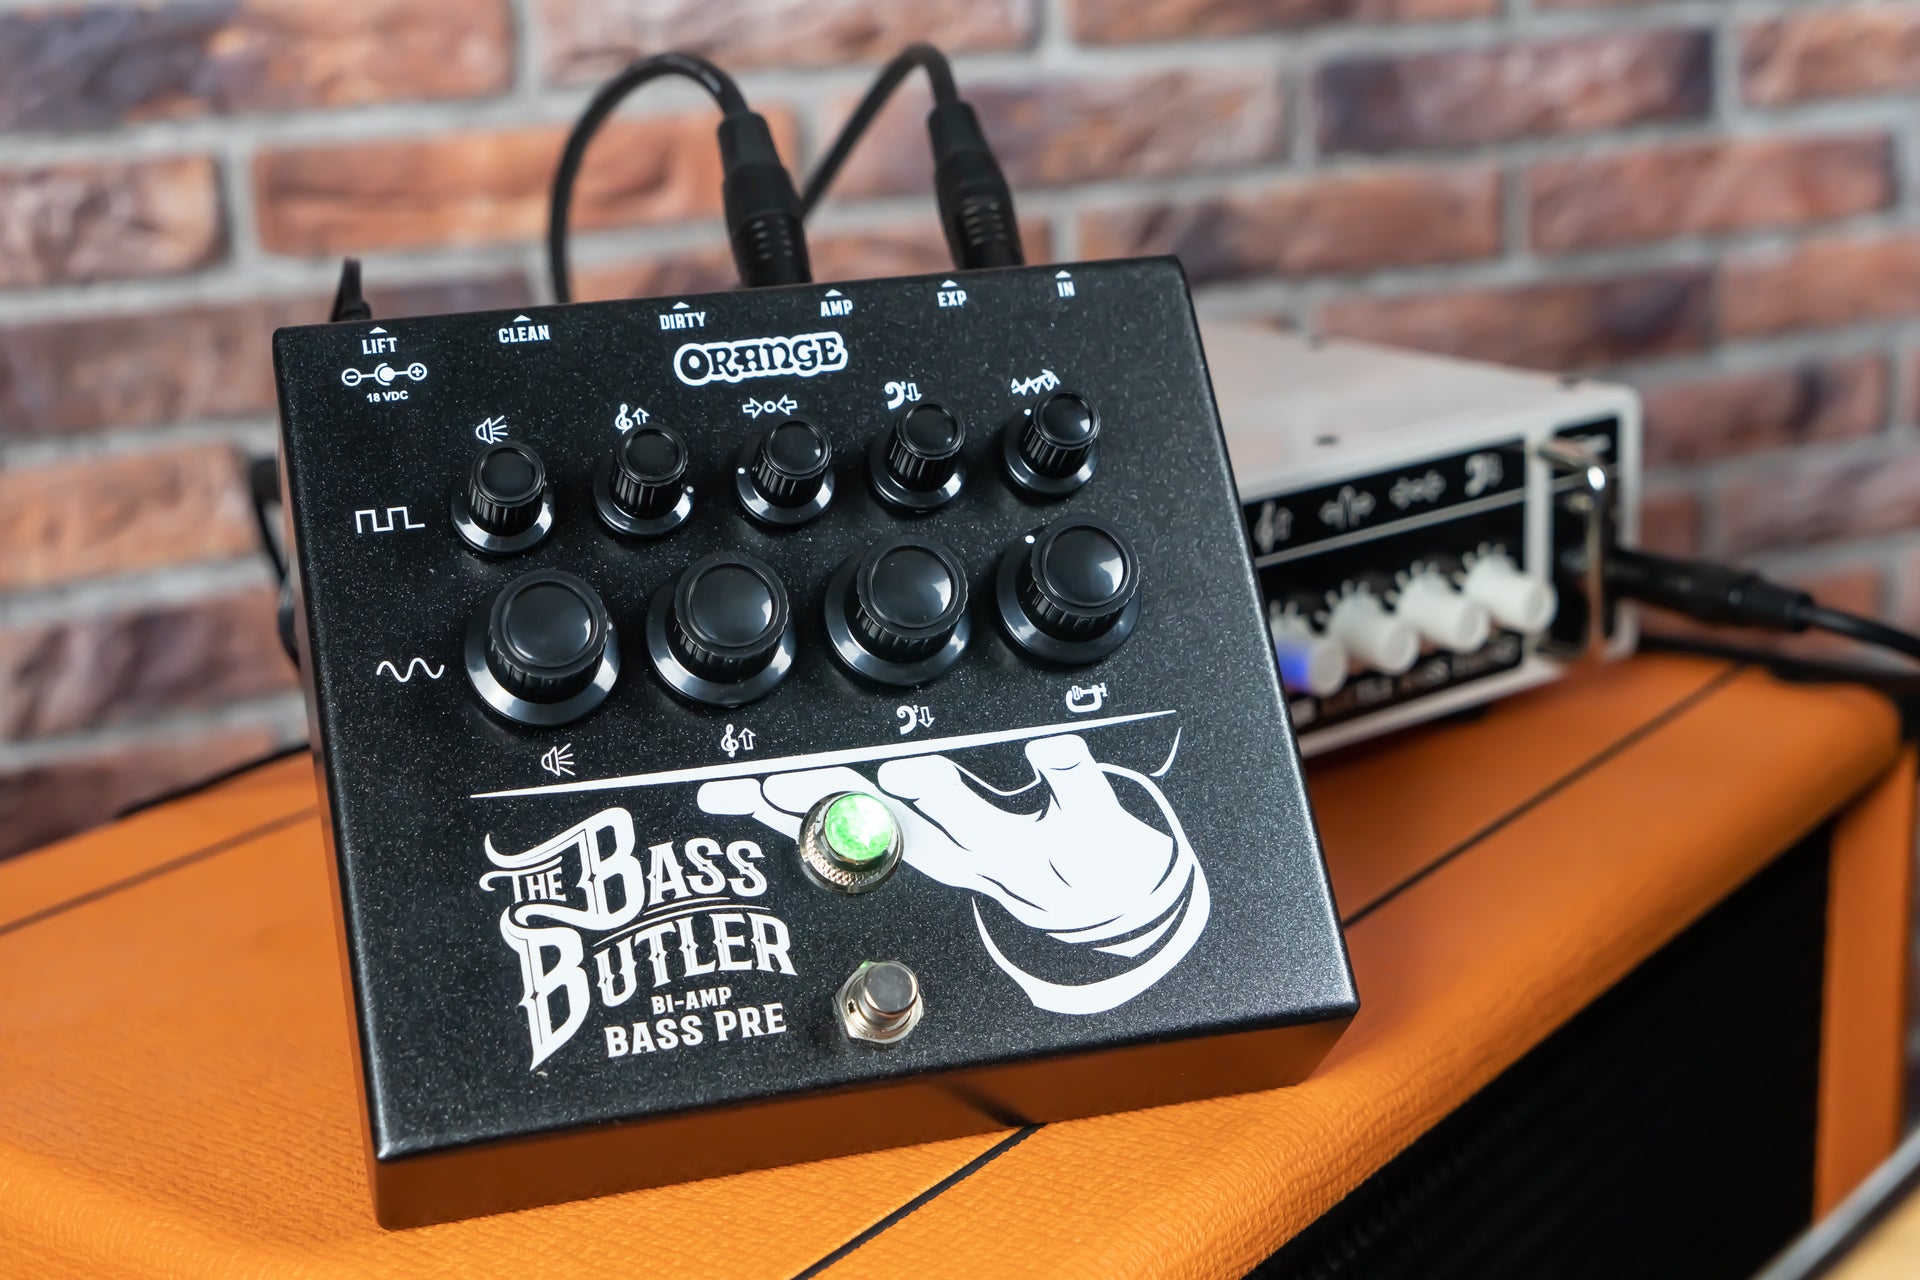
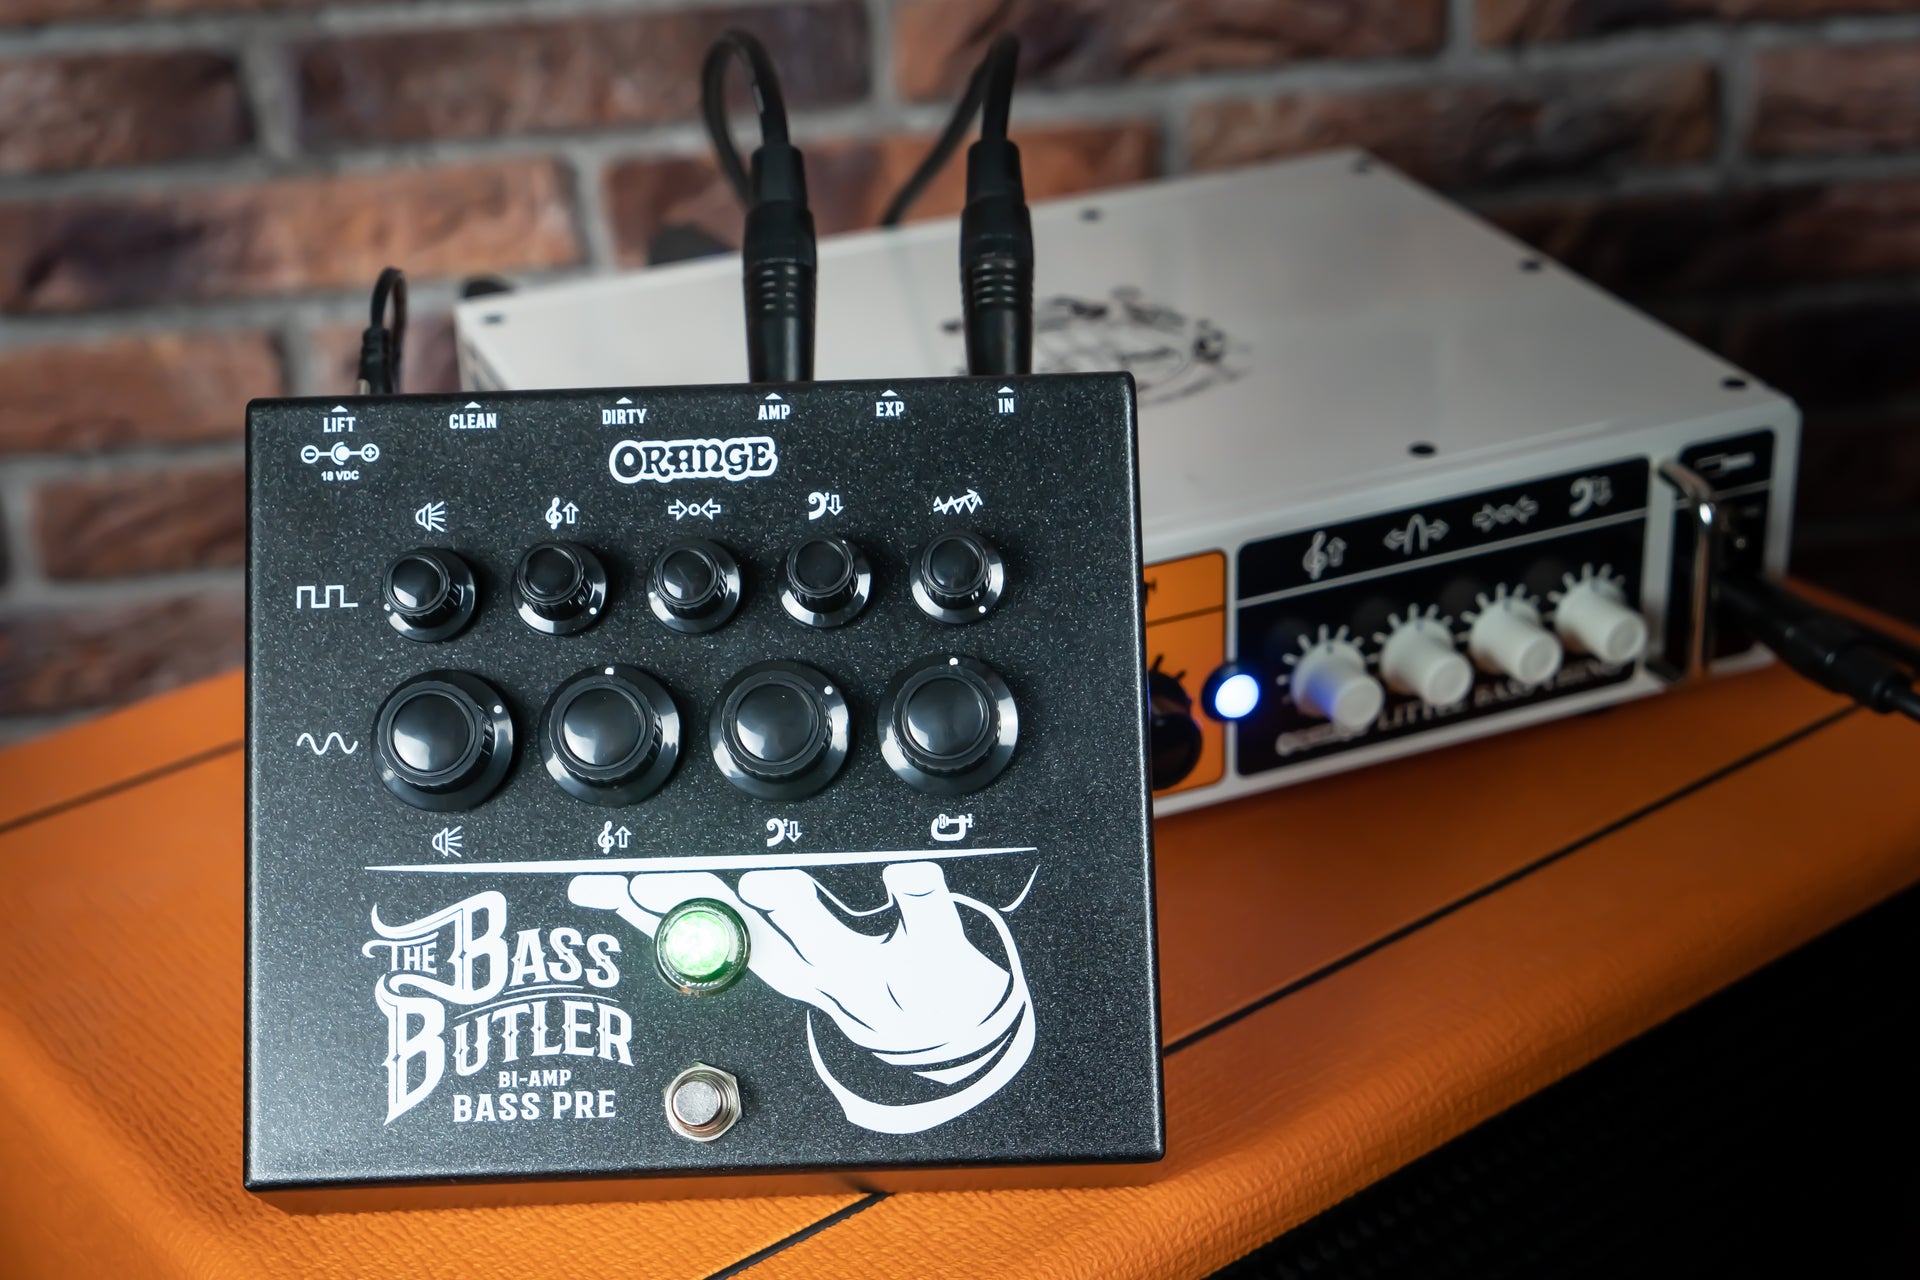
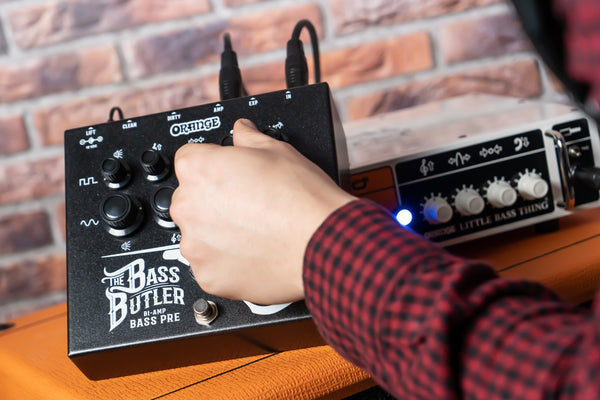
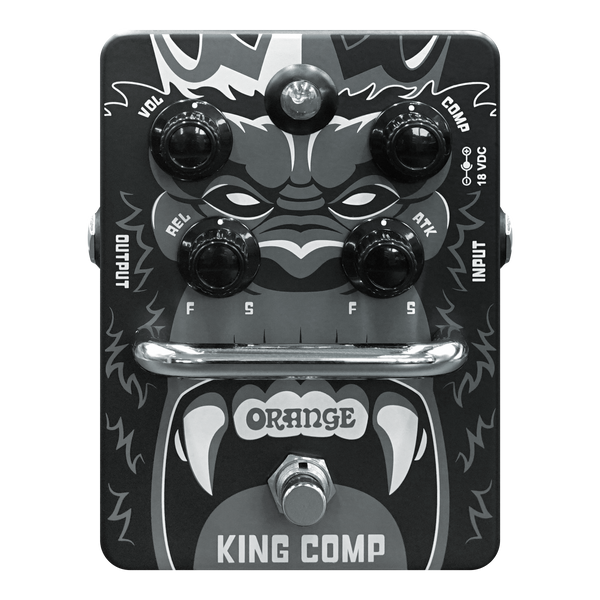
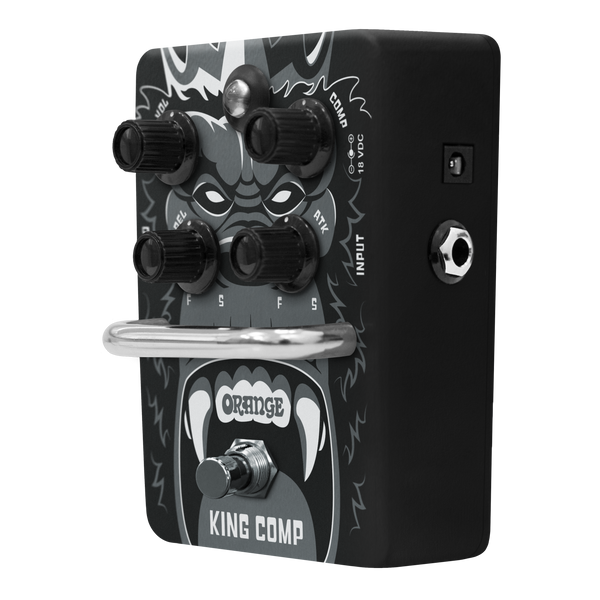
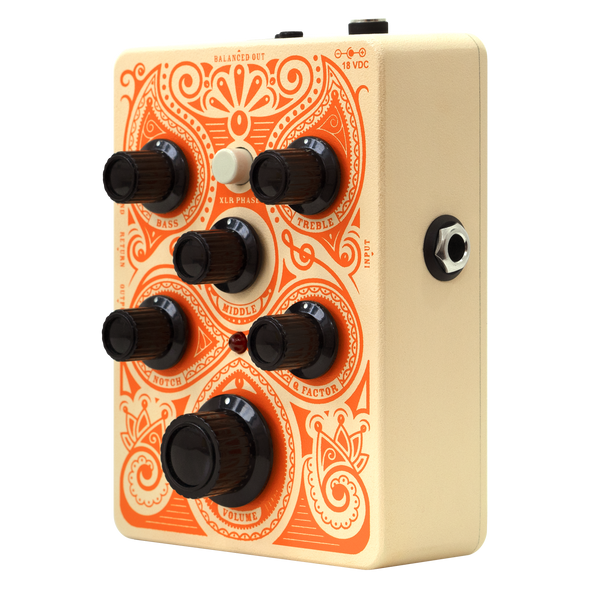
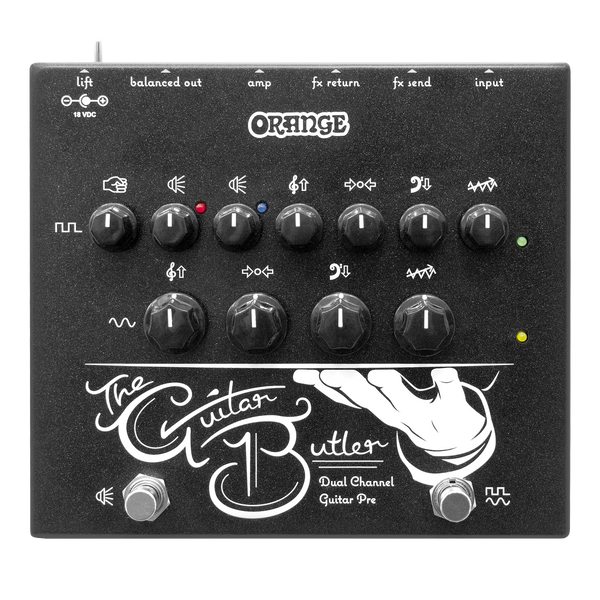
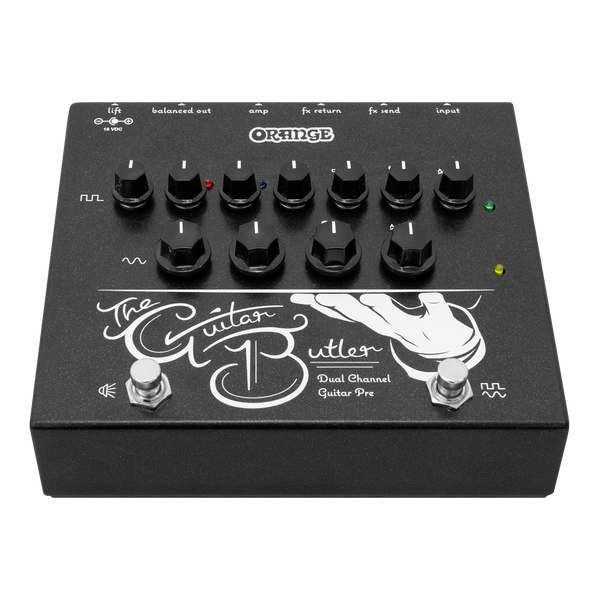
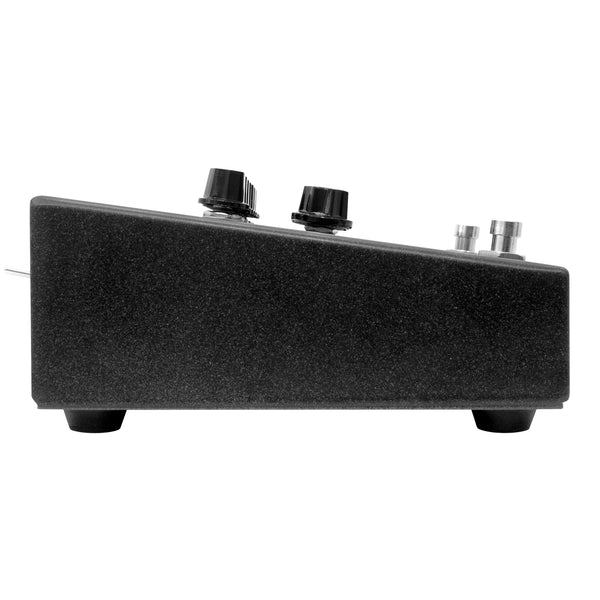
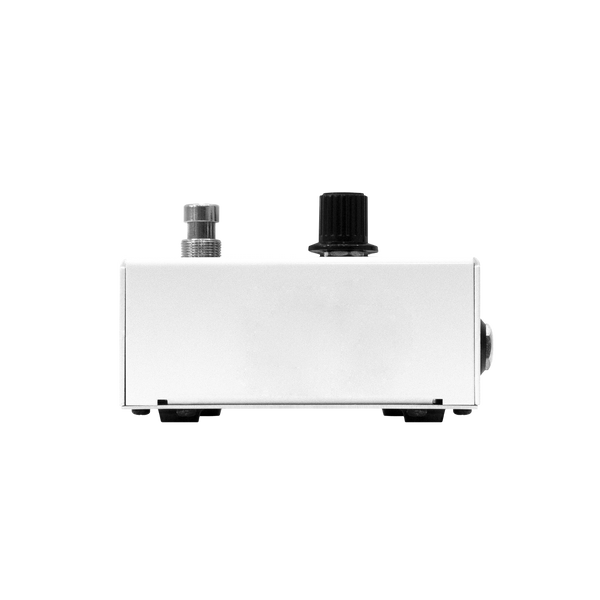
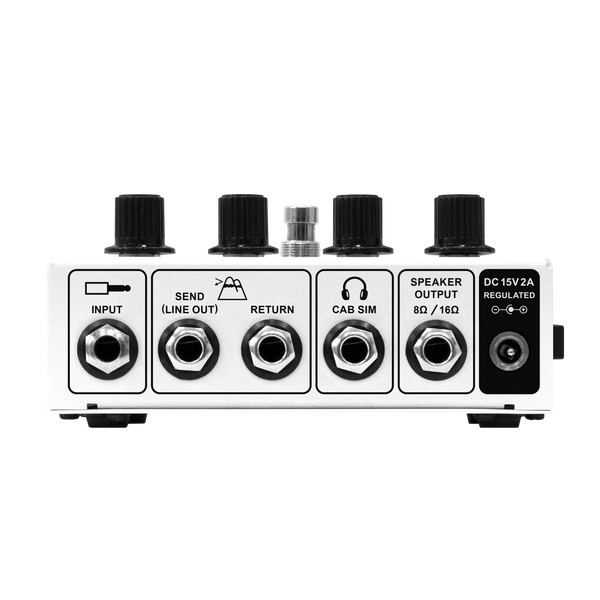
The Bass Butler is a bi-amp preamp pedal that gives bassists the best of both worlds — thunderous clean low end and gritty, guitar-style distortion — at the same time. Designed to replace an entire amp rig or just act as a preamp pedal, it splits your signal into two paths: a clean, full-frequency bass channel and a gain-laden guitar channel, each with its own EQ and volume controls. Perfect for players who want studio-ready tone without the stage clutter, the Bass Butler also includes individual cabinet-simulated balanced outputs for front-of-house or recording, plus a dry output for full routing flexibility. Just plug in and let the Butler serve your sound.
Couldn't load pickup availability
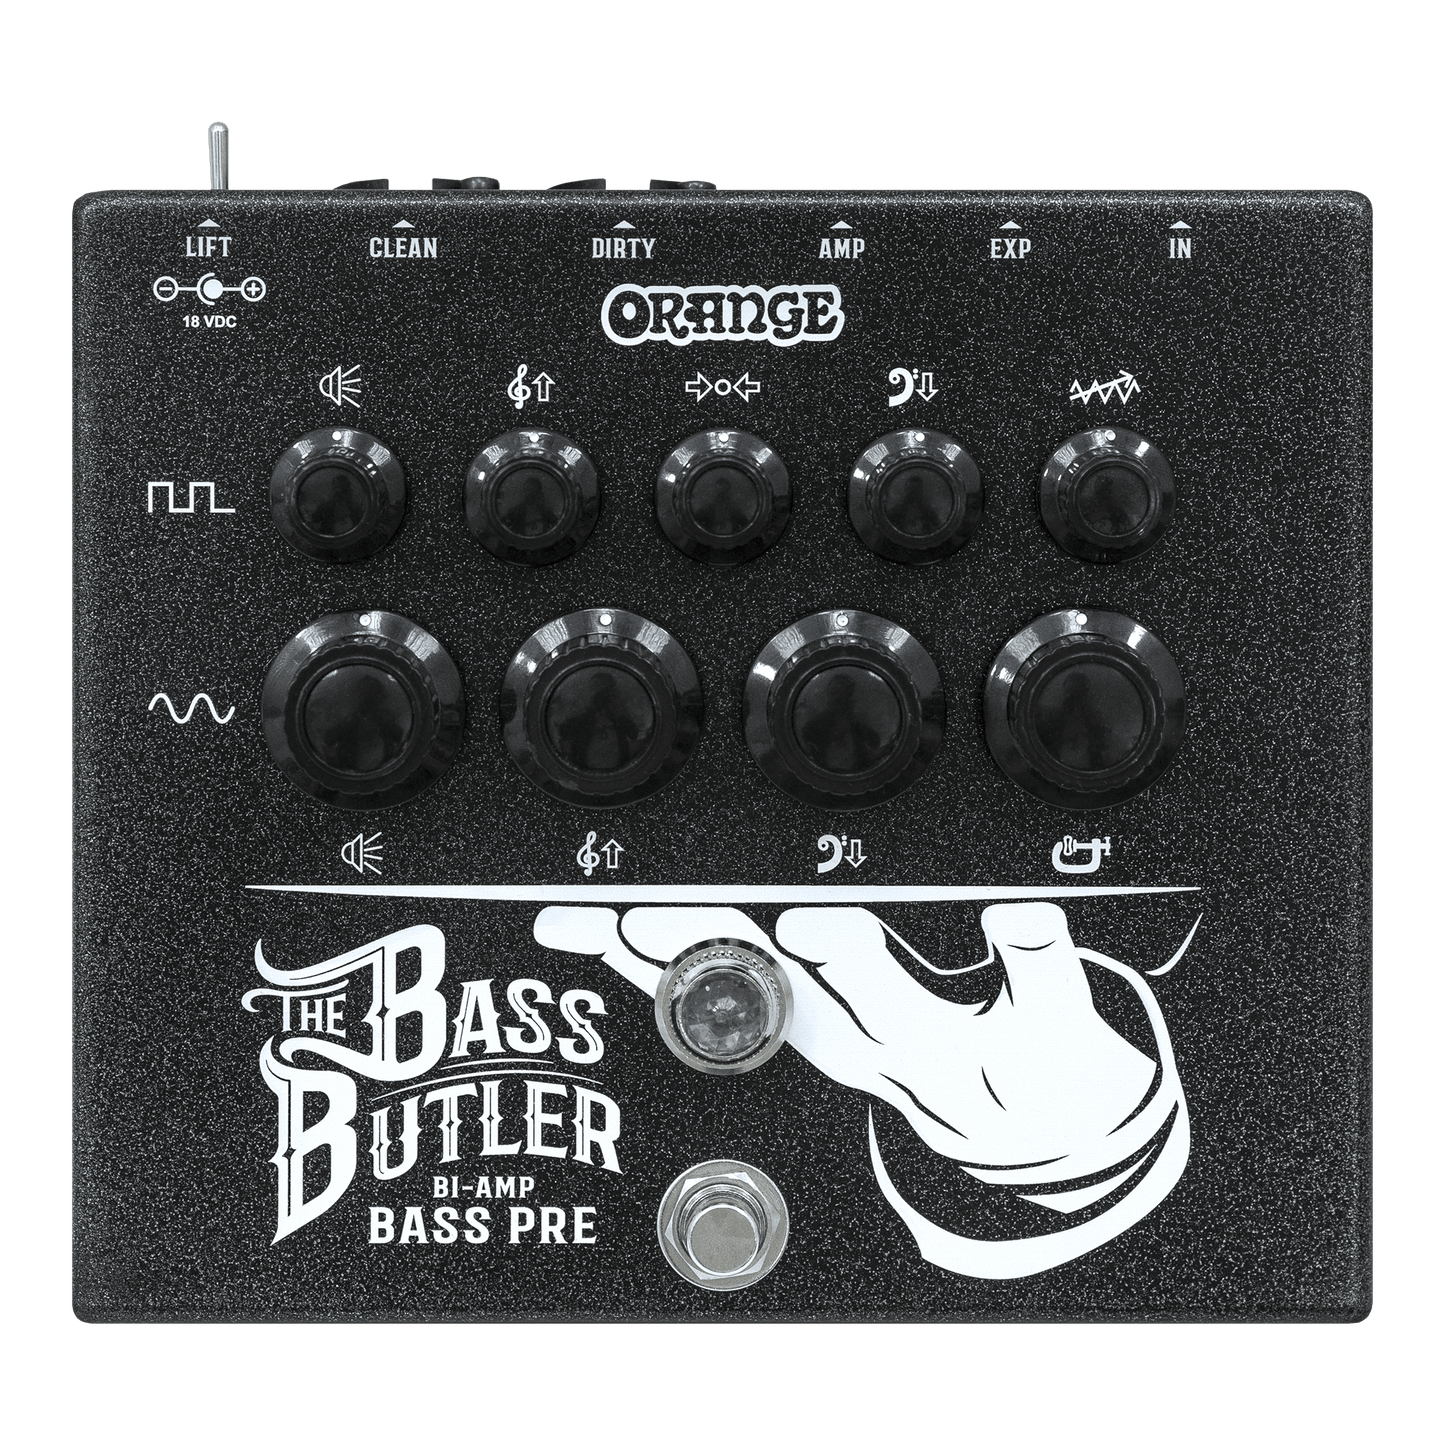
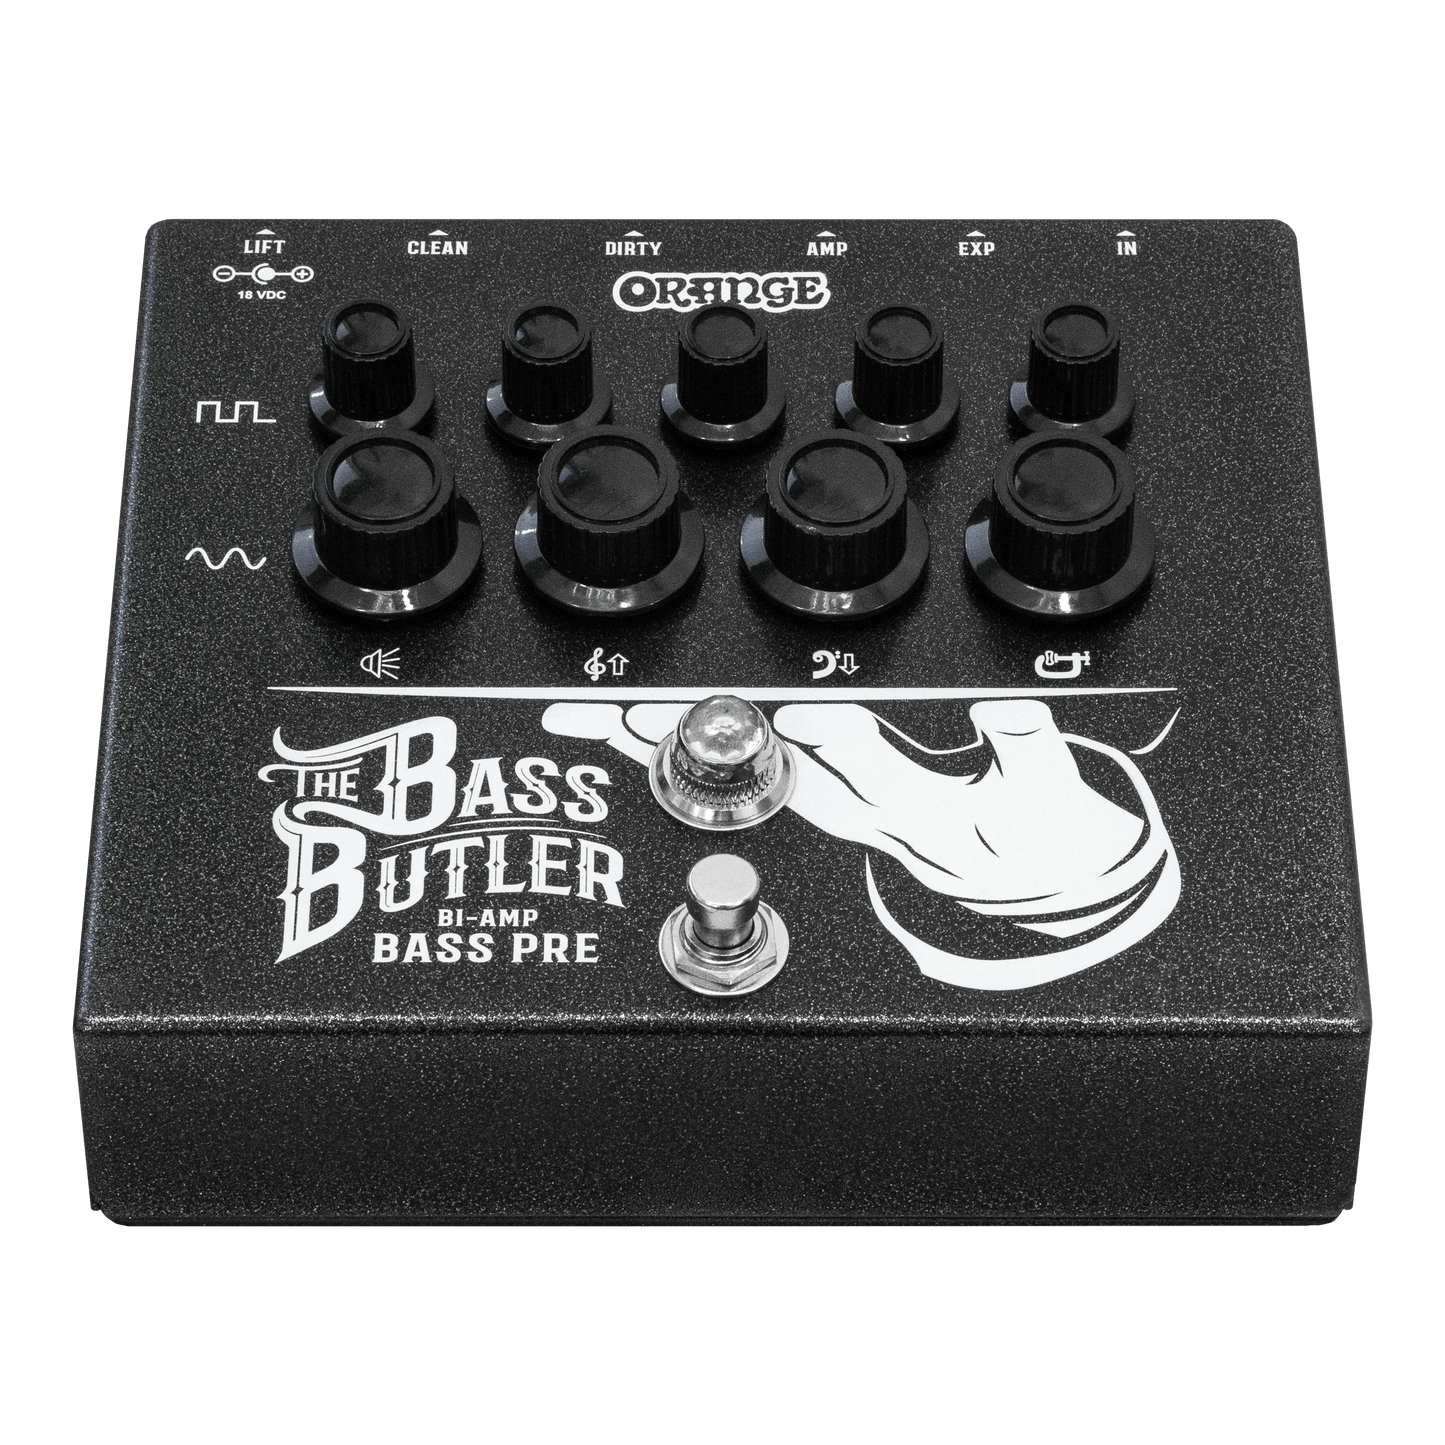


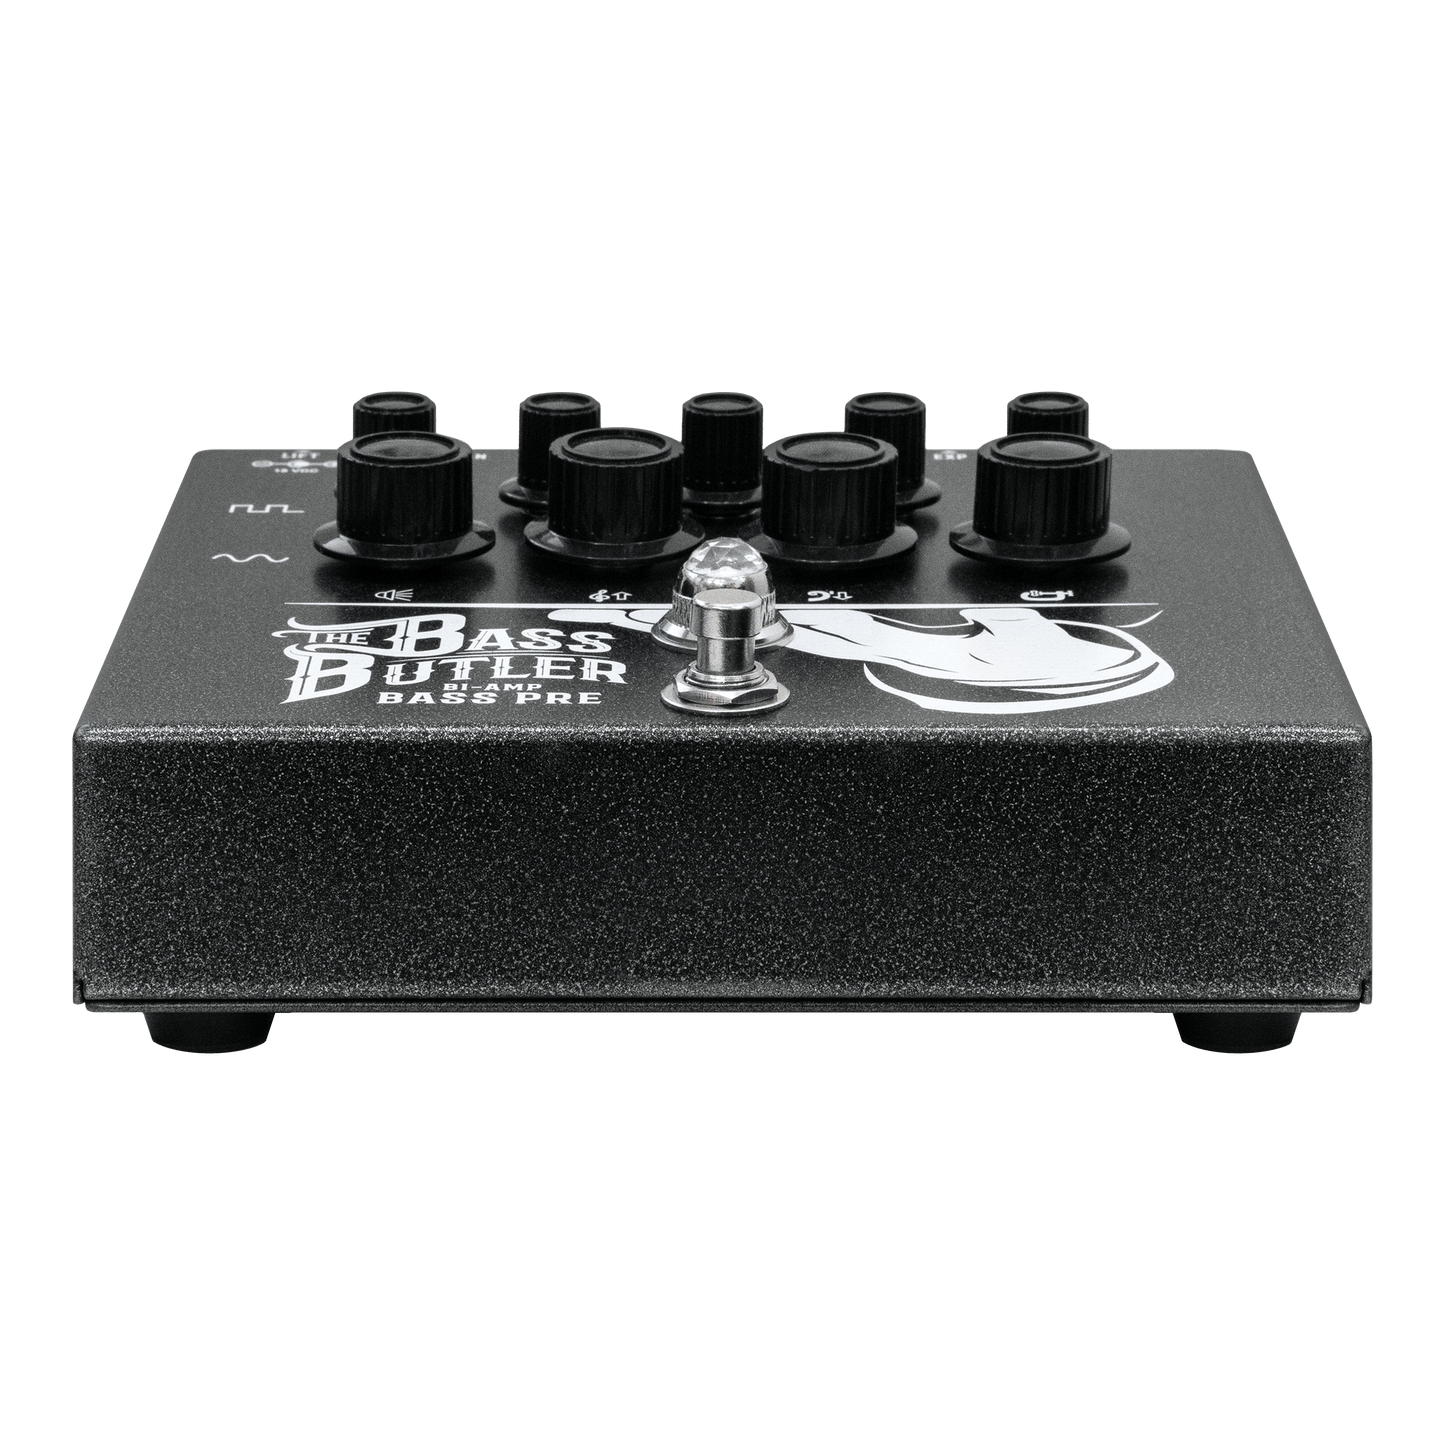


Independent clean and dirty channels
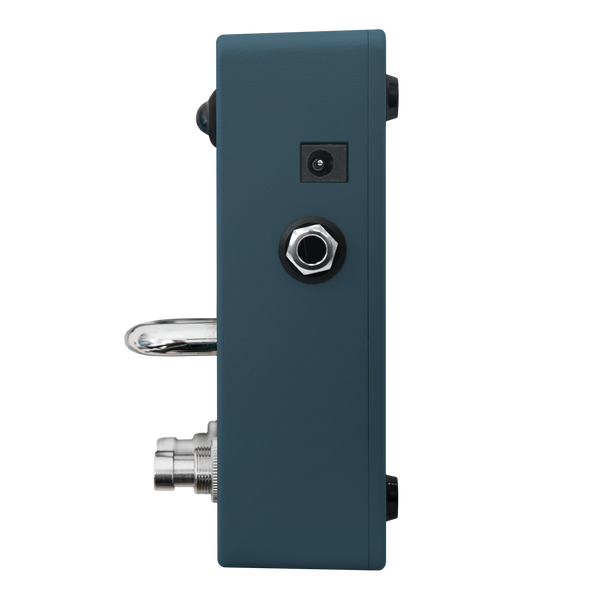
CabSim XLR outputs for each channel
Compressor and EQ on bass channel
Dry and amp outputs for full flexibility
Collapsible content
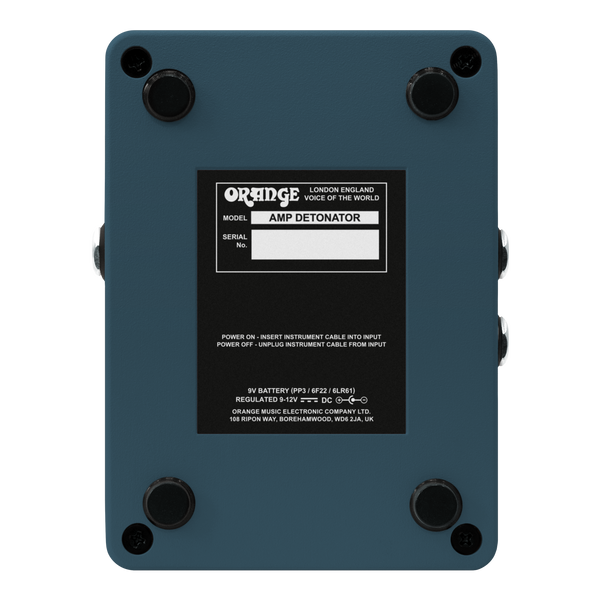
Full Specification
In More Detail
The Bass Butler is a bi-amp bass preamp with serious ambition. On one side, the bass channel delivers a super-clean, full-range signal with five-band EQ and studio-style compression, perfect for maintaining punch and clarity. On the other, the guitar channel adds searing distortion inspired by classic Orange guitar amps, sculpted via a simple treble/mid/bass tone stack. Both signals are mixed internally, letting you run dirty and clean in parallel, just like a true bi-amped setup.
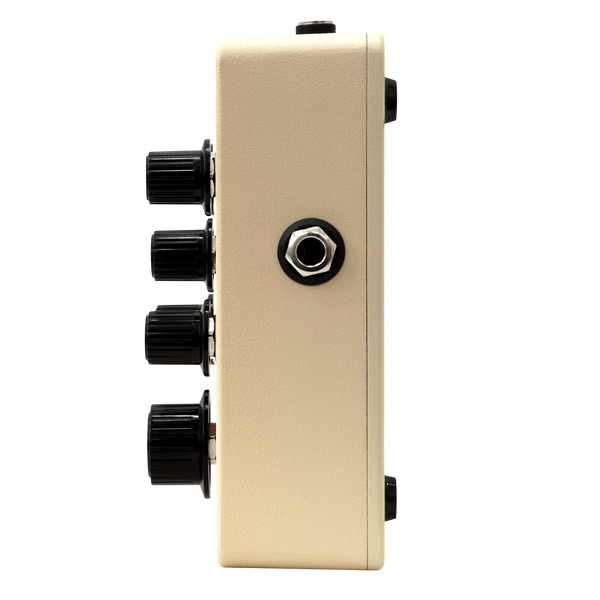
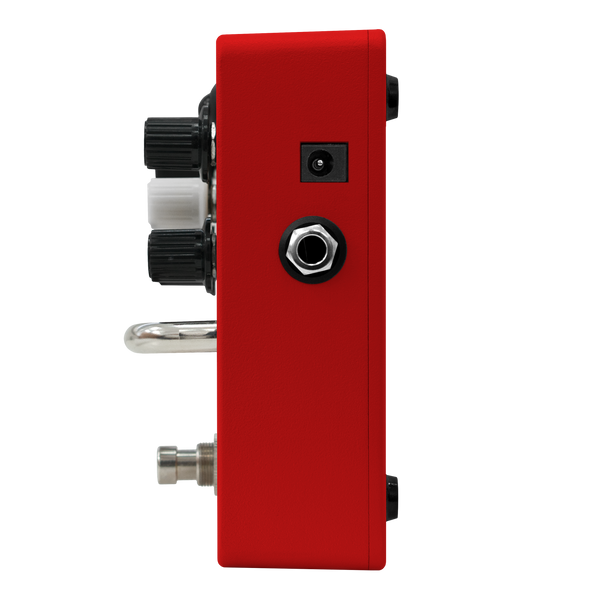
Each channel features its own balanced XLR output with cab emulation, so you can send isolated signals straight to front-of-house or your audio interface. With additional dry and amp outputs, the Bass Butler is built for total rig control whether you’re recording, rehearsing, or gigging.
Bass channel
The Bass Butler’s clean channel is all about clarity and power. A lean EQ lets you dial in everything from dub to slap, while the built-in compressor keeps your low end tight and controlled. It’s voiced to sit perfectly in a mix as solid, sculpted, and endlessly musical.
Guitar channel
Inspired by classic Orange gain circuits, the guitar channel brings in harmonically rich distortion, treated like a parallel guitar amp in your bass rig. With its dedicated three-band EQ, this signal adds top-end aggression and cut, perfect for rock and metal players who want their tone to roar.
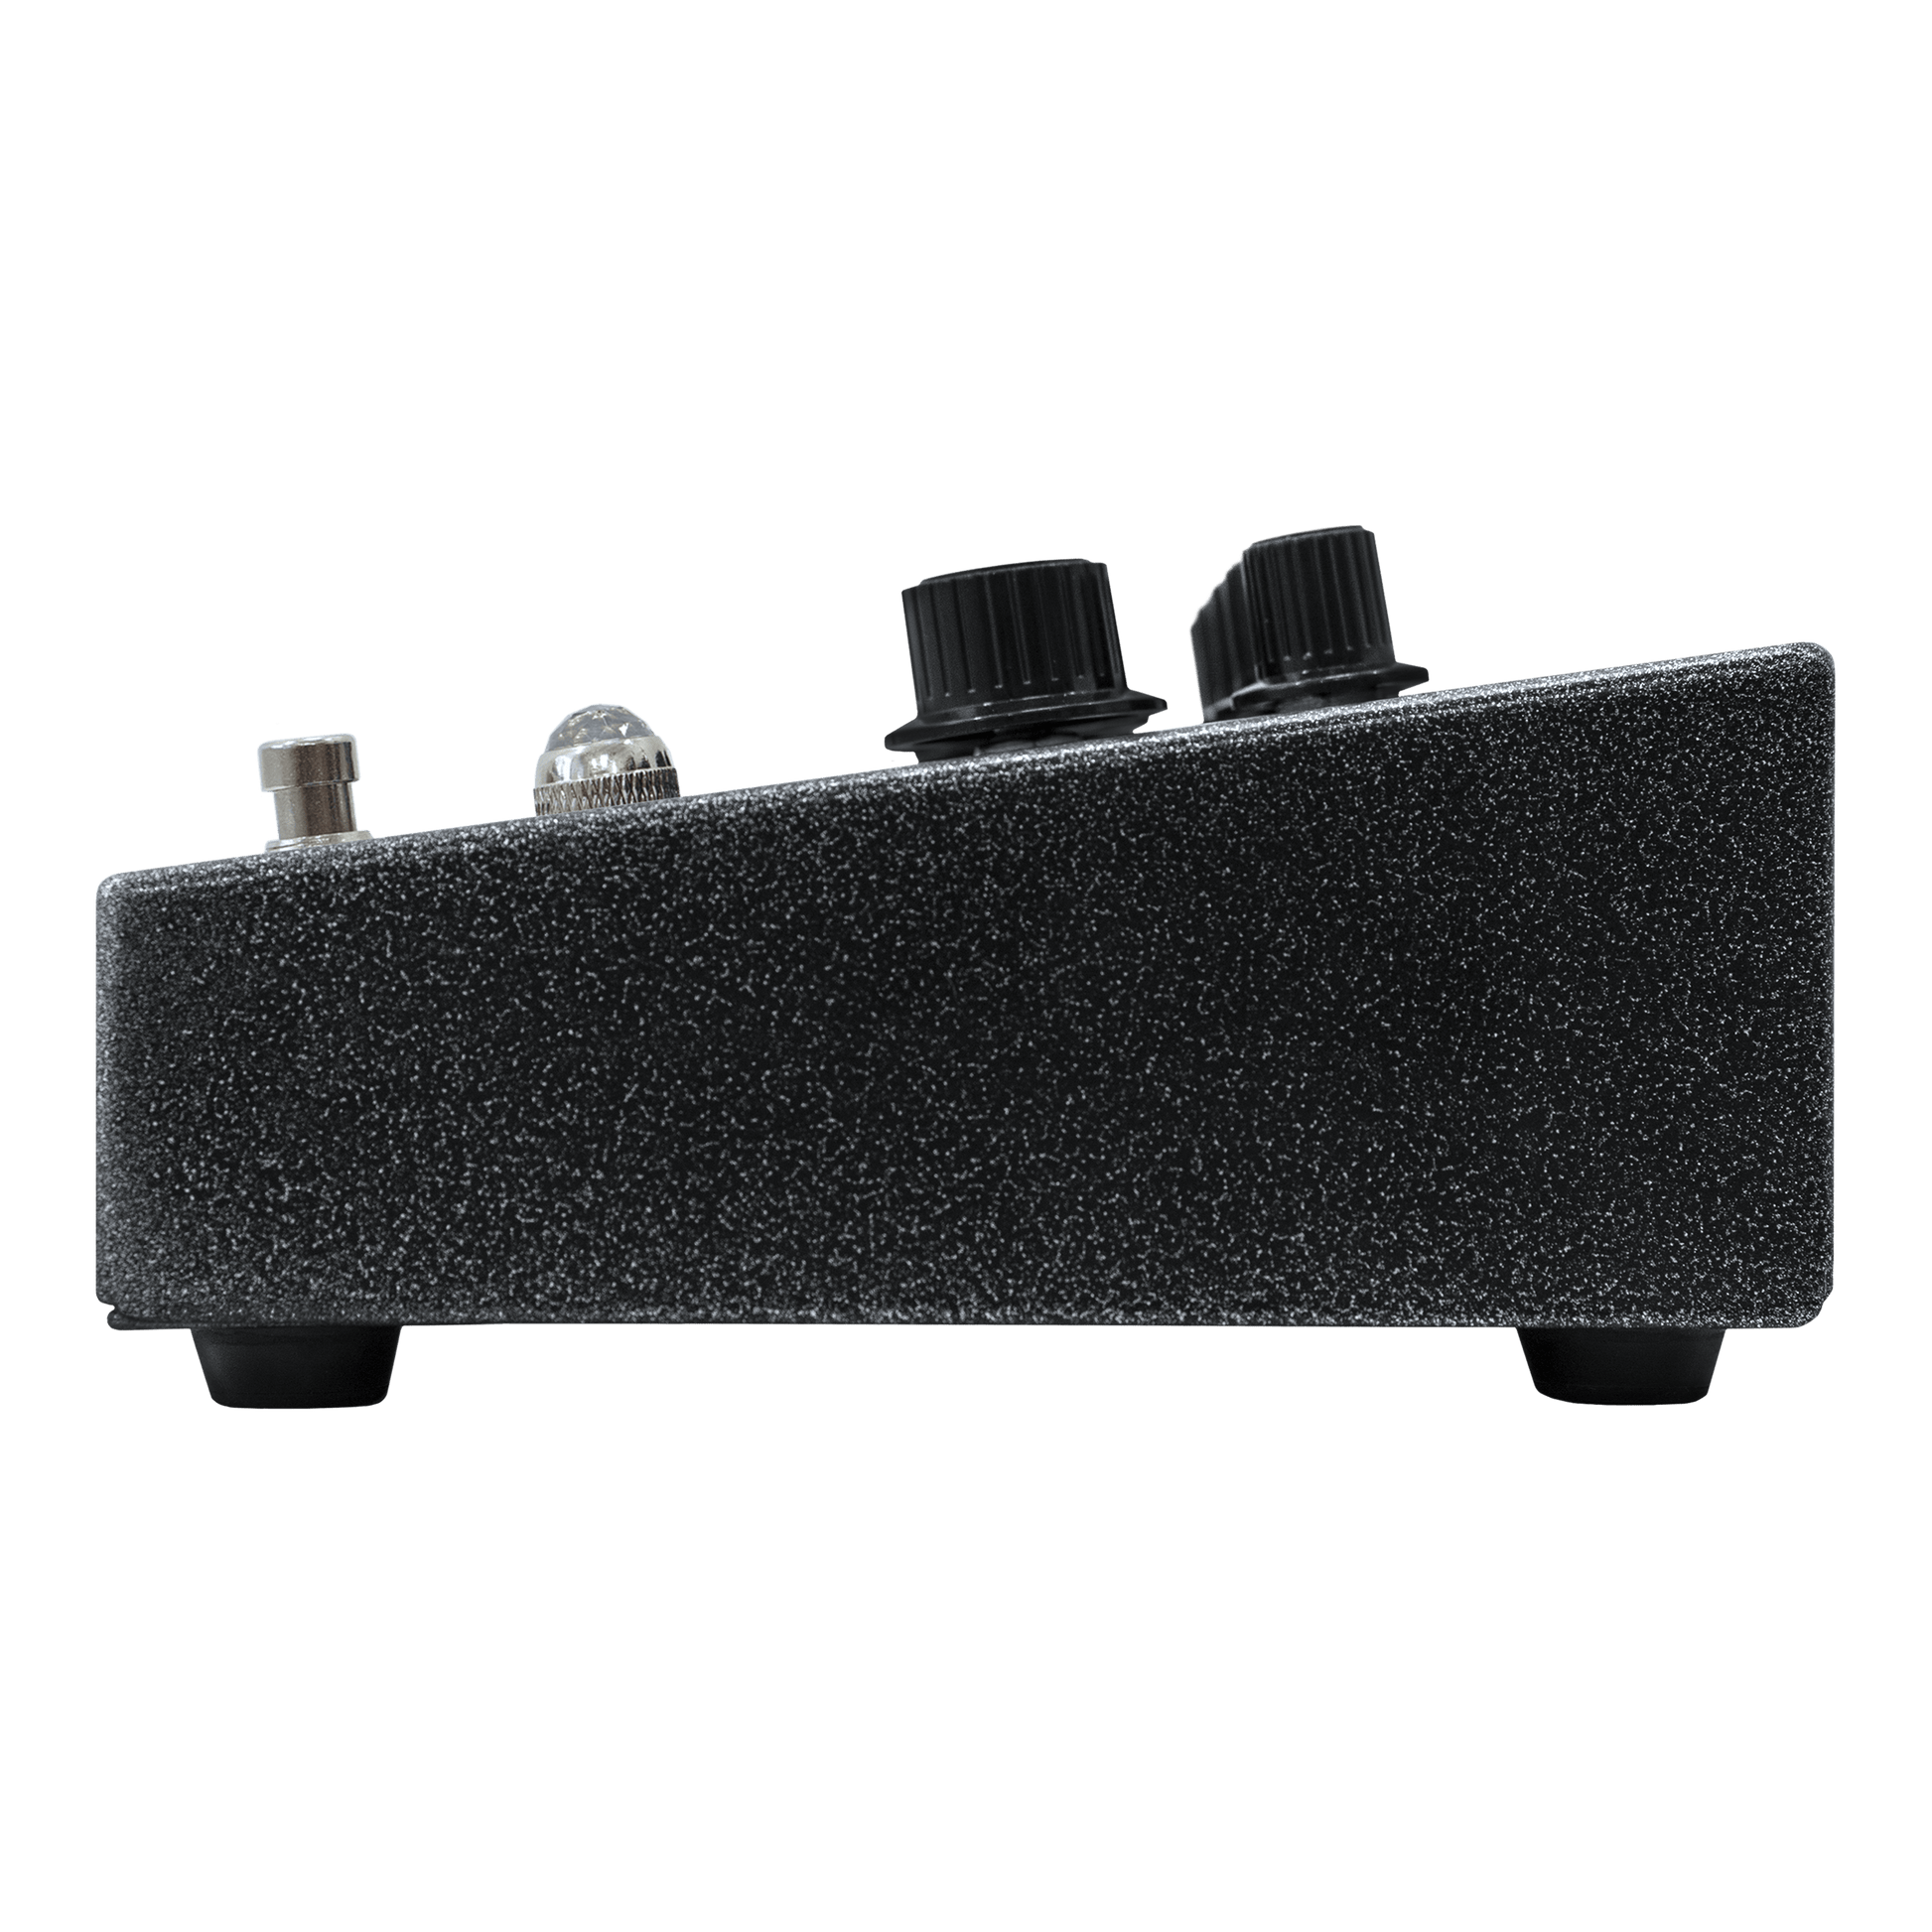
Individual XLR outs
Each channel has its own balanced, cab-simulated XLR output, so you can send clean and dirty tones to separate channels on the desk or interface. This gives sound engineers total control, and gives you a bi-amped tone without the heavy lifting. There’s even a dry output for reamping or extra routing.
Listen Yourself


Built to Perform
Tour-tough, gig-ready and made with premium components, all Orange equipment is built for a lifetime on the road or in the studio.
Iconic British Tone
From classic crunch to modern pristine chime, the unmistakable Orange sound is rich, responsive and full of character.


Instantly Recognisable
Our bold design, including the classic pics-only controls and signature orange tolex finish, have made us a stage and studio icon for half a century.