


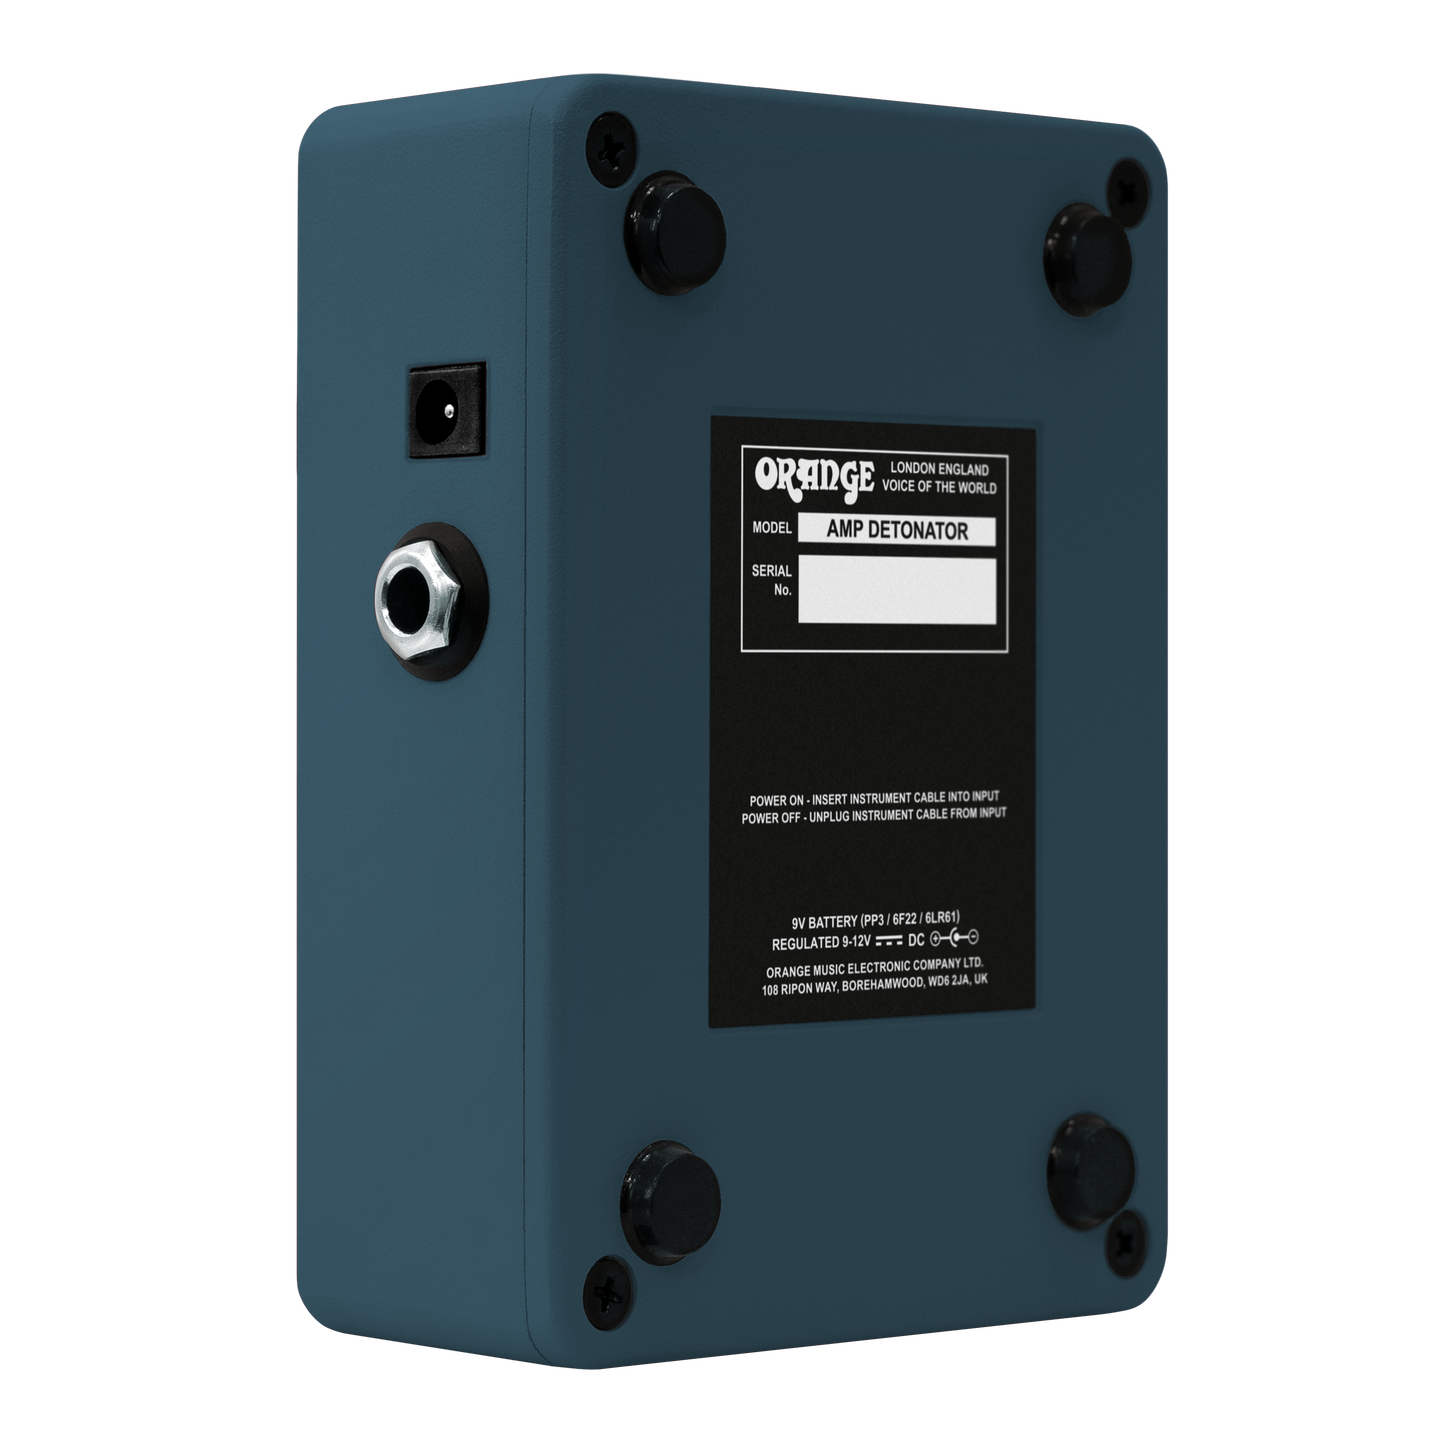
Amp Detonator
Amp Detonator
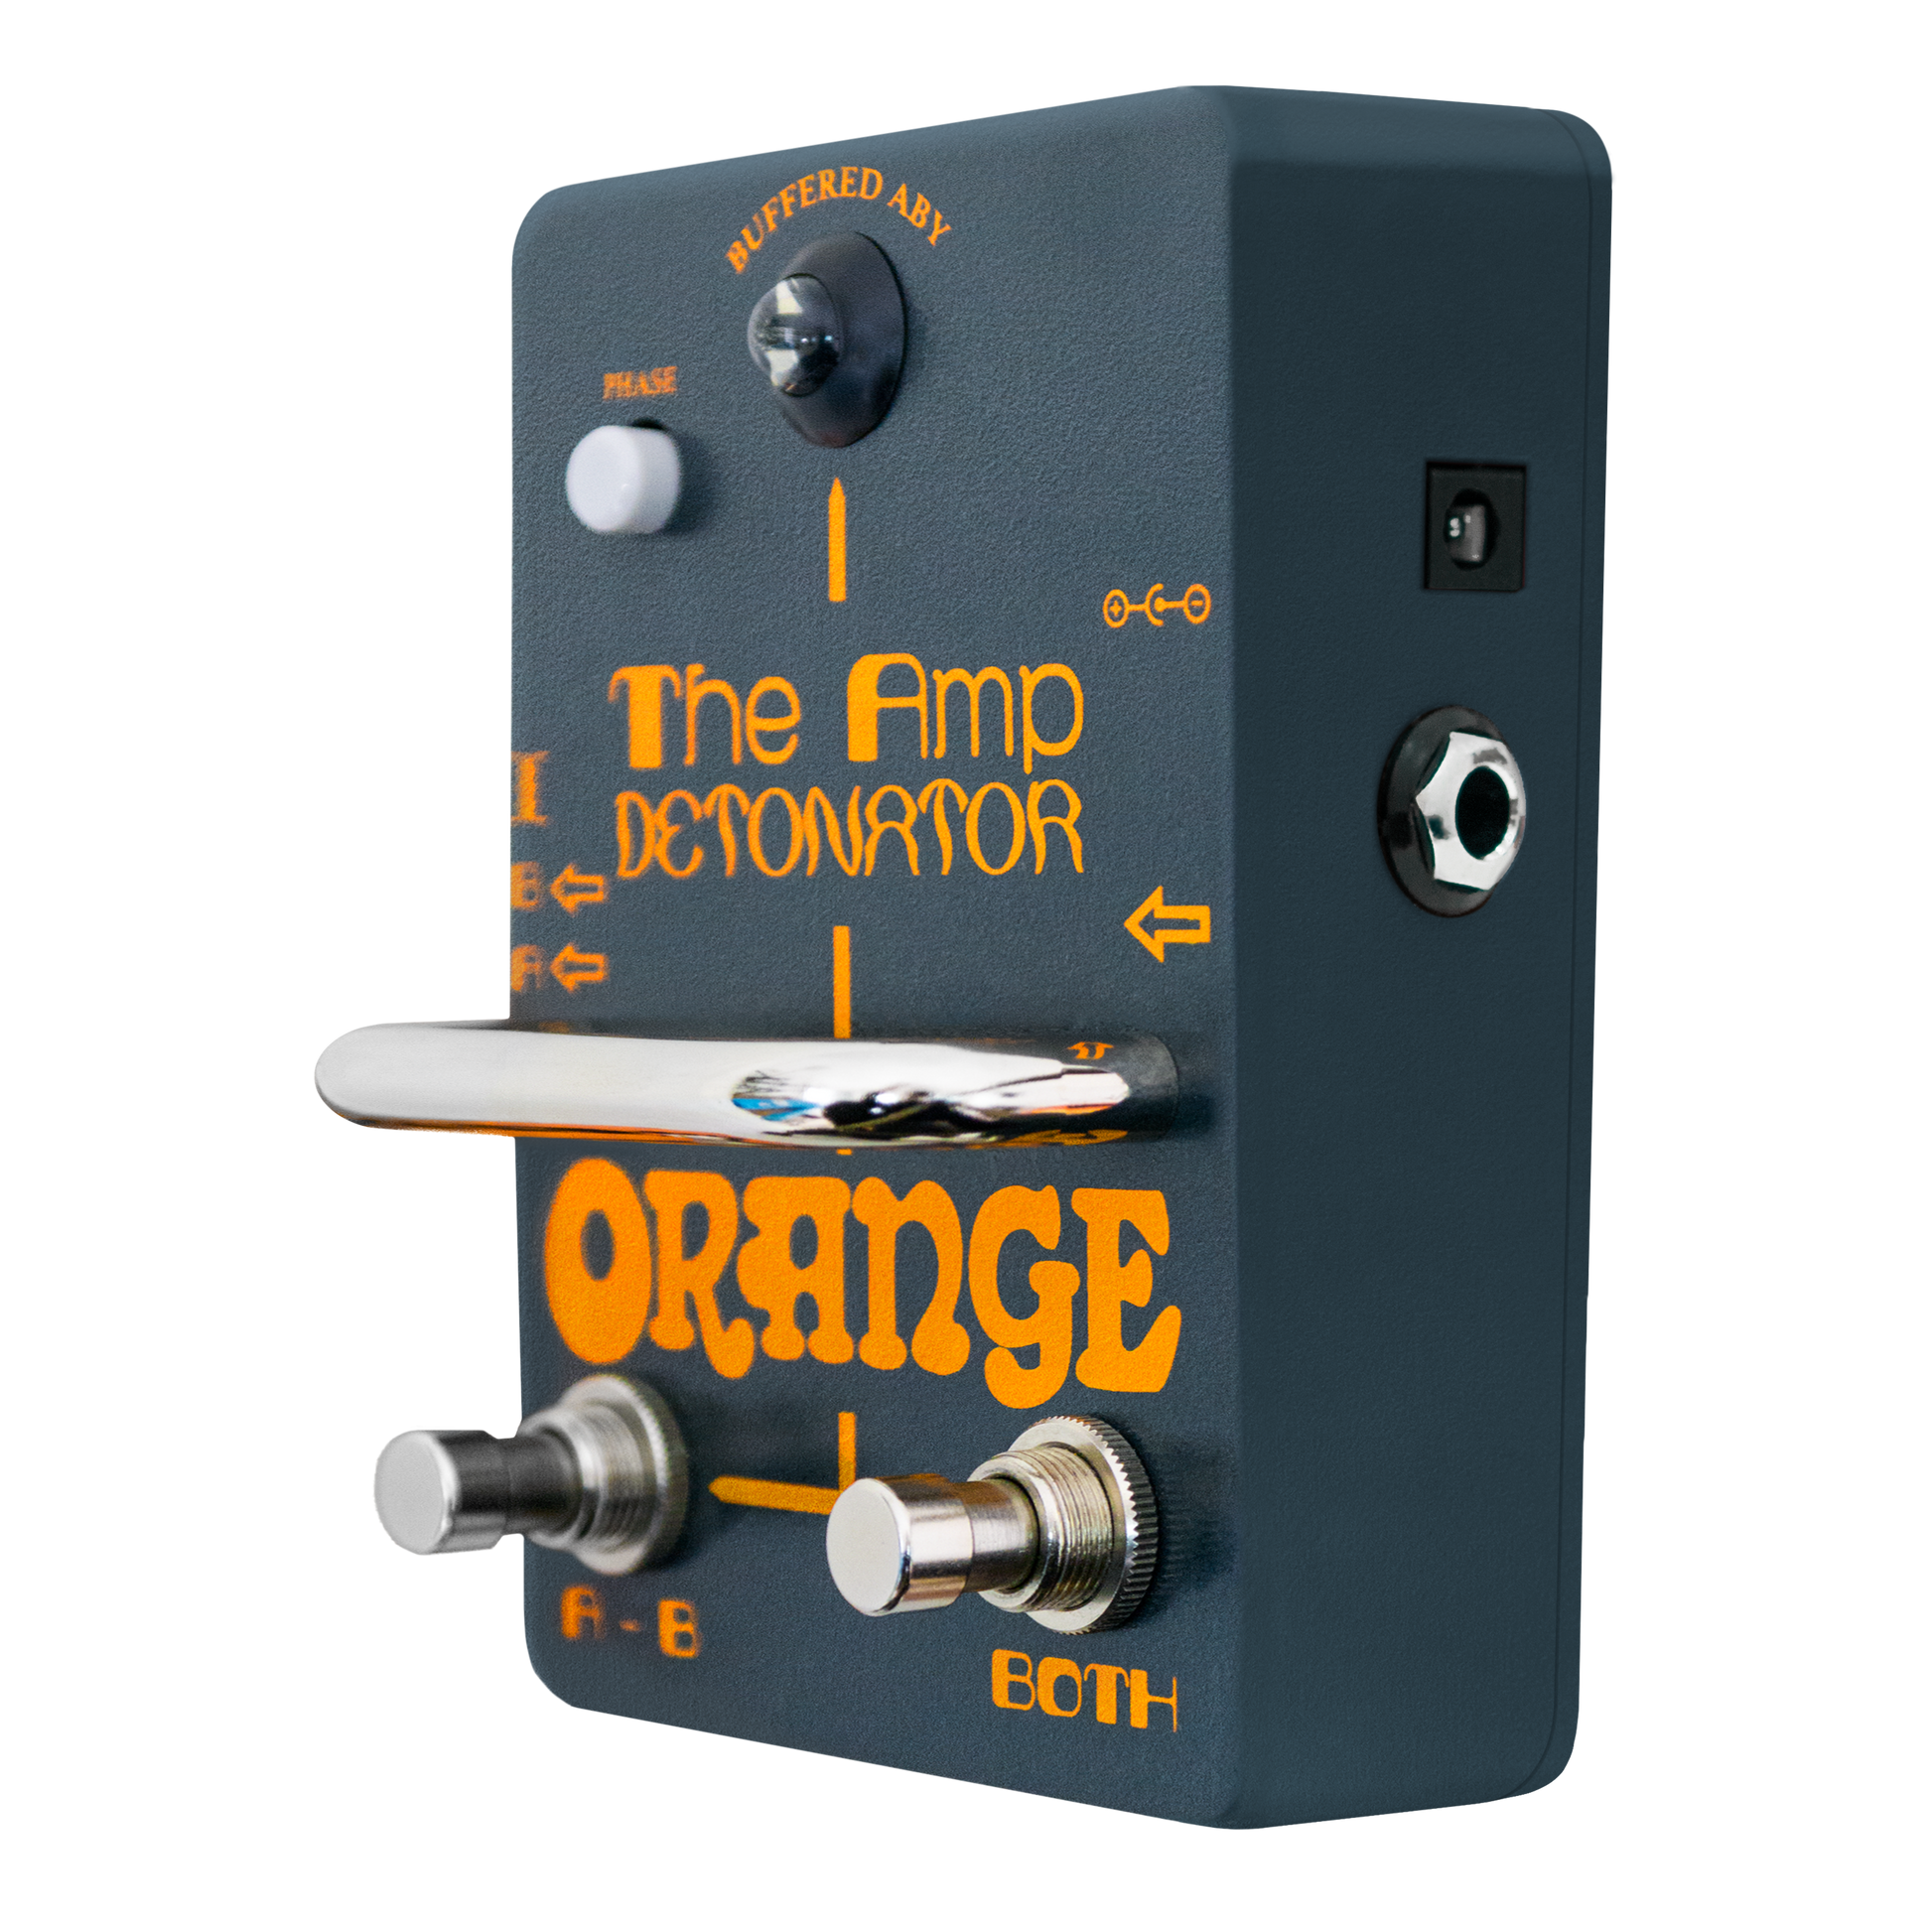
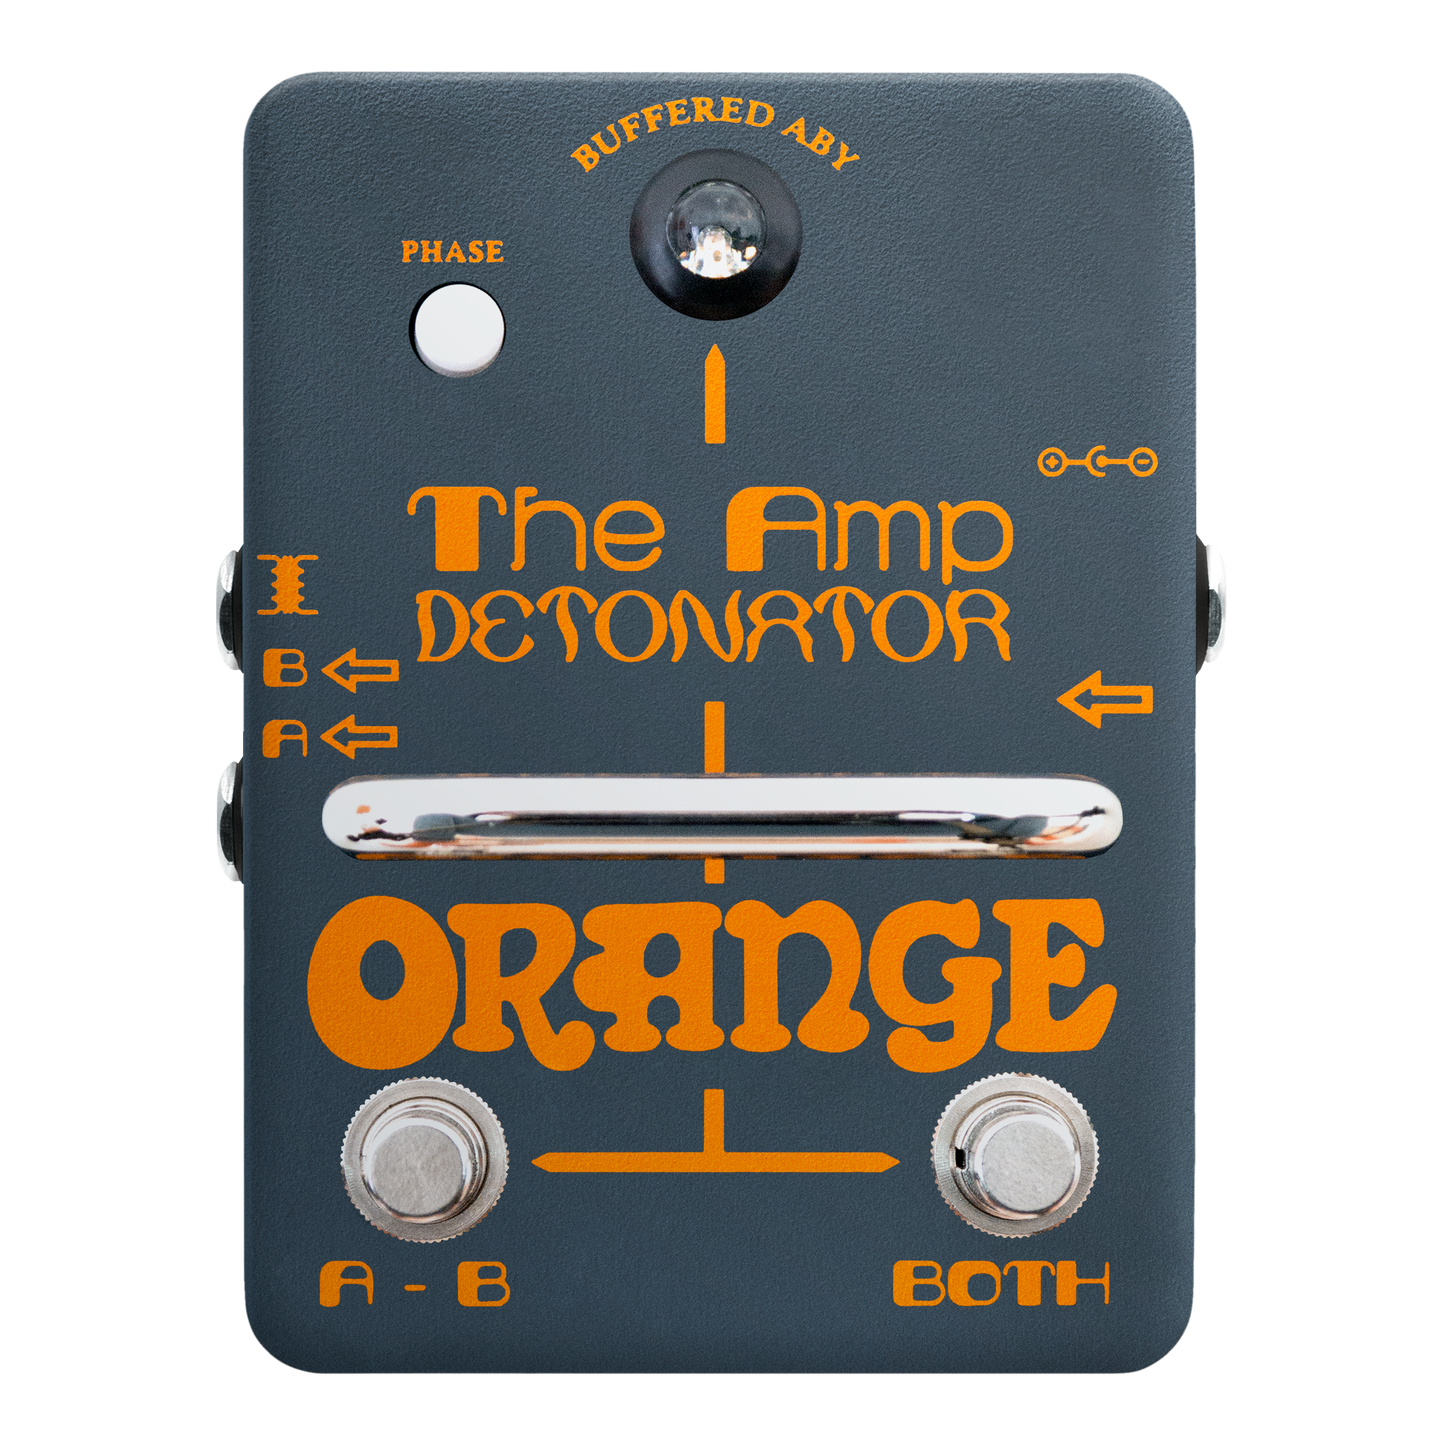
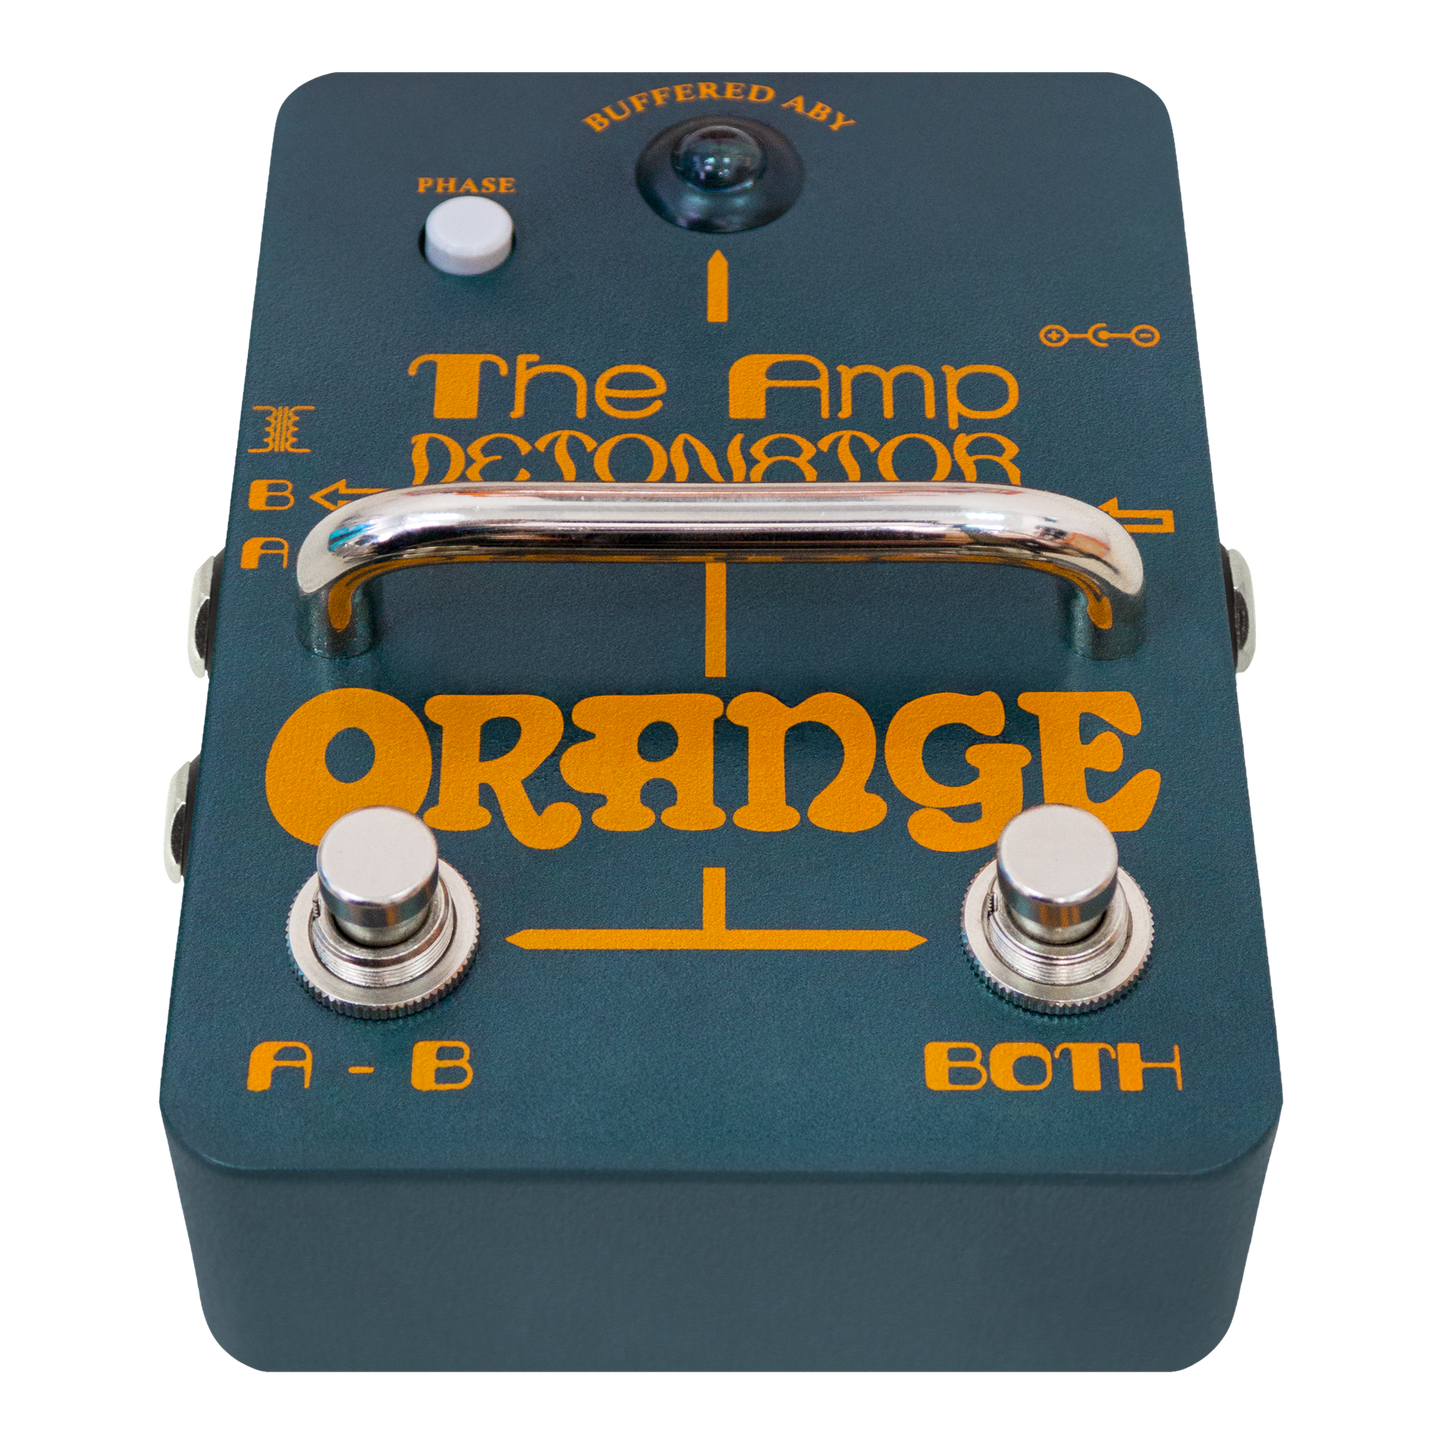
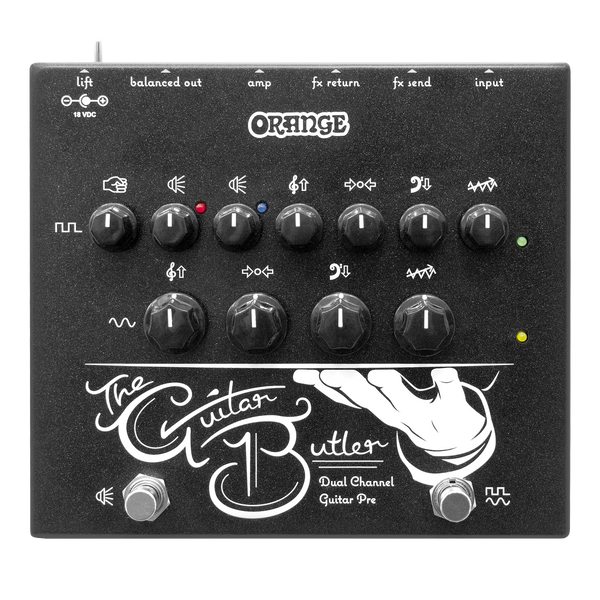
The Amp Detonator is our premium ABY switcher pedal, designed to let you run two amps with total confidence and zero tone loss. Whether you’re switching between them or running both at once, the Detonator keeps your signal strong, clear and noise-free. With a fully buffered circuit, isolated outputs, phase correction, and silent footswitching, it solves the common problems of hum, buzz, and phase cancellation when using dual amps. It’s all housed in a compact, road-ready chassis and powered by standard 9 V or 12 V DC. Built for tone purists, live rig warriors and studio tweakers alike.
Couldn't load pickup availability


Buffered Signal Path
Transformer Isolated Output
Phase Correction Switch
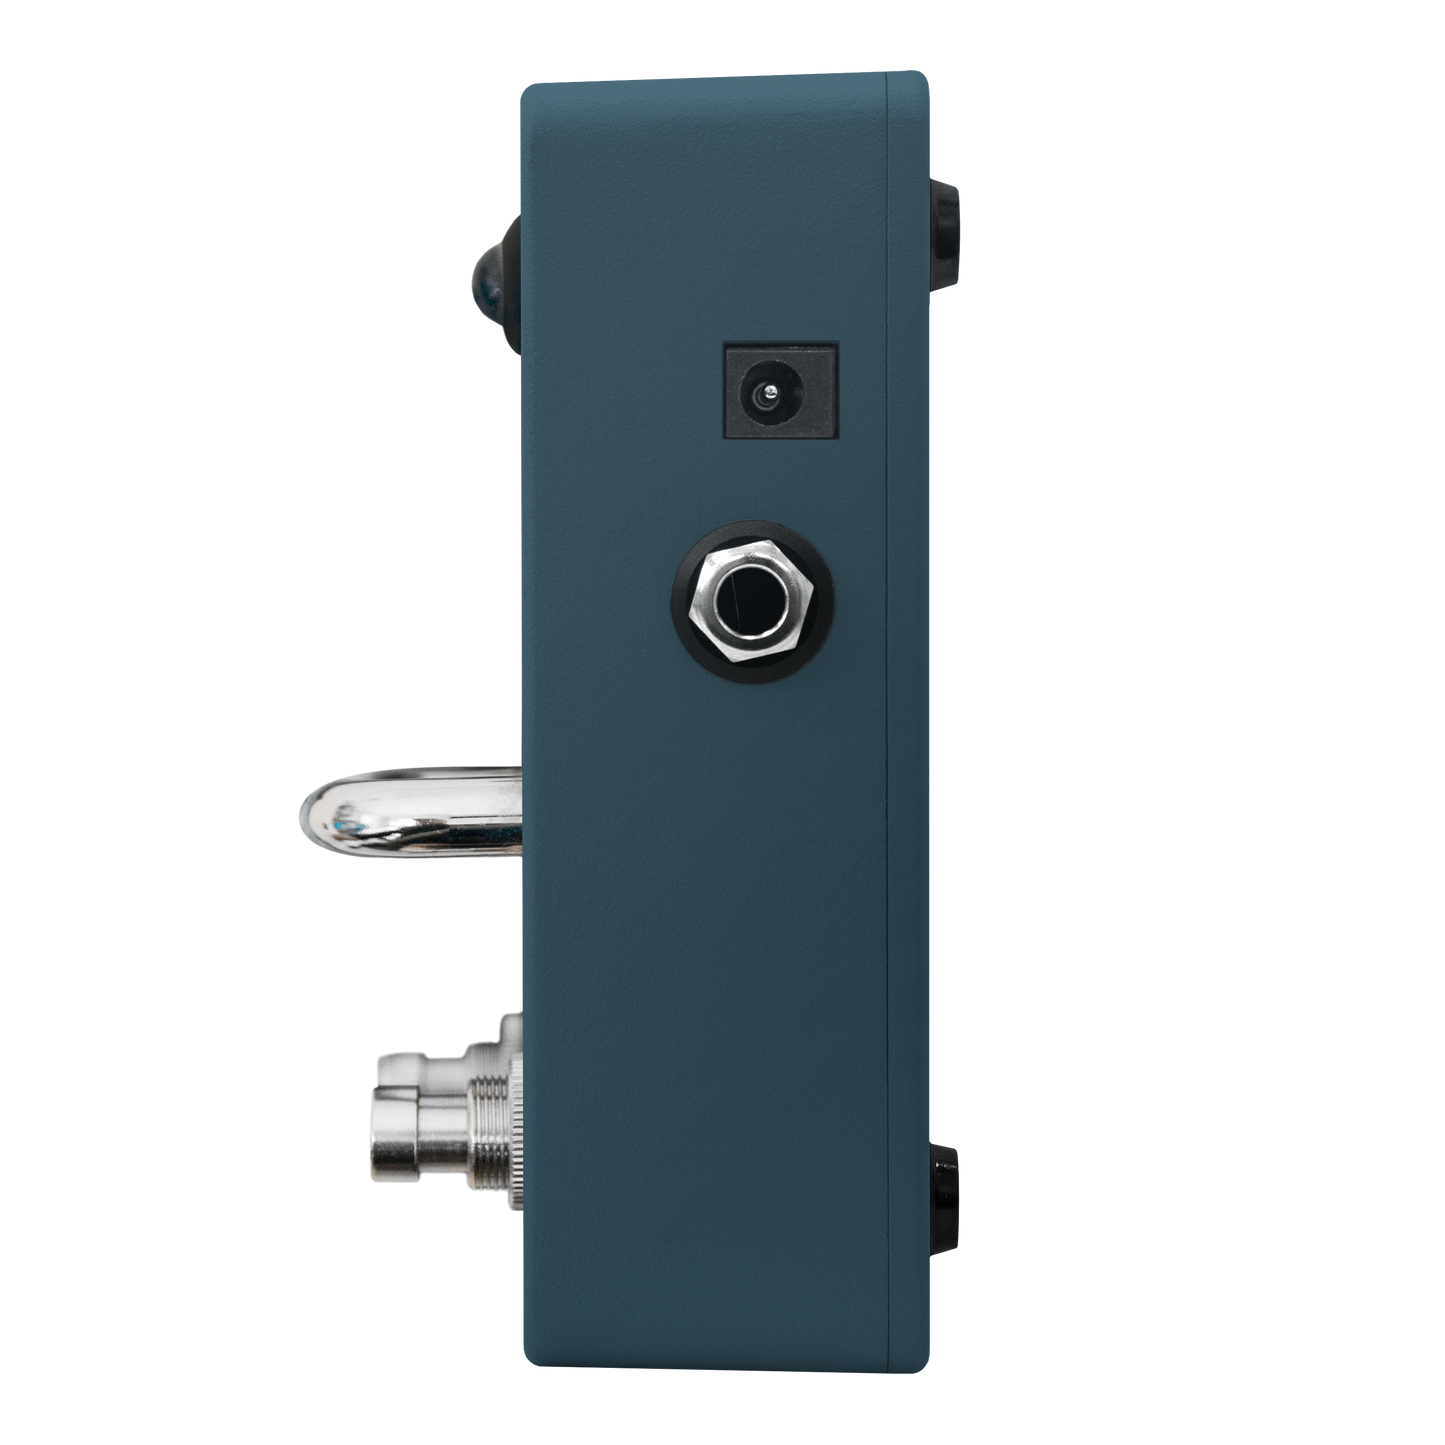
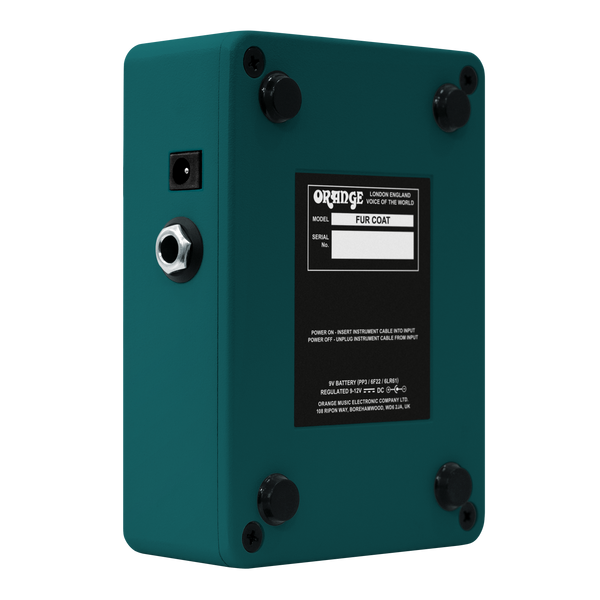
Flexible Power Options
Collapsible content
Full Specification
Manuals
In More Detail
The Amp Detonator is a class-leading active ABY switcher that preserves your tone and solves phase, hum and impedance issues when running multiple amps. Its high-quality buffer maintains signal integrity across long cable runs, while the isolated output B eliminates ground loop hum. A phase-correction switch ensures both amps remain in phase, so your sound stays punchy and defined.
The silent relay footswitching keeps your rig noise-free on stage, with LED indicators clearly showing which amps are active. Whether you’re A/B switching or using both amps together for a fuller sound, the Detonator gives you pristine tone and total control. It can be powered by a standard 9 V DC supply or a 12 V DC for even more headroom. Designed and built to Orange’s high standards, it’s the ultimate ABY pedal for players who want to get the best out of their two-amp setup without compromise.
Buffered isolated outputs
Most ABY pedals compromise your tone when splitting your signal, but not the Amp Detonator. Its active buffer ensures your guitar’s output stays strong and consistent, even across long cable runs. Output B is transformer-isolated to eliminate hum caused by ground loops, keeping your dual-amp setup clean, quiet, and professional. Whether you’re in the studio or on stage, you’ll get a clear, phase-accurate signal to both amps without sacrificing your core tone.
Phase correction
When running two amps together, even small differences in phase can cause your sound to thin out or disappear entirely. The Amp Detonator fixes this instantly with a dedicated phase switch. Flip it and your signal is corrected on the fly, ensuring both amps work together in perfect sync. No need to rewire or swap cables, just set it and forget it. It’s a simple solution to a classic problem, built right into the box.
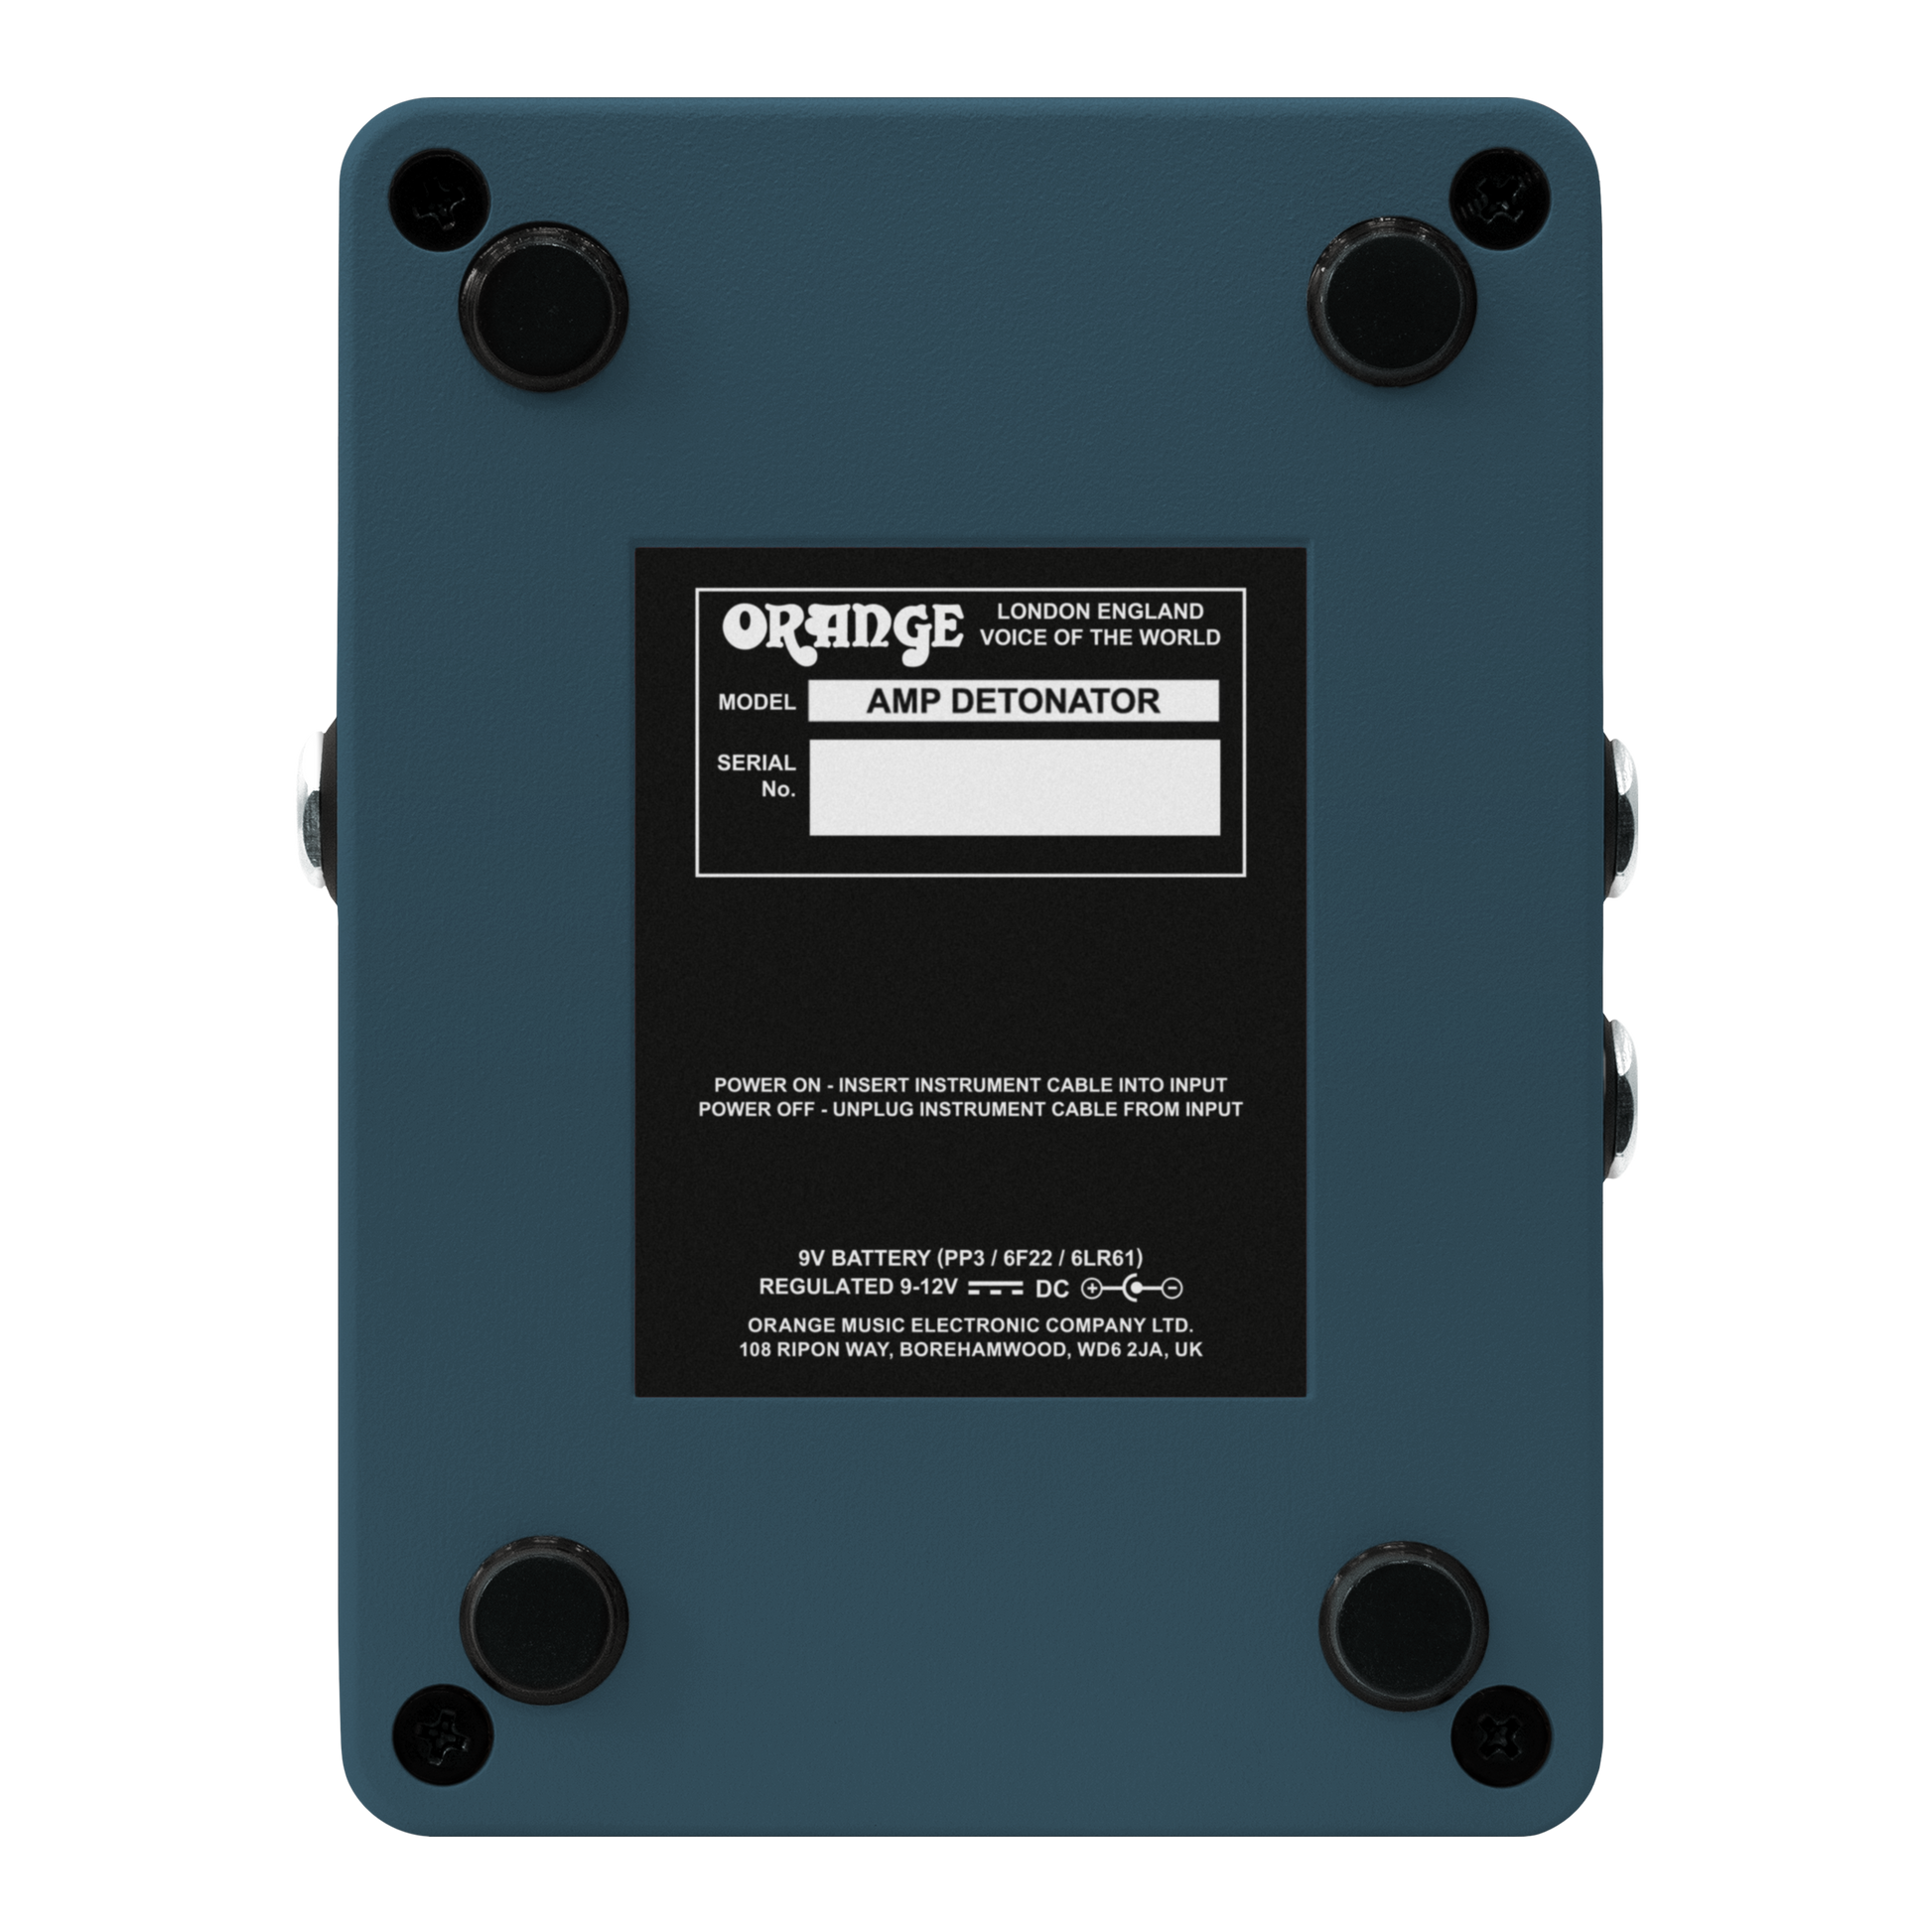
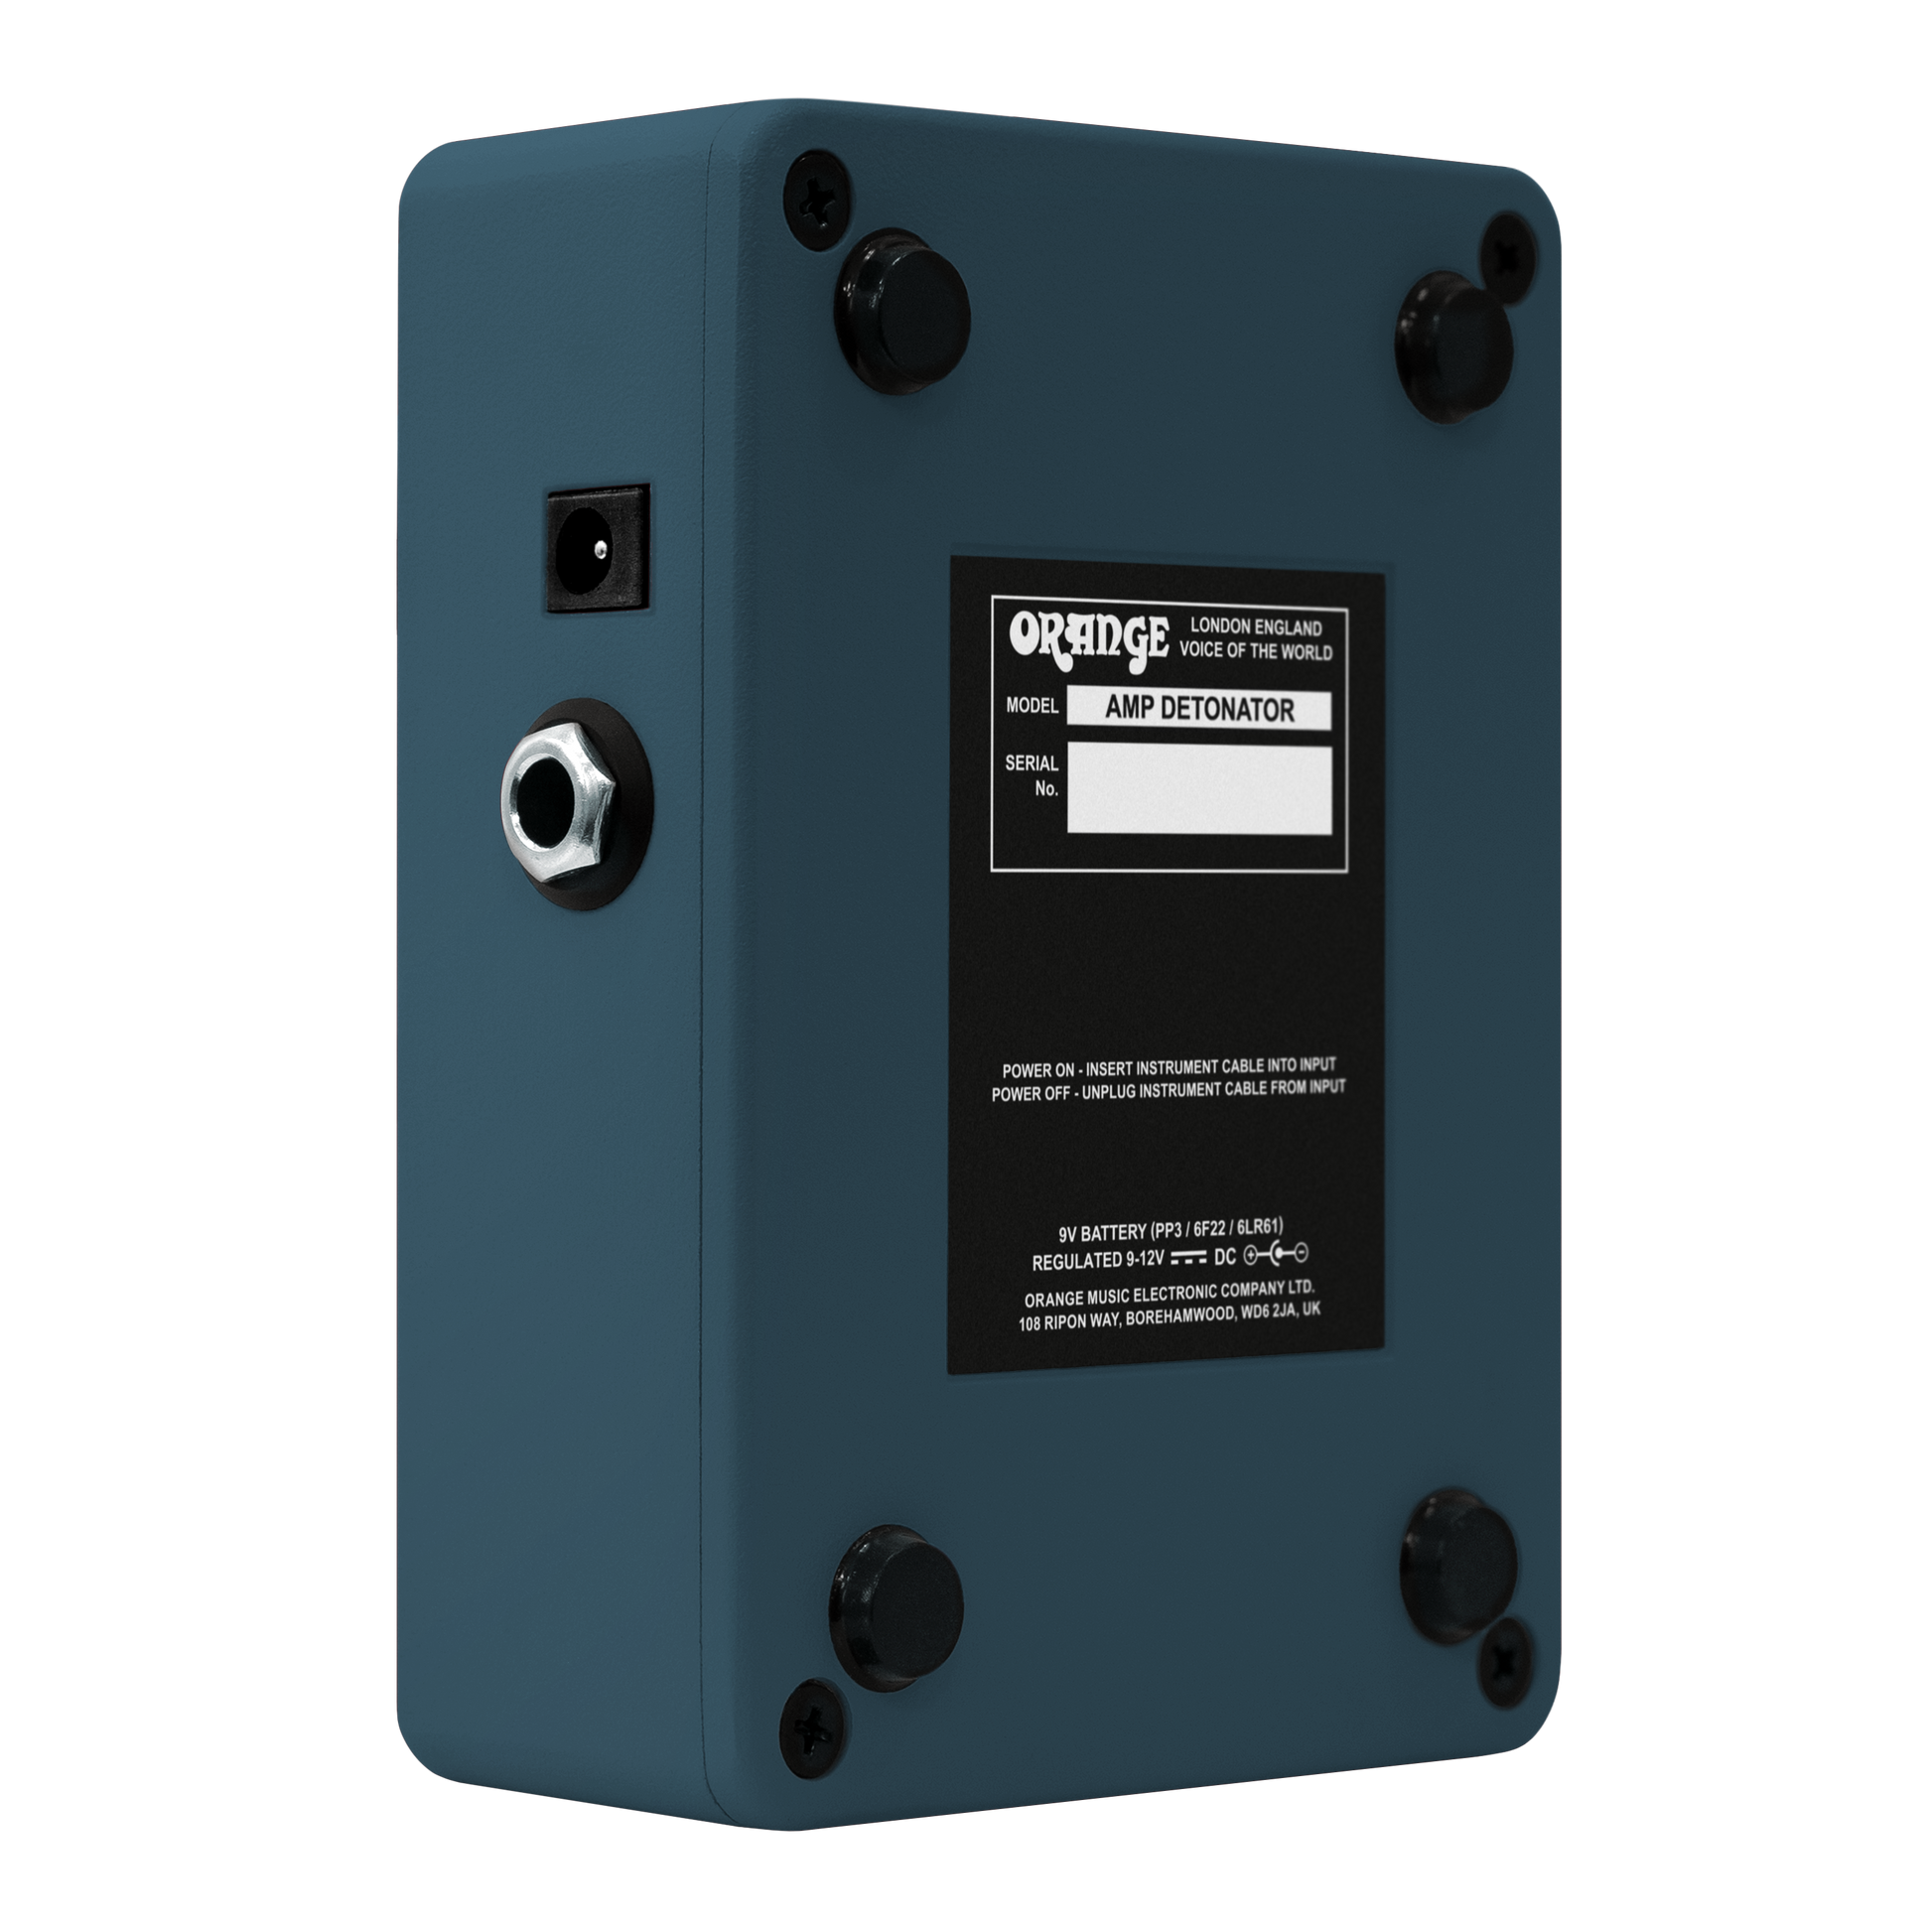
Power options
The Amp Detonator is built for the realities of modern pedalboards. It runs off a regular 9 V DC supply, but can be switched to 12 V DC for extra internal headroom, perfect for high-output guitars or complex signal chains. With its low current draw and standard centre-negative input, it integrates effortlessly into any setup. It also features a charge pump circuit that doubles the voltage internally to 18 V (or 24 V if you’re using a 12 V DC supply), increasing the internal headroom and offering incredibly low harmonic distortion. Whether you’re powering from a daisy chain or a dedicated supply, the Detonator fits right in and performs flawlessly.
Listen Yourself


Built to Perform
Tour-tough, gig-ready and made with premium components, all Orange equipment is built for a lifetime on the road or in the studio.
Iconic British Tone
From classic crunch to modern pristine chime, the unmistakable Orange sound is rich, responsive and full of character.


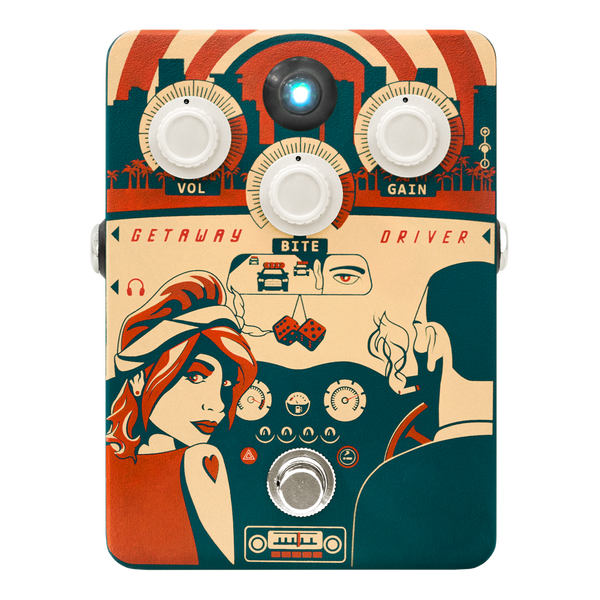
Instantly Recognisable
Our bold design, including the classic pics-only controls and signature orange tolex finish, have made us a stage and studio icon for half a century.