A Guide to Pedalboards: Where to Start?
So you’ve amassed a small collection of pedals but to be brutally honest it looks a mess when they’re all set out in front of you, takes bloody ages to set them all up and can get a bit confusing. So what’s the solution? Simple…it’s time you got yourself a pedalboard.
Now it’s all well and good deciding that you need a board but where on earth do you start? Hopefully this guide will give you a good idea and shine a light on a few of the things that you may not have thought of. Before we start please remember that very rarely will two people want exactly the same things from a pedalboard. The key thing is to think about what YOU want from YOUR board.
So what should you be thinking about?
‘WHAT & WHERE’
Probably the most important element of the whole process is determining what will be placed on the board. You may think this is easy but don’t forget it can include not only effects pedals but amp footswitches, power supplies and even wireless units.
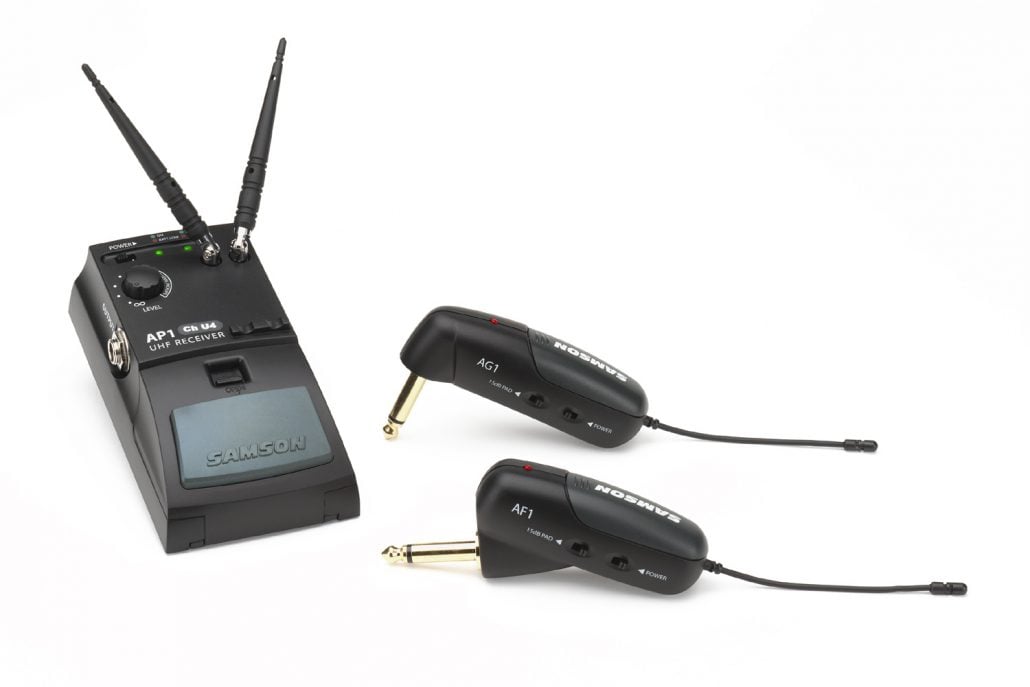
Samson AirLine AG1 wireless system
Once you’ve decided what’s going on the board, you need to decide where it’s all going to go. This is a crucial decision as this will affect how the board actually performs. Remember it’s a tool to help you when playing and is supposed to make things easier for you not harder.
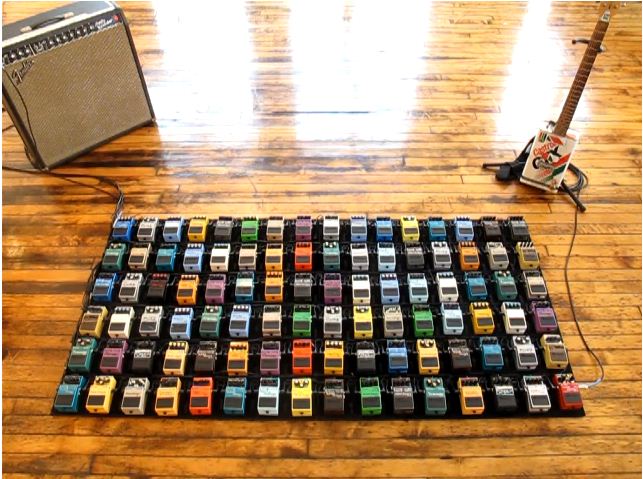
Accessibility is the key word here. There’s no point in arranging everything on the board so that it looks good if you can’t use any of it. You need to be able to reach the pedals easily and safely whilst playing, without hitting any of the others or doing yourself an injury. Think about placing those pedals that you use most often at the front of the board and those that you use perhaps only once or twice during a set (or not at all during a song e.g. your tuner) at the back of the board. That said there’s no point in putting something like a tuner at the back of the board if you can’t see the display on it properly. The same goes for any pedal that you may need to alter the settings of mid-song (remember you’ll have a guitar in your hands too). Also make sure that those pedals that need a little extra space around them get it. Any pedals with a rocker, e.g. wah-wah or volume pedal, will need to have space for you to actually work the treadle comfortably.
An example of inaccessibility
Having taken all of the above into account don’t forget that your pedals need to be placed in a certain order (of your choice obviously) to maximize their performance and each one needs to be powered. Make sure that the cables you have are long enough and have the correct shape jack plug (right angled ones will save space) and that all the sockets (including the power one) are accessible. There’s nothing worse than coming up with an arrangement that looks good and works for you if you can’t plug it all together!
‘THE BOARD’
Having established what is to be included and where it’s all going, you’re now in a position to actually think about the board itself. All of the above will determine the fundamental size and shape of the board. Be realistic – if you’ve got 10 or more pedals and they’re not little ones (as is the fashion at the moment) they’re not going to fit on something the size of a piece of A4 paper.
First off you need to decide whether you’re going to flex those DIY muscles and manufacture the board yourself or buy a pre-manufactured one by the likes of Pedaltrain, Blackbird or Diago. There are several factors that all need careful consideration here and are all interlinked. You will obviously need to consider the cost. Some of the aforementioned manufacturer’s boards are not cheap so that piece of old shelf you have sitting in the shed can look very appealing. That said do you have the relevant skills to craft something from it? Don’t take on something that you’re not likely to complete, will not do the job or end up with you injuring yourself…those fingers are important. Also, don’t forget that you’ll need to transport the board every time you have rehearsal or a show so it needs to be a practical weight, shape and size. You will also need to ensure that everything that you’ve strapped to the board is safe during transit. There are a number of viable options such as flight cases, gig bags or even an old suitcase. Each has its own pros and cons, for instance flight cases may be the best protective option but they can be heavy and expensive.
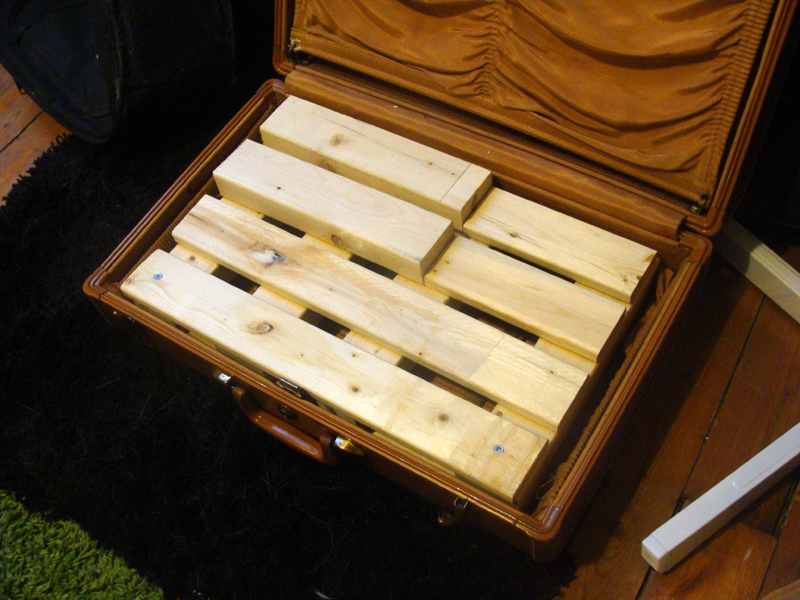
Click this picture because this guy actually did build a wood pedalboard in a suitcase for $6
‘SECURING PEDALS’
Now you know what’s going on the board, where it’s all going and what kind of board you’re going to have, you need to think about how you’re going to make sure that everything stays where you put it…after all none of this stuff is cheap. The usual suspects are Velcro, cable ties and be-spoke pedal fasteners (you should be able to find plenty on the internet). Most pre-manufactured boards will come with their own supply of Velcro (again you can find it online). You need to decide what works best for you given your circumstances. If the layout of your board is never likely to change then cable ties or fasteners will give you the most secure option but if you’re going to swap your pedals around frequently then Velcro is more practical.
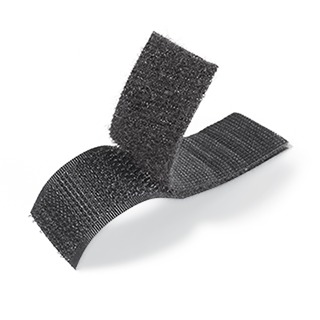
This probably wasn’t necessary to include
‘I HAVE THE POWER’
Like the plethora of choices you have when it comes to effects pedals the choice of power supply is just as varied. The main consideration here is that whatever power supply you opt for it should be able to provide enough juice to power all of your pedals.
The first decision to make is whether you’re going to power everything by battery or mains. Some of the modern mini pedals don’t even have the option of being powered by battery so this decision may be made for you. If you are planning to run everything off batteries then you will need to consider the cost implications as well as performance and reliability (some pedals will be severely affected if the battery is starting to run low and there’s always the chance of one going flat mid-song). A slightly more robust battery option is to go for something like Pedaltrain’s Volto. It’s a Lithium-Ion power pack like you’d find in a laptop or tablet. You simply charge it up and then plug your pedals into it. The advantages of batteries are that you don’t need to worry about locating that elusive power socket or running a huge power lead and it eliminates any problems you may encounter from a dodgy power supply.
Another option is to ‘daisy chain’ the power from one power source e.g. a Visual Sound One Spot or the Pedaltrain Volto to power each pedal. Certain pedals can help you with this (e.g. Boss’ TU3 and NS2) and can act as a booster running up to 5 pedals each as long as they get a good power supply. The disadvantages of daisy chaining pedals are the power draw (you need to ensure there are enough milliamps for every pedal you have) and the fact that you can’t power anything with a different voltage rating (i.e. if you’re using a 9v adaptor you’ll only be able to power 9v pedals).
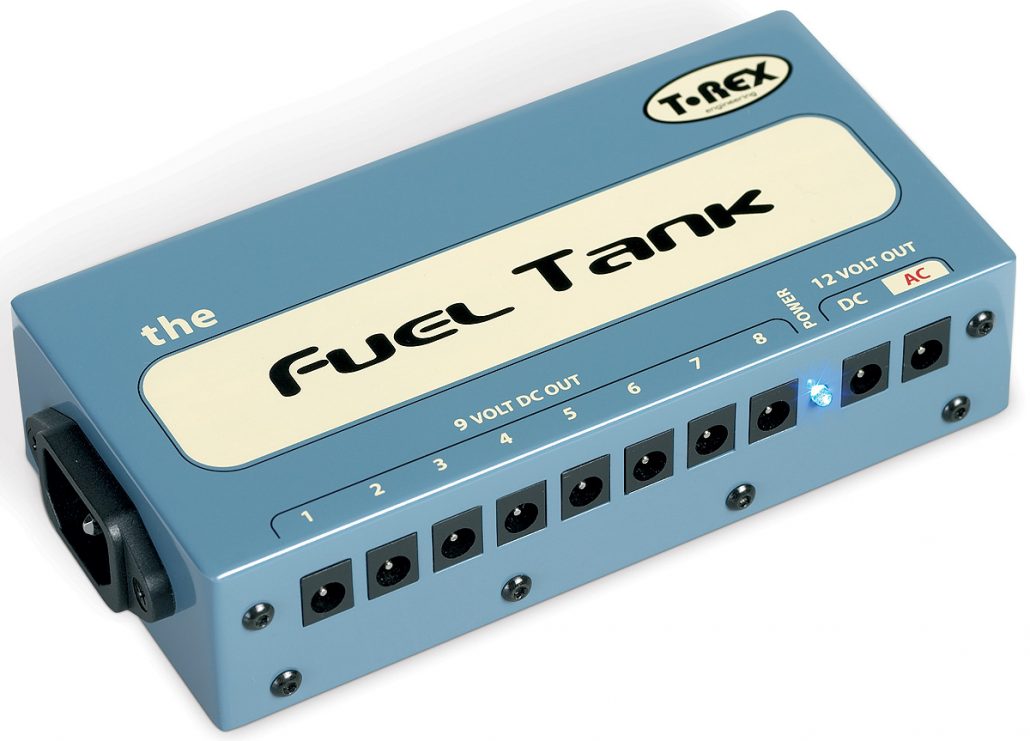
The ‘professional’ way to power your board is to opt for a power bank by the likes of TRex, Pedaltrain or Voodoo Labs. The only real disadvantages are the cost and the space they take up…other than that they’re a winner. More often than not the outputs will be isolated meaning each pedal gets its own individual power supply reducing any unwanted buzzing or noise. They’ll also tend to support varied voltage outputs i.e. you can run different rated pedals. Power banks provide a steady uninterrupted source of power. One thing you need to be sure of if you decide to go with a power bank is that it has enough outputs at the voltages you need.
Or that it at least looks rad and has a clever name…
Some pre-manufactured boards come with brackets (or can be adapted) to hold power banks underneath. This tidies up the board and saves space… might be room to fit that extra pedal after all!
‘CABLES’
There are a number of options available to you when it comes to wiring up your board. The main one is whether you’ll be going down the DIY route and making your own cables or using ready made ones. There are advantages and disadvantages to both. If you’re making them they can be made to spec as far as length, plug type and quality of components go (as long as you have the necessary skills). If you’re purchasing off-the-shelf cables they should be of decent quality (remember you get what you pay for) but you’ll have to make do with the lengths and plugs that are available. Somewhere in the middle of these two options is to go for custom made ones which although more costly should give you exactly what you need (make sure you use a reputable company).
There is also the solder-free option. George L, Lavacable and Planetwaves all have kits available but they can be expensive. Solder-free kits, as the name suggests, are easy to assemble and can save you a lot of space on the board as the plugs tend to be smaller. You basically make them to the exact lengths you require for your needs. The main disadvantage of solder-free kits is the durability. That’s not to say that they’re not reliable but given their very nature, i.e. no solid physical connection between the plug and lead, there is a chance of them failing more easily than a standard cable.

Lava Cable Solder-free Pedal Kit
So it’s not as straightforward as you thought is it? But this shouldn’t put you off. Hopefully this guide will allow you to make more informed decisions and come up with a pedalboard that is everything you want it to be. The golden rule is to always bear in mind what you’re trying to achieve with your board. Yes it might look great and allow you to show off your pedals but it’s supposed to make your life as a musician easier and less stressful. As usual there are no right ways or wrong ways to go about it, but common sense and stepping back to consider the bigger picture will pay dividends.
Guest Author: Darren Carless
